Amount exceeded

4.7 out of 5 based on 58606 reviews


4.7 out of 5 based on 58606 reviews
.
"Damn you! Damn you, you filthy mould!" You don't want to scream this barechested on your knees before a cannabis garden ravaged by mould. Weed mould is no joke for stoners and this article just might save your life one terrible day.
Contents:
Nothing is more frustrating than spending months tending to a grow, only to find it infested with bud rot or mould during the final stages. Even worse, if you miss it and end up smoking it, the health consequences could potentially be serious. That's why learning how to avoid and identify mouldy weed is an absolute must for any serious grower or smoker. Look after your plants, and your lungs.
We don’t mean to be alarmist, but in our opinion, mouldy weed is public enemy #1. Of all the pests, plagues, rotten bad luck and scourges of Mother Nature, that can possibly strike a marijuana garden, it’s cannabis mould, that’s the most heartbreaking and toxic threat to the ordinary decent stoner.
Mouldy weed is not just a horrible excuse for a stash, it’s actually toxic waste and you should treat it as such.
If you have the misfortune to consume mouldy weed, regardless of whether you eat it, smoke it, or vape it, you are consuming thousands, possibly tens of thousands of nasty microbial spores.
Best case scenario is the unpleasant taste puts you off consuming much and you toss the rest of the contaminated weed stash in the trash, post-haste, without any ill effects.
Worst case scenario is you wind up hospitalised with a serious lung infection and your only frequent visitor is a slimy anti-marijuana lobbyist intent on getting the rights to the story of the first recorded cannabis death in history.
Though rare, there is evidence that avoiding mouldy weed is good for your health. A study by Gargani in 2011[1] looked into the cases of two fatalities due to lung infections. In both cases, it was found that the fungus Aspergillus fumigatus had colonised cavities in their lungs and eventually played a role in their death. Moreover, it is unclear whether this fungus survives burning, so it may just have been exposure to the cannabis itself that caused it.
To put your minds at ease, though, these were two chronic smokers (up to 20 joints a day) observed over a period of several decades. So one mouldy spliff is unlikely to kill you. Nevertheless, it shows that the dangers of mouldy weed are more than a myth.
If you happen to be purchasing your stash from a reputable cannabis club, coffee shop or your marijuana dispensary, then you really shouldn’t have to worry about mouldy weed. But unfortunately, you do, because mould does not discriminate between amateurs and professionals, all it requires is optimal conditions, even post harvest.
A botched curing job or improper storage by the cannabis retailer can turn a Kilner jar full of weed into a furry mess of fungus.
Wet weed is a breeding ground for fungus and an invitation for mould.
Even after a slow and careful drying, ideally, in simple brown paper bags, curing is the final step and too often where it all goes terribly wrong.
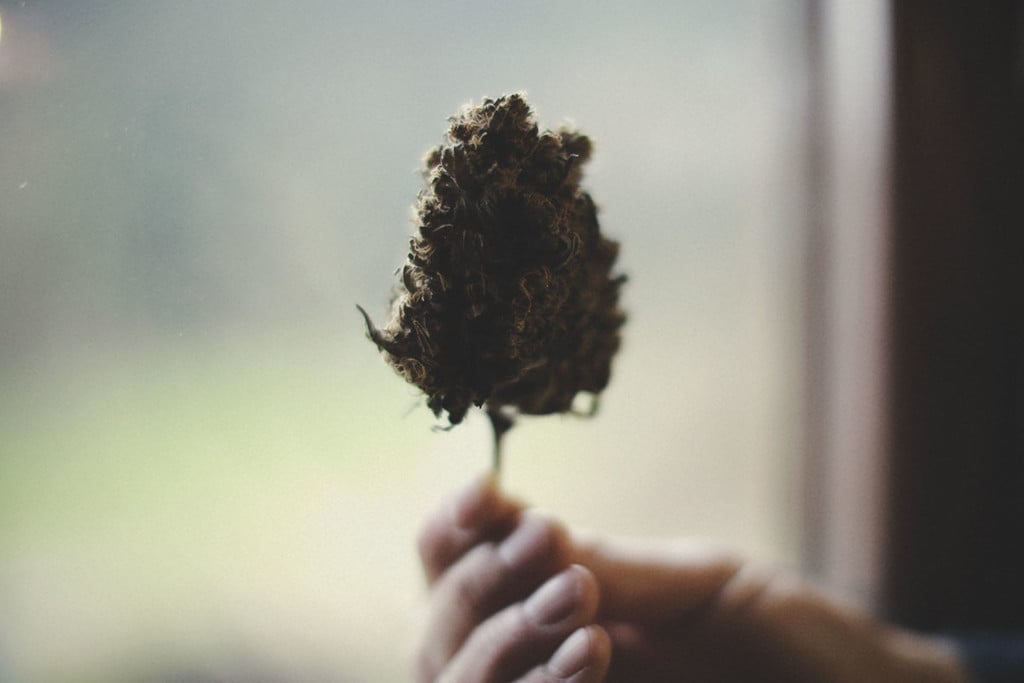
Another unpleasant characteristic of mouldy weed is its mildew-like smell. Sometimes it can be more like hay, but something is always off with the scent of mouldy bud. It pays to give your potential stash a whiff as well as the initial eyeball inspection.
Most high-end cannabis retail operators are not too keen on the customers getting overly touchy feely with the weed menu.
Only and we really mean only if it’s kosher with the budtender, it's best to sample a spliff or a pipe hit, providing a full hands-on touch and taste test is permissible. If you get the green light, always go for it, the best hits are free hits anyway.


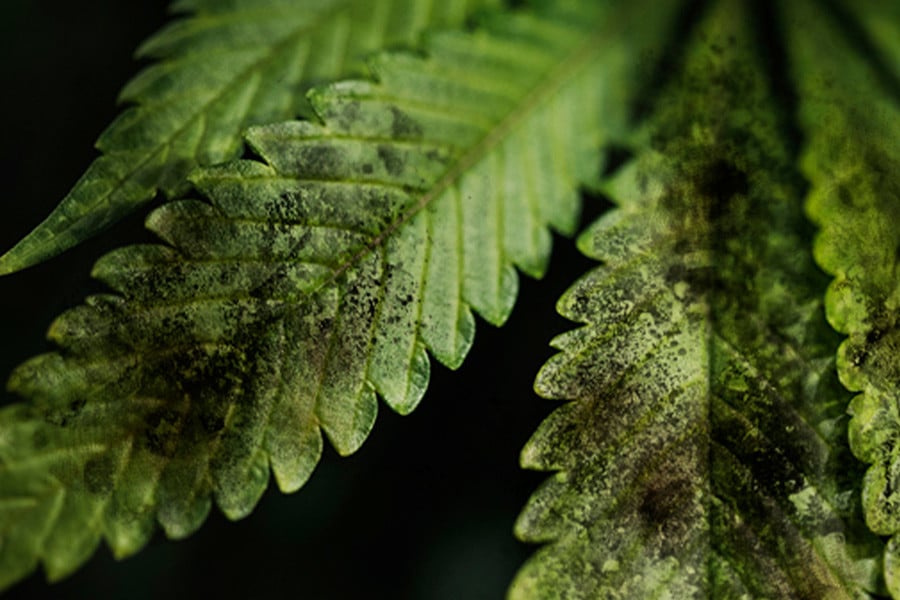
There are a few telltale signs to look for when trying to discern if your weed is mouldy. Some of them require more than a cursory glance, as they can resemble the properties of a healthy bud.
Signs include:
On the other hand, there are few signs that should indicate your buds are healthy and good to smoke:


Using our guide to cannabis tasting and differentiating between good and bad cannabis will give you the knowledge necessary to spot rotten buds!
But is there any way to remove mould from buds? Sadly not; if it’s there, it’s there to stay. Fortunately, our bodies have evolved to identify and be repelled by all things mouldy. So if your eyes or nose are telling you something is off, it’s probably best to trust them.
Detecting mould early on in a grow is essential to saving the crop. The bad news: the infected plant has to go asap. The good news: if you act fast enough, the other plants may survive.
Investing in a cheap pocket microscope will be a great boon to spotting fungal infections early. If you wait until your buds are covered, there’s a good chance that spores have already been released and all your plants are infected. By regularly checking with a microscope, you might catch the first infection early enough to dispose of it.
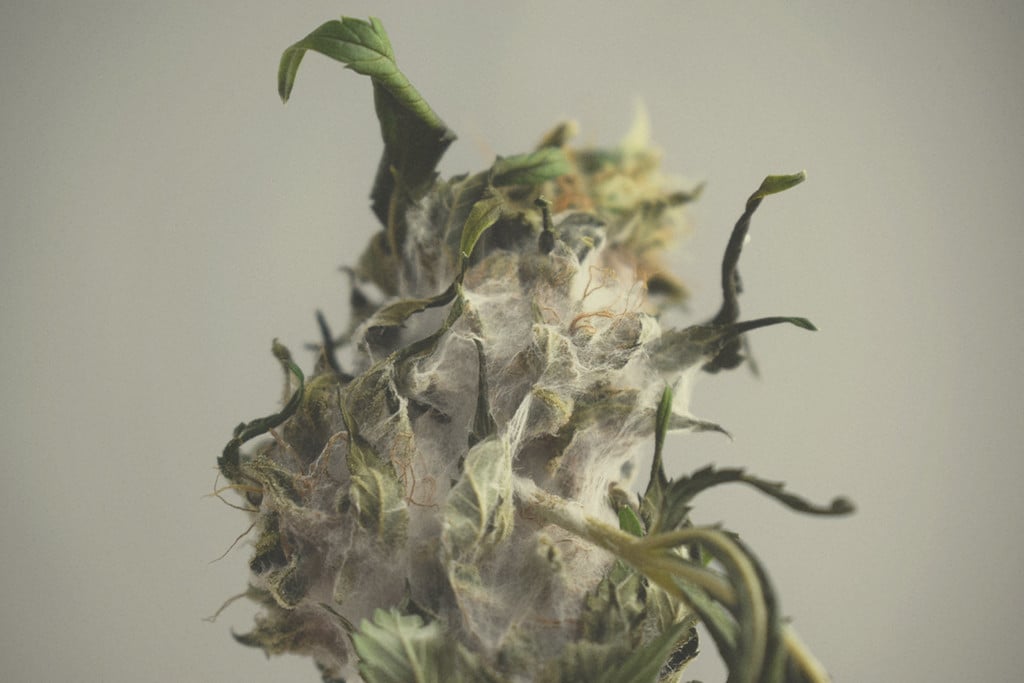
Learning to spot types of mould is essential. Some of the most common are:
| Botrytis (bud rot) | Powdery mildew | Sooty mould | Fusarium | Soil-borne moulds |
| Botrytis (bud rot) | Powdery mildew | ||||||
| Sooty mould | Fusarium | ||||||
| Soil-borne moulds | |||||||
|---|---|---|---|---|---|---|---|
It’s a well-known saying, but well worth reiterating: prevention is the best cure! A rudimentary knowledge of temperature, humidity, and the best conditions during different stages of the cannabis life cycle is one of your best defences against mould.


The war against mould doesn’t end once you harvest your buds. They are still susceptible to mould through the trimming, drying, curing, and storage processes. In fact, the only time you can be certain your weed won’t develop mould is once it’s been smoked.
Fortunately, a little bit of good practice should protect your buds from mould's ravenous desires.
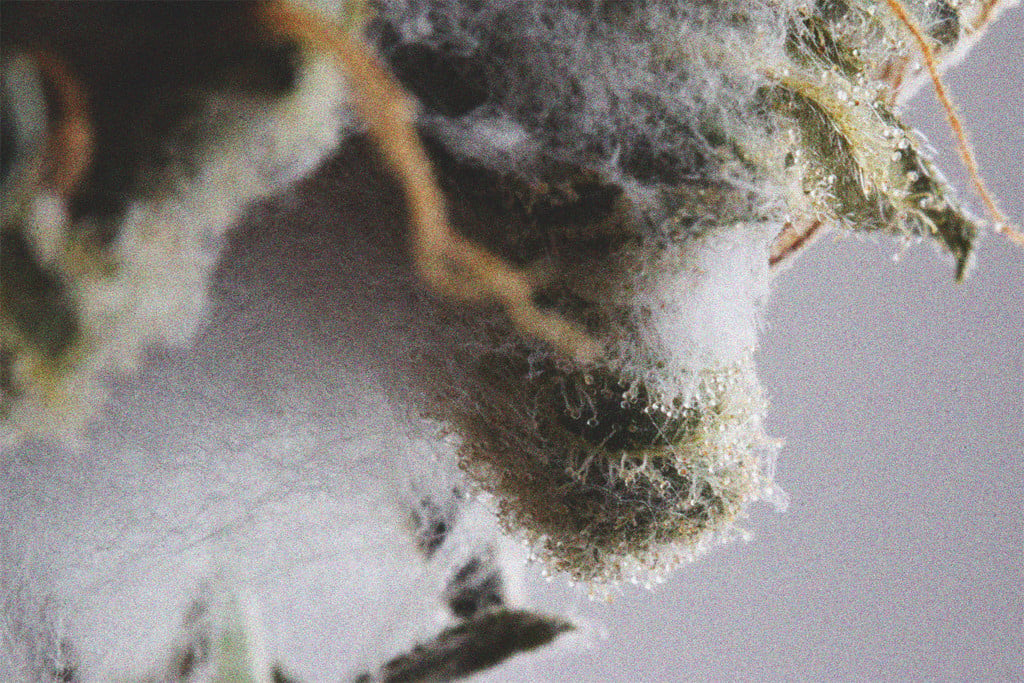
Whichever stage of the post-harvest process you are in, the signs to look for are the same. How does it feel to the touch? Is anything unusual growing on it, such as white, fuzzy patches? Does it smell bad?
Answering these questions will help you determine the ongoing health of your buds, and prevent the onset of mould. This is a great stage at which to really inspect your little nuggets, as you'll be handling them anyway. So use the opportunity to get up close and personal!
Below are some tips on how to prevent mould at each stage.
There are two ways to go about trimming your crop. Growers concerned with mould tend to trim directly after harvesting. Known as "wet trimming", this method is more effective at preventing mould than "dry trimming", which occurs after the buds have been sufficiently dried over a longer period.

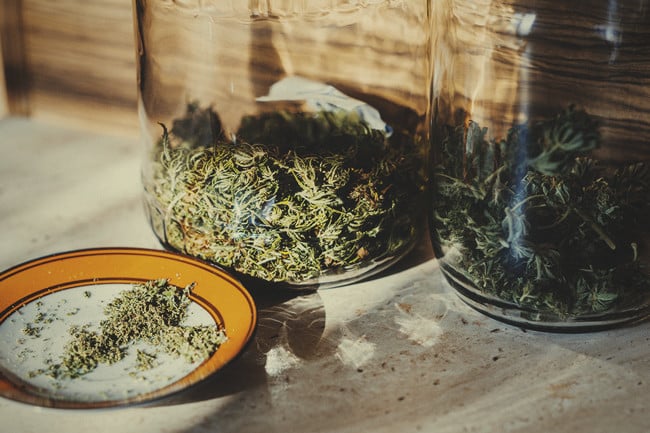
The drying process is extremely important. If carried out properly, this stage will significantly limit the threat of mould striking your buds.


Once you’ve removed water from the exterior of the buds, knocking off about 10–15% of the overall weight, it’s time to cure them and properly dry them out.

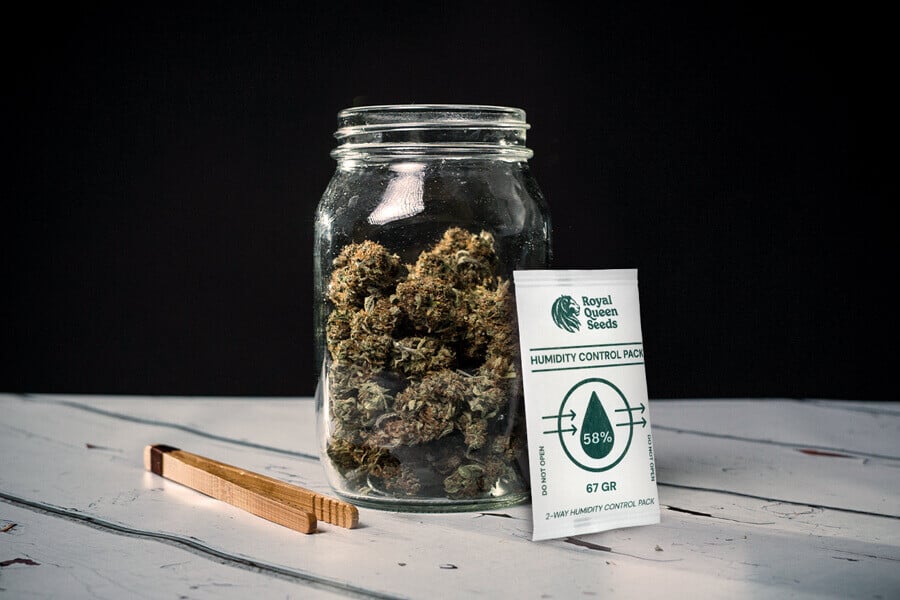
Finally, good storage means your buds will stay mould-free until such a time comes that you may wish to smoke them.
However well it’s stored, cannabinoids will degrade and change over time, so while weed has a long shelf life, it is not immortal.


Just one mould-plagued plant has the potential to contaminate your entire grow op. Absolutely everything from the rest of your plants to the growing medium and containers. If you’re growing indoors, the grow room or grow tent will require a thorough cleaning to ensure no spores survive to infest the next crop.
It’s a nightmare scenario, you can try to fight with various anti-mould agents, but the plant casualty rate will be unacceptably high in any case.
Mouldy weed is a threat the diligent cannabis cultivator must watch out for at every stage from seed to spliff.
Mouldy weed is garbage and no stoner should dare to knowingly consume it in any form. Equally, no cultivator or ganjapreneur should knowingly trade in mouldy weed. 100% guaranteed reputation wrecker.
Stoners need to avoid polluted stash at all costs and by performing a few routine inspections of weed you can at least confirm if it’s clean or not before you part with your cash.
Of course, we recommend you grow your own fine organic herb, adding some liquid silica to toughen plants up and always use aerated, well draining premium quality substrate.