Amount exceeded

4.7 out of 5 based on 53575 reviews


4.7 out of 5 based on 53575 reviews
.
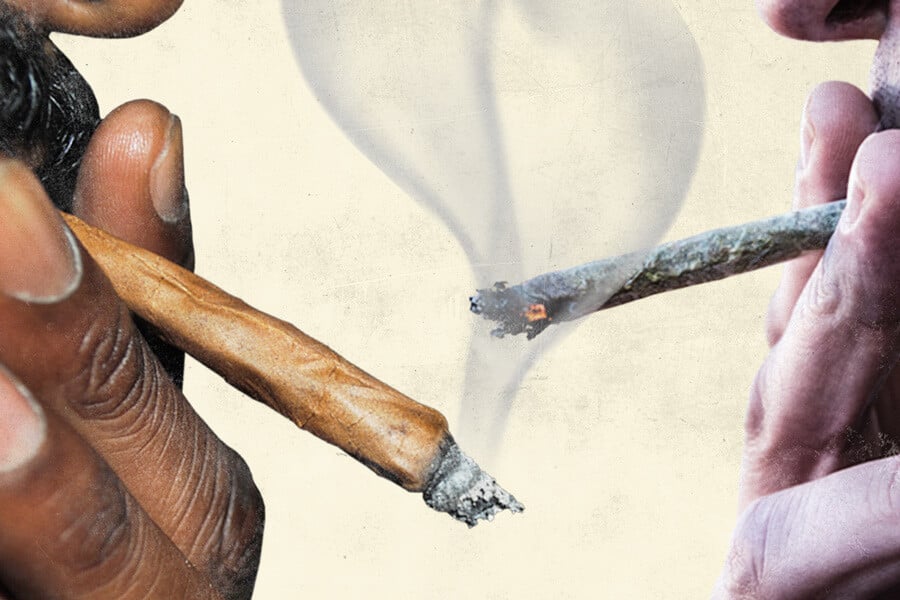
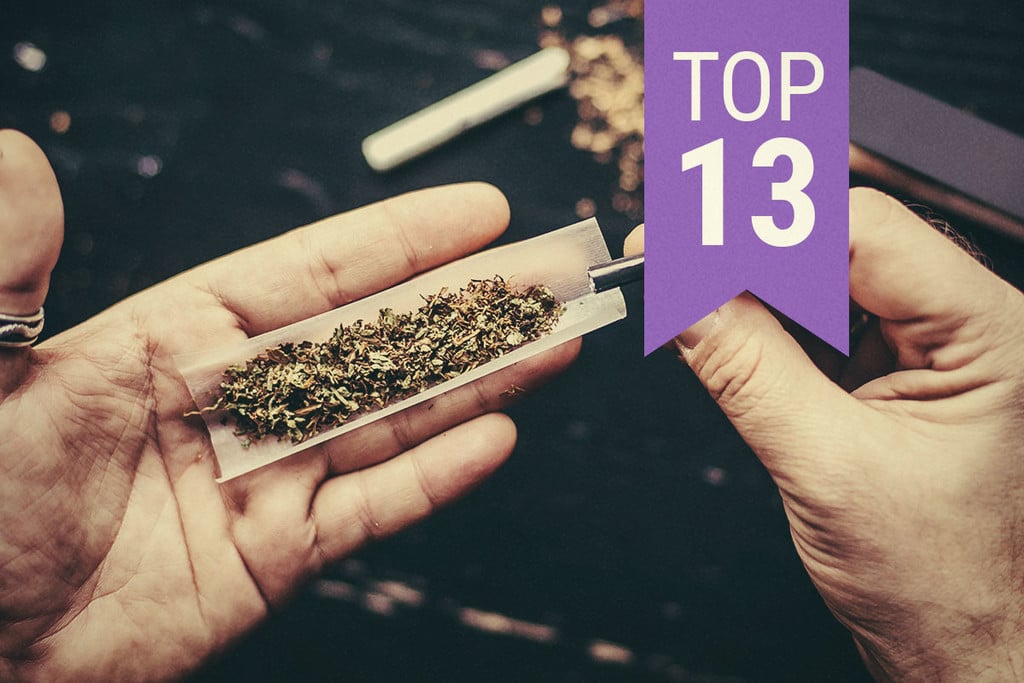
Whether you like them long and fat, short and thin, or somewhere in between, here's all the info you need to roll—and light—a great joint. And for those looking to step up their rolling game, we have tips on rolling cones, cross joints, and more!
Key Takeaways
Contents:
For maximum enjoyment of a prime strain of cannabis, knowing how to roll the perfect joint is key.
To achieve a smooth smoke, your jay must bear a shape that allows it to burn evenly and slowly.
Rolling a good one takes skill, but we will gladly show you how to get the hang of it. Additionally, we have some useful recommendations for rolling more advanced types of joints, using a joint roller to make the process easier, and lighting your joint correctly to achieve perfect hits. By following our step-by-step guide below, you will master the art of rolling joints in no time.
Before we get started with the instructions, here’s a list of what you’ll need:
Now, without further ado, here’s how to roll a conventional joint.
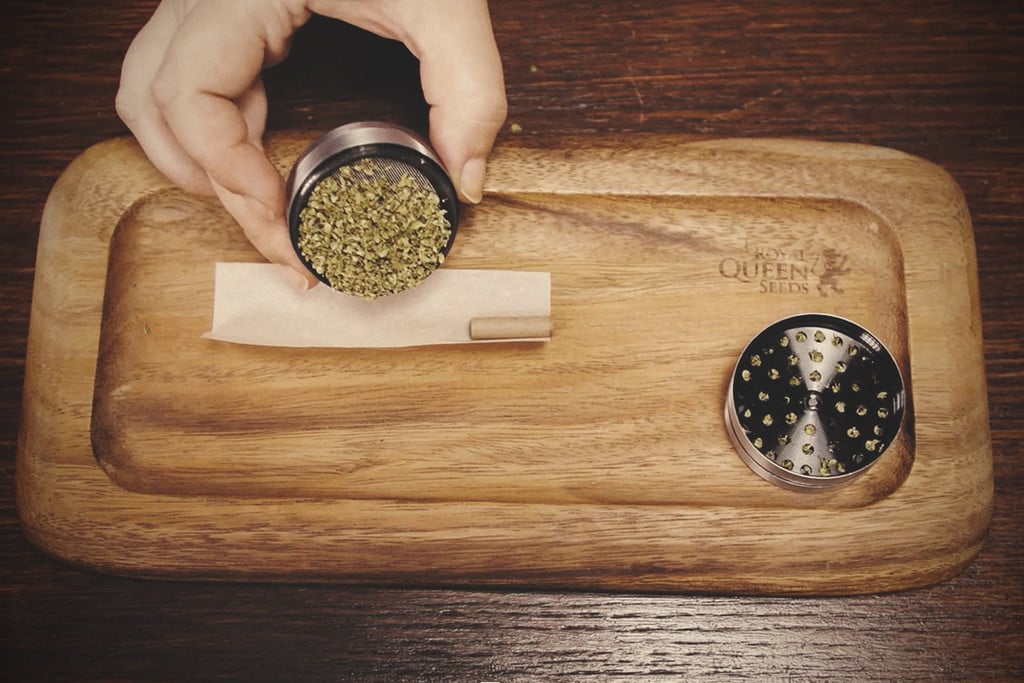
If you are using high-grade cannabis such as ours, simply feeling it between your fingers will begin to release its sweet smell. Although you could go at it with your hands, we recommend breaking your bud up into a suitable size using a quality grinder. This method saves time, plus it will prevent your fingers from getting too sticky to roll the paper later. You want to render your bud down into small particles, but not into dust. This will allow for optimal airflow and burn rate.

A crutch is basically a mouthpiece for your joint, also referred to as a filter or tip. Some smokers may say a crutch is unnecessary or optional, but we strongly recommend it. A crutch:
You can make crutches out of thick paper or thin cardboard, like most business cards are made of. For long rolling papers, a piece of approximately 5.5 x 1.7cm will suffice. You can also buy special crutch paper, and many rolling papers already come with some.
While a lot of people simply roll the crutch paper into a cylinder, this method leaves a hole that might let weed autumn through or get pinched closed while smoking. Therefore, it’s better to make a few accordion folds at one end before rolling the rest completely around it. Make as many folds as you want the width of the final crutch to be.

There are many types of rolling papers—have your pick. We recommend our organic hemp papers because they’re thin yet sturdy, assuring your joint burns evenly and the aroma of your strain is unaffected. Moreover, they come with filter papers as well.
Take out your rolling paper and hold it so the glue side is facing your feet and the fold is in your direct sight. Fold the paper gently in the opposite direction and roll it between your fingers gingerly until it retains the shape you need.
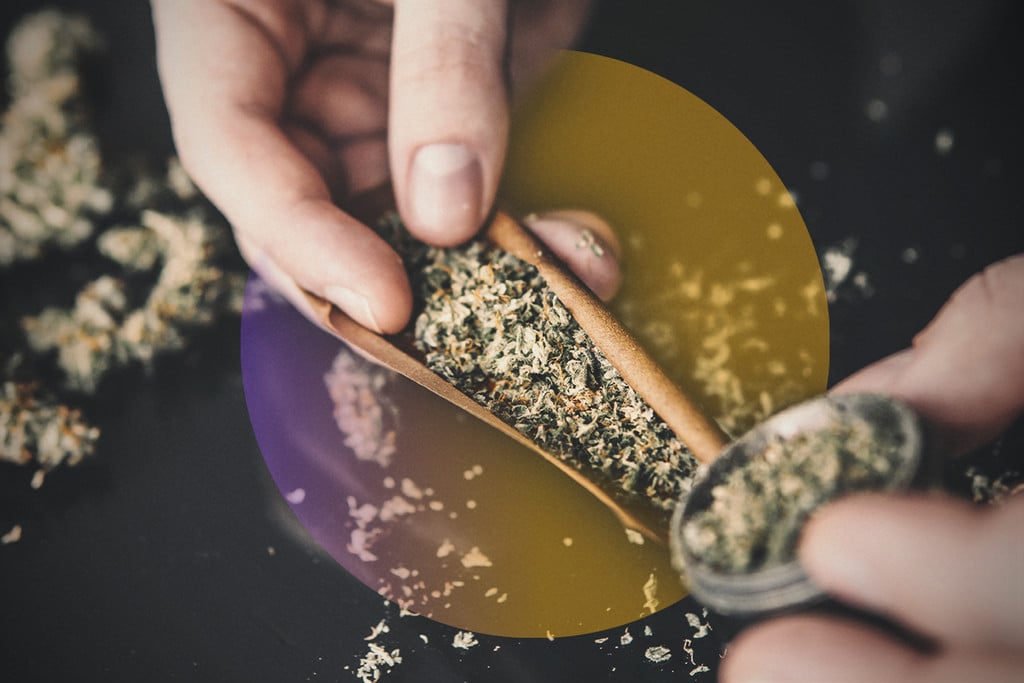
Place the cannabis in your paper with one hand, distributing it in such a way that there is less at the end where the crutch is going to be. You want to end up with a cone-shaped joint later. Straight joints are easier to roll, so for your first attempts, this is fine too. Ultimately, a cone-shaped joint will offer a way smoother smoke.


Holding your paper containing the cannabis, start rolling it gently as you move your fingers from left to right to distribute the particles evenly. Insert your crutch from Step 2 into one end of the paper and then get to rolling. Make sure your fingers are near the filter. The closer together they are, the better.
Roll the paper back and forth to ensure the edge of the paper crosses over the crutch. You’re on your way to the perfect joint now! To make things easier, you can use our handy wooden rolling tray. It’s the perfect size for rolling joints and will catch any cannabis that might autumn out. This way, you won’t need a table as you can just sit the tray on your lap.

Once you've rolled back and forth enough for the shape of the joint to appear, it’s time to close and seal it. Continue rolling between your fingers until the paper is pulled tight and the edge can be easily folded in with the tip. Roll until the glued side is just tucked slightly underneath the unglued side. Then, lick thoroughly through the outer layer to hit the glue layer, sealing up the sides and leaving the end open.
Make sure you do the tucking and sealing along the length of the joint slowly and gently. To prevent smoking too much paper, you can burn off the excess after sealing it. You don’t want to seal it up too tight, as it will be very hard to draw in smoke and take a hit. If it’s rolled too loose, though, it will burn unevenly or too quickly.

To ensure a smooth and even burn, you should now pack the joint. Use the pen (or any other object that will do the trick) to carefully press down the cannabis through the open end. You can also put back in anything that fell out earlier, or simply save it for another time. While holding the joint upright from the filtered end, gently tap it on a flat surface to compact the cannabis and push the crutch in for reinforcement.


Seal the open end by twisting the extra paper so it resembles a candle wick. This way, there is no possibility for any weed to autumn out. You can keep your joint stored away like this if you are not going to smoke it right away. Once you are ready to smoke, the twisted end will be your lighting point.

At this point, you are ready to indulge in your smoke. Now there is nothing between you and the sweet cannabis you just rolled. All you have to do is light it and enjoy. Your joint tastes the best the first time it’s lit. Therefore, try to smoke it all at once and not relight it. Relighting is bad for the taste, and we want you to enjoy every single puff so you get the most from your buds.

For an even better experience, share your joint with some friends. Not only will it prevent you from having to relight it later, but you will have the chance to really take in its aroma and effects while you are waiting in-between turns. Lastly, it’s just a lot more fun to enjoy the high with your mates. Good times ahead!


Rolling a joint without a filter is simple. Just follow the same steps listed above, except for step 2 (create a crutch). When you’re about to roll your joint, make sure to use your fingers to neatly tuck the rolling paper under itself on the first roll. This might prove a little more difficult, as filters/crutches actually help joints take on a cylindrical shape and help the paper roll over on itself.
Also, when rolling a jay without a filter, consider putting some herbal smoking mix at the end you’ll be smoking from. The goal of this is to prevent wasting any weed at the end of your joint, which, without a filter, will likely get too hot to smoke.
Sometimes, a regular joint just won’t do. Some days, you just gotta puff on a big ol’ cone. Well, while they might look hard to roll, the process of rolling a cone joint is actually pretty much the same as rolling a regular joint. A few subtle differences in the process, however, will help you roll a big fattie instead of a regular jay.
To start, in step 3 (fill up your joint) of our joint rolling instructions, pay extra attention to how you spread out the weed across the paper. In order to get that big cone shape, you’ll want to pack more weed into the top part of the joint, and less near the filter. To do so, it helps to start by laying out your joint paper on a flat surface and spreading your ground flower across it, taking care to spread a thick layer across the top half of the joint, then thinning out as you get closer to the filter.
In step 4 of our instructions (rolling your joint), you’ll want to roll your jay so that the paper flares up toward the tip of the joint, giving it that big, cone-like appearance. To do this, start rolling the jay from the filter, taking extra care to get the paper to roll over itself neatly. Then, as the roll progresses, move your hands along the joint up toward the tip. To get that cone shape, you’ll want the rolling paper to roll over itself diagonally (think of how you would roll a piece of regular paper into a cone or trumpet-like shape).
Note: When you roll a cone joint, it’s extra important to roll over a rolling tray. Chances are you’ll drop quite a bit of flower as you practise this roll, so a rolling tray helps catch the weed that doesn’t make it into the joint. You can then scoop up the excess and use it to pack your joint as per the instructions in step 6 above.


Rolling a cross joint might seem complex, but with the right technique, you'll soon be able to recreate this classic jay at home.
The easiest way to roll a cross joint is to roll two separate jays; a fat cone joint, and a thinner regular jay.
Start by using the instructions in this article to roll both.
Next, use a wooden toothpick to poke a hole through the cone joint, roughly one-third down from the tip. Once you've poked through the cone joint, gently move the toothpick around to make the hole wider. It needs to be wide enough so you can push the thinner jay through it.
Next, you'll want to make a hole exactly halfway down the length of the regular joint. This will help to ensure air flows evenly through the cross.
Finally, push the thin jay through the fat cone joint to create a cross. Once you’re happy with the position, use strips of gummed rolling paper to seal the edges where the two joints meet.


Rolling machines take a lot of the handiwork out of rolling a joint. To roll a joint with a joint roller, start by preparing your weed as per step 1 (break up your marijuana) and your crutch as per step 2 (create a crutch) above. Next, put your rolling machine on a flat surface, preferably over a piece of paper, to catch any excess flower.
Separate the rollers on the machine, place your crutch in between them toward one end, and start loading your ground flower into the machine. We recommend using between 0.5 and 1g to avoid ending up with a really tightly rolled jay. Once packed, close the rollers on the machine, and roll them against each other to help compress your weed.
Finally, get your rolling paper, slide it between the two rollers, and roll the top roller to start feeding the paper further into the machine. Keep rolling until only the gummed extreme end of the paper is left sticking out. Lick the gum, give the rollers one last roll, and open the machine. You should be left with a perfectly rolled joint!
If you're not quite comfortable with rolling machines or just want something quicker and cleaner, pre-rolled cones are a great alternative. They require no special technique—just pack, twist, and you're good to go.
Now that you know how to roll a great joint, it’s time to light up. And for the best smoking experience, we recommend you follow these simple yet important joint lighting instructions:


For the best experience, use hemp wick or cedar matches to light your joint. The latter are designed for cigar and tobacco smokers and, while a little more expensive, help to preserve the natural flavours of tobacco and weed. When you light a cedar match, let the phosphorous tip of it burn away before you use it to light your joint to help preserve its flavours.
Hemp wick works by a similar principle; simply light the wick, then use it to apply a flame to your joint. With this option, you keep the smoking process within the hemp family!
No, you cannot and should not use tissue paper, or any other paper that isn’t designed for smoking, to roll your joints. Quality rolling paper is usually made from natural fibres like hemp, and doesn’t undergo the harsh bleaching and other treatments used to create normal paper.
Tissue paper, toilet paper, and kitchen paper are all bleached and often include fragrances that you definitely don’t want to inhale. Regular A4 paper is also bleached and likely treated with a long list of chemicals.
If you find yourself in a situation without rolling paper, either use another type of smoking device or, if you have nothing else available, alternative objects such as an apple, corn husk, and more.
Rolling a joint should be a relaxing and enjoyable experience. And while there are many different joint rolling techniques out there, such as backrolling, don’t get too caught up in the technicalities. This guide should serve as a simple walk-through to rolling a classic joint that burns well and will help you kick back and unwind. So, what are you waiting for? Get rolling!