Amount exceeded

4.7 out of 5 based on 58502 reviews


4.7 out of 5 based on 58502 reviews
.
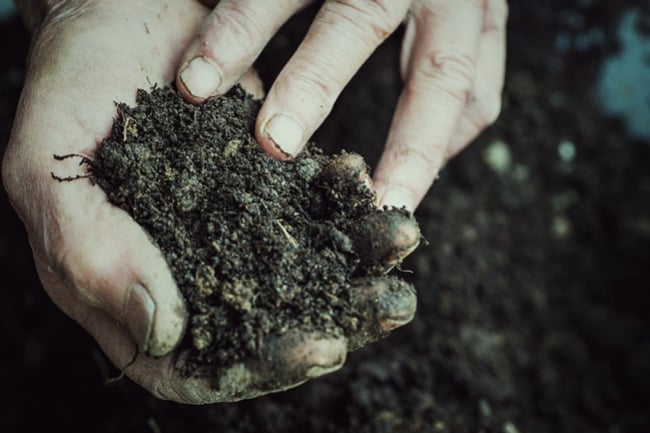
Reusing old soil can save you money and improve overall soil quality. Rehabilitating old soil for reuse when potting or potting-on can have a number of advantages. Learn more about them here.
Contents:
Unless there has been a disease or invasion of some kind, there is no need to buy new soil every time you want to pot a cannabis plant or repot existing plants. Simply reuse the old stuff. Revitalising and reusing old soil is easy and a great money saver.
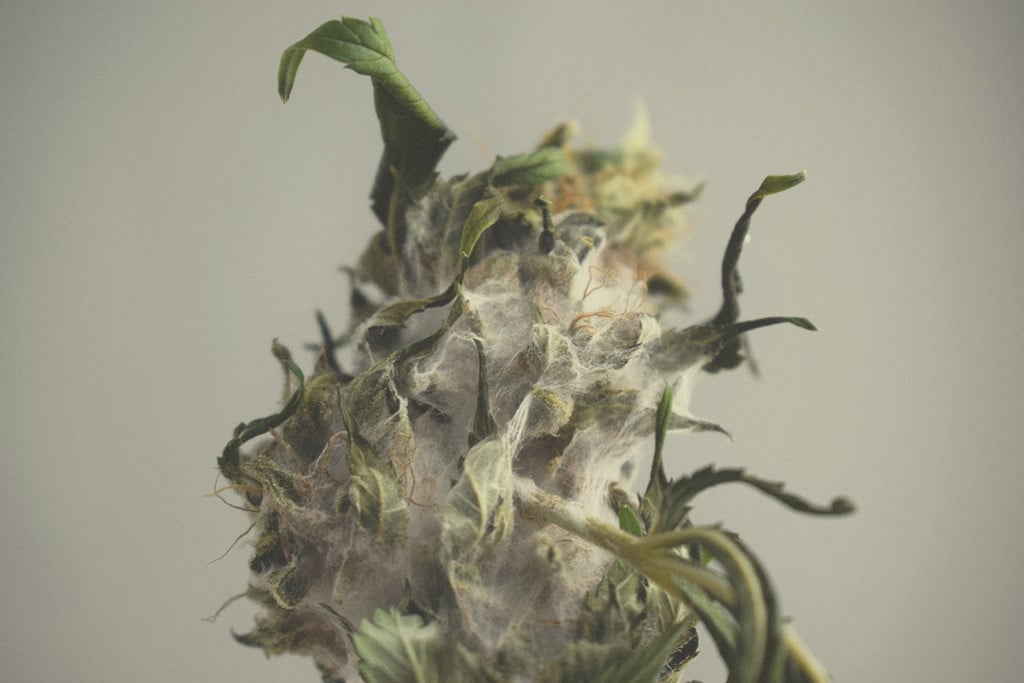
Marijuana is a notorious glutton for nutrients. Nitrogen-hungry during vegetation and calcium- and magnesium-demanding during flowering, cannabis can deplete soil if fertilisation and cultivation practices are not properly managed. However, cannabis plants also have the potential to temporarily enhance soil health by releasing root exudates into the soil and adding organic matter if their root systems are left in place to decompose.
By keeping soil healthy to begin with, you can prevent the need for its radical rehabilitation prior to reusing. Regular fertilising, composting, and mulching of potted plants with ensure healthy soil at every stage of its life. When well-cared-for soil maintains its health, friability, water penetration and retention, it needs little modification when reused.
Companion planting also helps keep soil healthy, vital, and disease-free. When doing this, however, it’s advisable to plant in a bigger pot than necessary to allow room for companion plants to grow. A simple alfalfa, clover, and marigold mix will provide manifold benefits to plant and soil health.
Uncared for and stressed soils will require amending prior to reuse. The soil may become hydrophobic, completely exhausted of nutrients and minerals, or with a collapsed structure. Soil that has been left to bake in the sun will certainly be leached of nutrients and will need to be modified.


If your soil was invaded by a pathogen or is quite unhealthy for whatever reason, the best thing to do is simply put the soil in a bag and discard. Mixing it into garden beds or working it into compost could spread the pathogen to your whole garden. Sometimes, diseases can linger in soil even after you think they’ve left. This is true for several species of mite, fungus, gnat, and rot. Reusing the soil will certainly infect the new occupant. Be sure to wash your hands before touching healthy soil and plants. Wash the pots as well in warm, soapy water to ensure the vector has been scrubbed away.
Solarisation helps to eliminate various undesirables, including weed seeds, insect eggs, and fungal spores. However, it takes some patience to achieve good results. If you’re working with a container, simply empty the contents onto a tarp. If you’re growing directly in the ground, you can skip this step.
Then, place a clear plastic tarp over the area of soil you want to solarise. By blocking access to water and heating the soil, this method helps to reduce pests, weeds, and diseases.
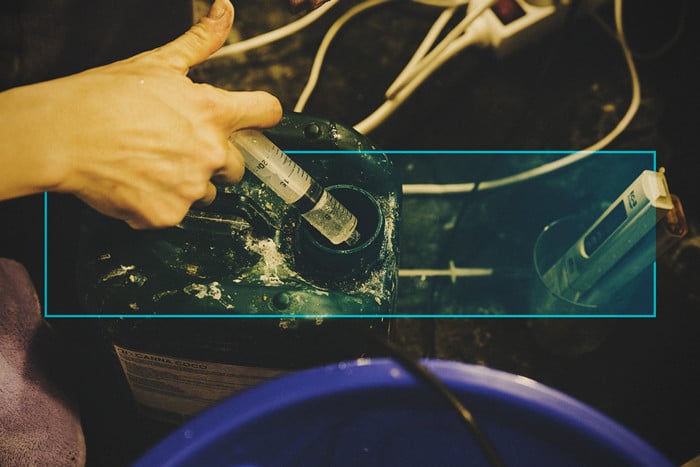
Solarisation doesn’t work right away; you’ll need to wait 4–6 weeks in warm climates and 6–8 weeks in temperate climates. Additionally, the soil must reach 40–60°C to kill off pathogens and weed seeds. You can use a compost thermometer to ensure your soil hits this target. Only amend your soil after the solarisation process has ended to avoid killing off beneficial biological inputs.
By rehabilitating your used growing medium, you can create nutrient-rich recycled soil that provides everything new plants need to remain healthy and produce rewarding harvests.
Check out the tried and tested methods below—and choose your favourite—to clean, revitalise, and successfully reuse your soil.
You’re probably aware of the vital roles microscopic substances play in the soil. A whole host of bacteria and fungi are constantly at work devouring organic matter and producing plant-available nutrients.
Both types of these microscopic life forms produce enzymes that break down substances around them to create food. Enzymes are essentially mini machines made of proteins that carry out specific chemical reactions.
Just like bacteria and fungi use enzymes to process organic matter in the soil, so too can cannabis growers!
Cannabis roots have the ability to take up nutrients such as nitrogen, phosphorus, and potassium without any assistance. However, they’re also known to team up with different microbes that help them absorb nutrients, including mycorrhizal fungi and plant growth-promoting rhizobacteria (PGPR). In return for sugars and other nutrients released from cannabis roots, fungi and other microorganisms “trade” nutrients that they liberate from the soil, including phosphorus.
Over time, the soil starts to become depleted of these key nutrients, which is why growers should always amend their growing medium from time to time. Detritus (general waste and debris) also starts to build up in the soil after a growing cycle.
The components of dead microbes, pieces of roots, and insect parts begin to accumulate. Enzymes also help to speed up the rate at which these decompose and are turned into accessible nutrients.
After finishing a grow and harvesting a plant, you can tap into the potential of leftover soil by adding enzymes to unlock untapped nutrients and amendments.
Here’s how to rebuild used soil using enzymes:


Enzymes work well, but it means waiting a few months until you can use that batch of soil again. If you need soil much sooner, instead of heading to the shop, use this faster approach to get growing posthaste.

Cannabis plants create large root balls in the soil as they grow and mature. These systems help to give the soil shape and structure, and make the growing medium extremely firm and condensed. At the end of a growing cycle, you need to empty your containers and loosen up all of that compacted soil. Empty your old pots into a large plastic tote and break up the soil with your hands or a gardening tool such as a rake or trowel.

As you break apart and comb through the substrate, you’ll come across stray roots and worms. It might seem counterintuitive, but you’ll want to keep the roots in your growing medium; they’re a great source of organic matter that will later feed healthy microbes.
You’ll also want to gently remove the worms and place them temporarily into a spare pot containing a shallow layer of soil. Far from being pests, these little soil-builders dramatically increase fertility. They gobble up microbes and organic matter, and produce castings rich in key nutrients like nitrogen. Add them back in after the pasteurisation process.
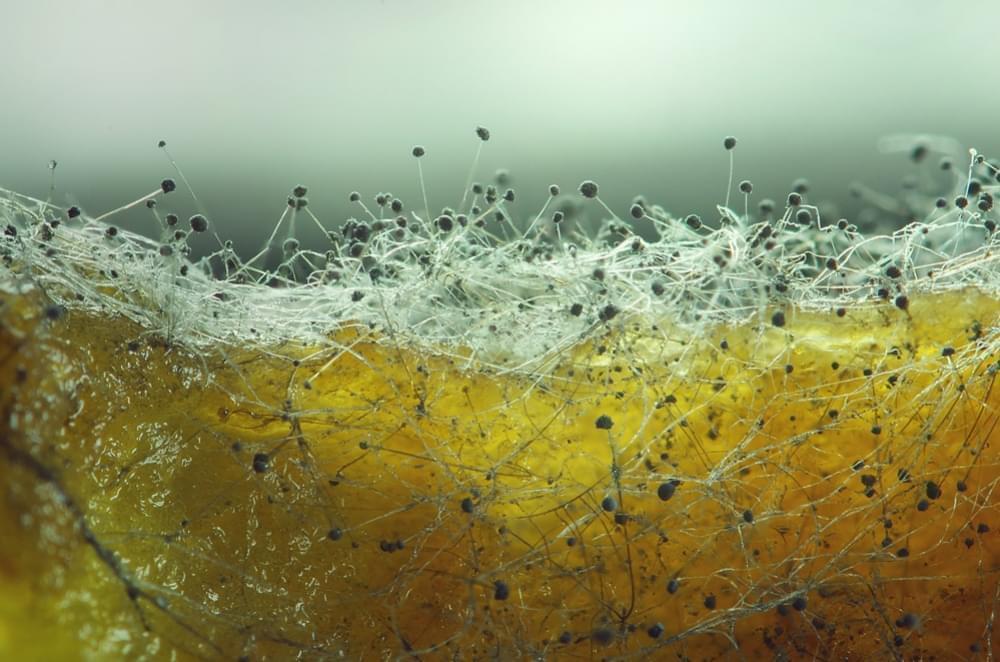
Pasteurisation will help to kill off any microbial bad guys lingering in your soil. Not all microbes help plants to thrive. Some forms of fungus and bacteria work against the interest of the grower and can cause disease.
Although it might sound complicated, pasteurisation simply refers to placing your soil in the oven at 60°C for one hour. This will reduce harmful organisms while retaining some beneficial microbes.
Strain off the water and let your soil dry in the sun, preferably in a greenhouse or polytunnel.

After following the steps above, you’ll be left with clean but lifeless soil. Microbial communities are key to healthy soil. Without them, all you’ll have is an inert mass of organic matter. By introducing beneficial fungi and bacteria, you’ll bring the substrate to life and, in doing so, create much healthier and more productive plants.
Growers are spoilt for choice when it comes to improving their soil. We recommend adding worm castings, and worms themselves, to really kick-start the process.
Next, add a few scoops of mycorrhizal fungi into the mix. These life forms physically fuse to plant roots and shuttle nutrients directly into their system. Add beneficial bacteria such as rhizobacteria to further increase nutrient availability and combat pathogens in the soil.
Upon cleaning and rebuilding your soil, you probably lost some volume along the way. Top up your supply with some aged compost, ideally from your own bins, to make up for any lost material, then fill up your containers once more.
You’ve done it! Transplant your seedlings into your rebuilt and restored soil and watch them thrive over the course of the coming growing cycle.

You can also reuse other growing media to reduce waste, including coco coir. Using similar steps to those mentioned above, you can rehabilitate this excellent substrate and use it for several growing cycles.
Use these steps to reuse your coco coir:


4. Disinfect coco coir using a 3–5% hydrogen peroxide solution.
5. Top up your supply with some fresh coco, and get planting!

There’s no need to throw out your clay pebbles or perlite, either. Use the method below to clean them up and prepare them for your next grow:


3. Place your pebbles or perlite in the sun to disinfect for 2–3 days, preferably under the cover of a greenhouse.
4. Reuse your pebbles or perlite within your soil and hydroponic setups.

If you don’t want to go through the process of rehabilitating your soil, you can let nature do the work for you. Empty your containers into your compost bin and let the microbes break down the roots and other material over the course of the next year, ready for use further down the line.
Alternatively, you can apply your old soil directly as a top dressing to your raised beds. Break up the soil and rake it into your beds to add organic matter that will eventually break down into available nutrients.
By rehabilitating your soil, you are one step closer to creating a closed-loop growing system. You’ll minimise waste, save money, and develop a priceless skill. However, it takes time and effort, but the rewards are well worth the work.