Amount exceeded

4.7 out of 5 based on 58606 reviews


4.7 out of 5 based on 58606 reviews
.
Growing cannabis can be tricky as a beginner, as there are a lot of factors you have to keep in mind. One of the most important, though, is light. Specifically, you need to make sure you're picking the ideal light for your strain and grow space, and that you're keeping those lights on a precise schedule. Here's everything you need to know.
Contents:
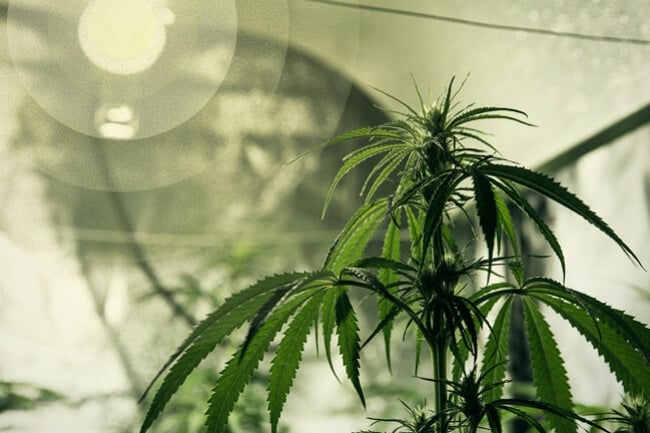
With seeds ready to be germinated, pots ready to be filled, and your grow room ready for a long, rewarding season, you may be feeling ready to cultivate some cannabis. You’re just missing one more vital component: the lights!
It may seem like you can just use any sort of grow light and achieve sufficient results, but that’s far from the truth. Different lights are calibrated for different plants and grow spaces. Some may not provide enough light, causing wilting and poor development, while others exude too much heat and cause burning. Others still may hit the sweet spot in terms of supporting growth, but bleed cash in terms of energy efficiency.
It can take quite some time to do research on the right types of lights for cannabis, especially when you don’t have much experience growing. Thankfully, we’ve taken care of the legwork for you, and we’re happy to walk you through what makes a perfect grow light for beginners.
Light is vital to photosynthesis, and thus essential to the growth of almost all plants. But, the specifics of how cannabis plants receive light are especially important.
For instance, photoperiod cannabis (non-autoflowering cannabis) grows best when it receives a particular amount of light hours per day, usually 16 or more, during the vegetative stage of growth. Once plants hit the flowering stage, that light requirement changes to around 12 hours per day. This, of course, is in line with the shift in sunlight hours that occurs in the spring, summer, and autumn.
With that external signal, female cannabis plants (that haven’t been pollinated) know to start shifting their energy towards producing resin-loaded buds. If they don’t receive that signal, however, they won’t know how to distribute the energy they take in from the sun, and your yields will end up smaller than they otherwise would.
In turn, if you’re growing your weed plants indoors, it’s vital to ensure that your grow lights not only simulate the sun’s energy output, but shine on the same schedule as well.

Considering just how important light is in the growing process, beginners should focus on getting a light that not only helps them achieve high yields, but saves them money as well. After all, starting up an indoor growing operation at home can be expensive, even on a small scale.
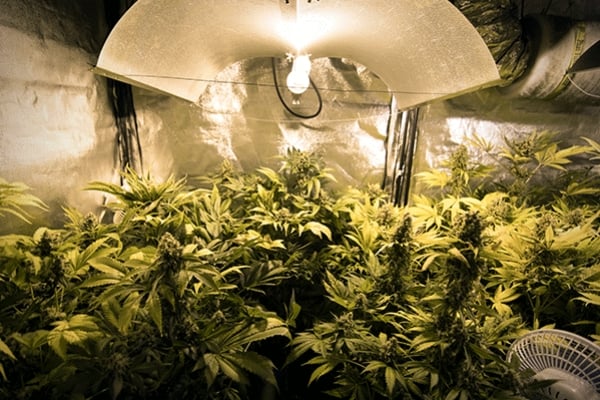
So, what lights fulfil that role? Well, there are plenty out there that will deliver fine results, and plenty others that’ll save you money, but the only ones that balance both efficiency and power are lamps fitted with LEDs, or light-emitting diodes.
Free Indoor
Grow Guide
As we just mentioned, there are many benefits beginners can enjoy if they opt for LEDs. Below, we’ll break them down in full.
With LEDs, depending on which you select, you can achieve comparable energy output to HID, but without nearly as much heat! Thanks to the efficiency of the system, which we’ll speak more on later, all the energy it takes in is directed through hundreds of little lights. Far less gets wasted.
If you are managing a hydroponic system with no substrate, your irrigation programme should also be questioned, as LED lights cause less evaporation. Thanks to minimal heat in the growing room, you can also expect the water you give your plants to last longer than it normally would. Since you don’t have to deal with rapid evaporation, your watering schedule will not only decrease, but become more efficient.
If anything, all you have to worry about when growing with LEDs is overwatering.
Make sure to check the nutrient density with your EC meter. By using your EC meter at several points (drains, main tanks, etc.), you can optimise your plants’ nutritional needs.
For example, it is common for an EC reading to go up simply because water evaporation is increasing, resulting in a greater concentration of nutrients in the solution. This can then be corrected by adding more water.
Since many growers include their plant’s nutrients in their water, decreased water usage will also lead to decreased nutrient usage. That, again, is thanks to the fact that plants are able to use said water and nutrients more efficiently.
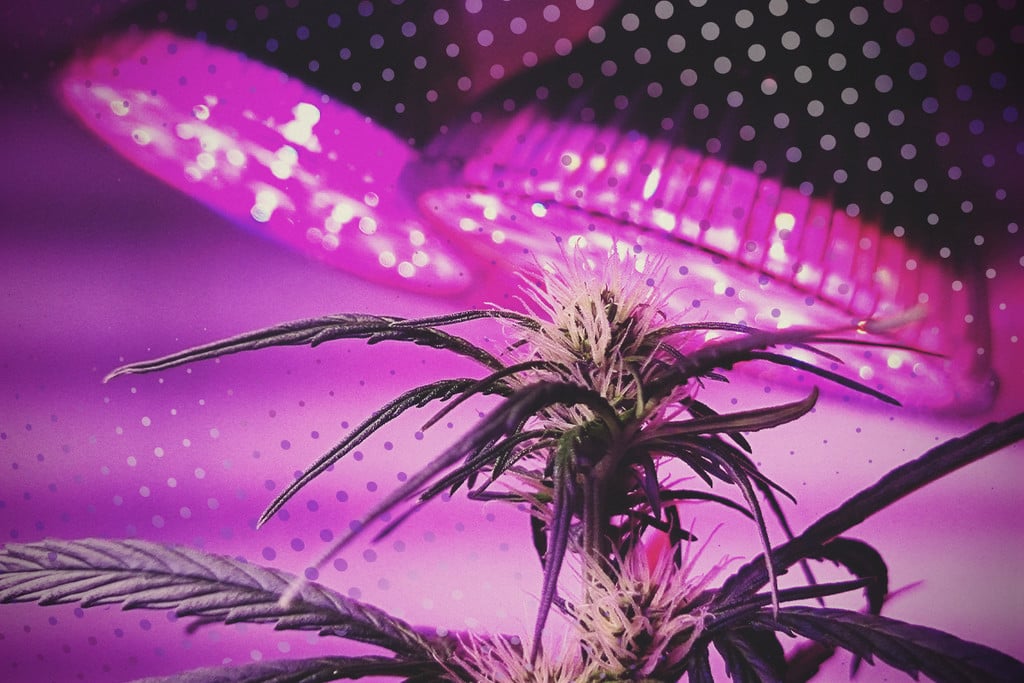
The low heat output of LEDs allows for yet another benefit: the potential to offer your plants higher light intensity. See, rather than intense light, it’s intense heat that is the main culprit behind burning plants. If the plants can enjoy more intense light without worrying about heat, however, they can take in a lot more energy.
And more and better energy means bigger yields.
Light intensity for cannabis plants is measured in PPFD and DLI values (regarding light parameters).
PPFD = photosynthetic photon flux density
DLI = daily light integral
Lastly, thanks to the fact that far less energy gets wasted on creating heat, LED lamps are the most energy efficient option (relative to their power) of any type of grow lamp. Along with that, you don’t need to have as powerful of a vent or cooling system to account for heat, which you’d need with HID lamps, so you take up even less energy as a result.

The next thing you might be wondering about, then, is what size light you should get. Now, this will depend on the actual energy output of your LEDs (which can vary), along with the quality of your lamp, but there’s a good general outline you can follow as a starting point.
Specifically, assuming you have a decent-quality lamp, you should ensure you get a light with a coverage area of 50 watts per square foot (538W/m²) of growing space. If you were growing in a space that was 5 feet long and 5 feet wide, you’d need a 1250W LED light. That isn't an exact measurement, of course, and you’ll still need to verify the specifics of your lamp and grow space. In turn, you should check the manufacturer’s guide, and see how they describe their product’s performance.
Speaking of one’s lamp of choice, though, how much should you expect a grow lamp to cost? Well, keeping the focus on LEDs, you’ll see a great amount of variation in cost.
You can find certain lamps that are cheaper than the vast majority, coming in at well under €100, but they’ll often be low-quality and prone to early burn-out. There are plenty of high-quality LEDs out there, though, some of which can last up to a decade. However, you can also expect to pay quite a bit, sometimes in the €1–2,000 range, for the best and largest options.
In turn, you also have to consider what running the light will cost you once you instal it. Cheaper lamps won’t take up that much energy, but they also won’t offer especially powerful light, so you’ll end up paying more, in a sense, by missing out on optimal yields.
Higher-quality lights may be more expensive out the door, but you’ll know your plants are getting plenty of light, which they’ll be able to convert into massive amounts of buds. You’ll also not have to worry about the increased energy cost of plugging in multiple weaker/low-quality lights.
However, more powerful lights will naturally need more energy to run, and especially powerful lamps will emit enough light to warrant a cooling and ventilation system. That, of course, will lead to a significantly higher energy bill than otherwise.

With your mind more settled on what sort of lamps you’ll be getting, it’s time to think about what accessories you’ll need to install and help them run efficiently.
Before you get your growing operation off the ground, you need to get your grow lights off the ground. In that moment of need, you should seek out some adjustable rope hangers to carry your lights to the top (of your grow room).
Adjustable hangers are especially useful, as you can adjust the light intensity your cannabis receives depending on its phase and development. If your plants need some extra shine, you can lower the lights towards them, then bring them back up when things get a bit too warm.


Timing is another major responsibility that comes with your grow lights, and sometimes you can’t trust yourself to turn them off and on at the right times. When the rest of the growing process gets too overwhelming, consider getting a Wi-Fi-linked timer to turn your lights on and off at precise intervals.
As we’ll further explain in a bit, this sort of timer is especially useful when you need to adjust the light hours between the vegetative and flowering stages of growth. There’s no need to worry about forgetting the schedule when your timer remembers it for you! If you do not find a Wi-Fi linked timer, consider using a common timer, as that will get the job done as well!

There are different requirements depending on whether you’re growing photoperiod feminized strains or autoflowering strains, and we’ll discuss them accordingly.
If you’re growing a photoperiod feminized strain, you’ll need to change your light schedule based on the phase of development.
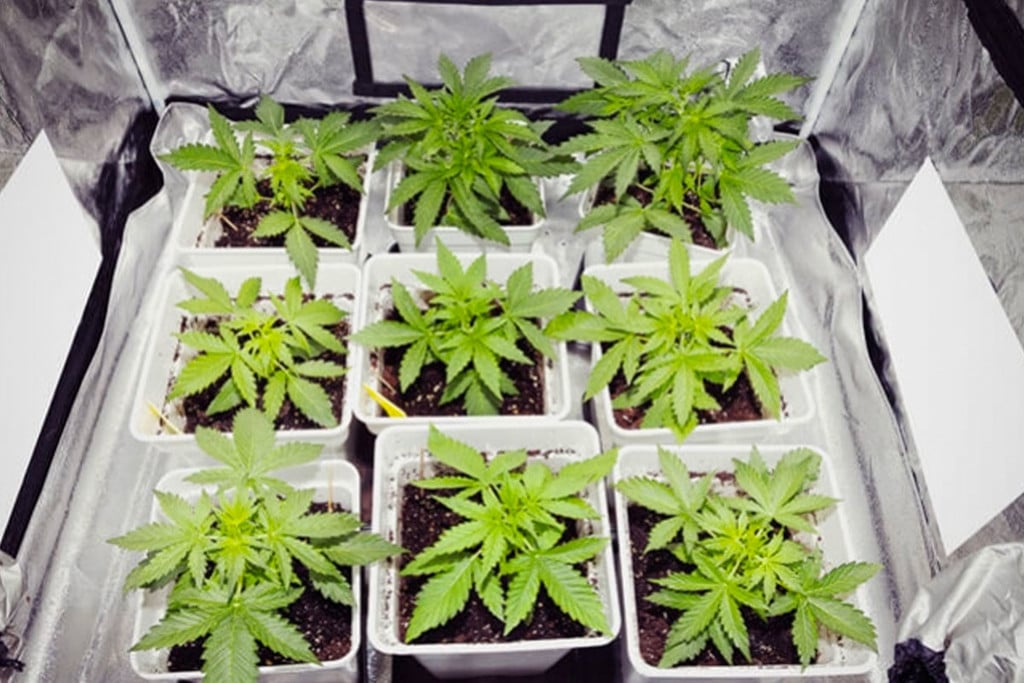
During the vegetative stage, they’ll need anywhere from 16–20 hours of light per day. The short nights tell your plant that it needs to spend its energy on getting tall and spreading its leaves, allowing it to efficiently gather energy later on.
Then, when it’s time for them to begin the flowering stage, you should shift their schedule so they receive just 12 hours of sunlight per day. Noticing the longer night (mimicking the change of seasons), the plant takes the signal to shift energy from developing foliage and branches to sprouting buds.
If you’re growing an autoflowering strain, however, light schedules are a different (and much simpler) story.
See, their name comes from the fact that they don’t rely on light signals to start flowering (unlike photoperiod varieties). Rather, it happens automatically after a few weeks into the vegetative process! Considering that, many growers will leave their autoflowers under the light for 24 hours a day, never turning their lamps off.
However, others argue this is too much for them, and will instead give 18–22 hours of daily light. They do this because plants can get a fair amount of their growing done when they stop taking in energy. Turning off the lights, of course, stops that taking-in process and signals them to focus on growth. This way, plants have enough light to develop impressive results, without your energy bill spiking from constant use.
Before we let you go, we want to emphasise again that photoperiod plants will only thrive if they’re on the right light schedule for the vegetative and flowering stages. To assist in that effort, many LED light manufacturers will include a dial, switch, etc. that allows you to switch between modes for each stage.
Along with making that switch, be careful to ensure that you’re raising your lights up in proportion to the vertical height of your plants. The lamps may not generate much heat, but you still want to avoid the risk of burning them.
Other than that, just focus on having a good time!