 Weed Grow Guide by Royal Queen Seeds
- Growing weed step by step
- Cannabis growing basics
- Choosing your seeds
- How to germinate seeds
- The cannabis vegetative stage
- The cannabis flowering stage
- Harvesting cannabis
- Trimming, drying, and curing
- Choosing pots and soil
-
Growing indoors
- A Complete Overview Of Growing Cannabis Indoors
- Cannabis Cultivation Tips: How To Set Up Indoor Grow Lights
- How Many Cannabis Plants Can You Grow Per Square Metre?
- Indoor Cannabis Growing: Relative Humidity and Temperatures
- Hydroponics Cannabis Growing Guide (with diagrams)
- Cannabis Micro Growing: Growing Great Weed in Tiny Spaces
- Growing outdoors
- How to grow autoflowering cannabis
- Cannabis nutrients and pH
- Cannabis troubleshooting: Nutrients
-
Cannabis troubleshooting: Growing
- Cannabis Seed Germination — Troubleshooting Guide
- How to Deal With Pythium (Root Rot) in Cannabis Plants
- Slow Cannabis Plant Growth And What You Can Do About It
- How to Deal With Leggy Cannabis Seedlings
- Watering Your Cannabis: How to Fix Overwatering and Underwatering
- Understanding Male, Female, And Hermaphrodite Cannabis
- Identifying and Treating Common Cannabis Ailments
- How To Revive a Sick Cannabis Plant
- How to Avoid Mouldy Weed During Drying and Curing
- How to Prevent and Treat Dry and Crispy Cannabis Leaves
- What Cannabis Leaves Can Tell You
- Causes and Solutions for Yellow Cannabis Leaves
-
Cannabis Strains Grow Report
- HulkBerry Automatic Grow Report
- Blue Cheese Auto Grow Report
- Purple Punch Automatic Strain Grow Report
- Triple G Automatic Grow Report
- Do-Si-Dos Automatic Grow Report
- Green Gelato Automatic Grow Report
- Haze Berry Automatic Grow Report
- Purple Queen Automatic Grow Report
- Cookies Gelato Automatic Grow Report
- Sherbet Queen Automatic Grow Report
- Sweet Skunk Automatic Grow Report
- Medusa F1 Grow Report
- Cannabis plant training
-
Weed growing tips
- The Cannabis Plant Anatomy
- How to preserve seeds - UK
- How Much Sunlight Do Outdoor Cannabis Plants Need To Grow?
- How to Control and Prevent Stretching in Cannabis Plants
- My Cannabis Plants Are Growing Too Tall: What Should I Do?
- Should You Worry About Purple Or Red Cannabis Stems?
- What To Do When Your Indoor Cannabis Won’t Flower
- How To Protect Your Cannabis Plants From Heat Stress
- How To Tell If Your Female Cannabis Plant Has Been Pollinated
- Growing Medical Marijuana
- Bud Washing: How to Clean Your Weed
- Understanding Cannabis Yield per Plant
Cookies Gelato Automatic Grow Report
Contents:
- Cookies gelato automatic grow report: equipment list
- Cookies gelato automatic grow report: seedling stage (week 1)
- Cookies gelato automatic grow report: vegetative stage (weeks 2–4)
- Cookies gelato automatic grow report: flowering stage (weeks 5–11)
- Harvest (week 12)
- Genetic attributes of cookies gelato automatic
- Growing characteristics of cookies gelato automatic
- Effects and flavour of cookies gelato automatic
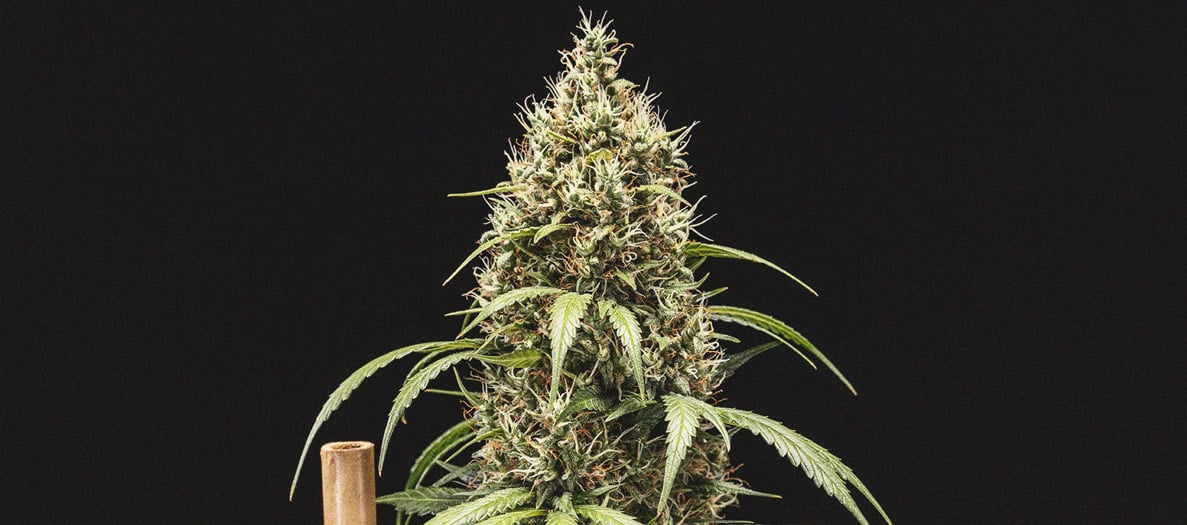
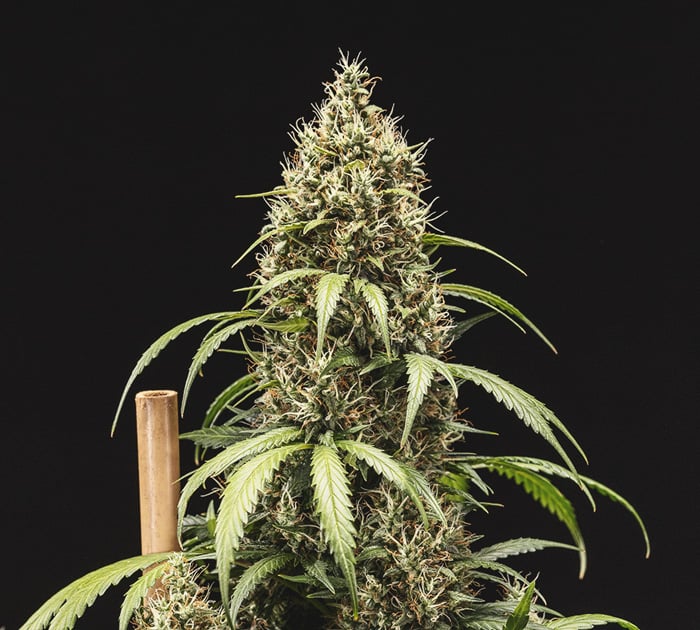
Thinking of growing Cookies Gelato Automatic? As one of the strongest and tastiest autos around, I don’t blame you! To increase your odds of success, check out what I did below to raise a healthy plant and produce a rewarding harvest.
Cookies Gelato Automatic Grow Report: Equipment List
- Box: Secret Jardin DS120W 120 × 60 × 178
- Lights: MIGRO 200+
- Ventilation: TT Silent-M100
- Filter: Prima Klima filter PK 100/125
- Fan: Oscillating Koala Fan X 2
- Humidifier: Beurer LB 45
- Soil: Biobizz Light Mix
- Pot: 11l Air-Pot
- Seed: Royal Queen Seeds
- Nutrition: RQS Organic Nutrition
Cookies Gelato Automatic Grow Report: Seedling Stage (Week 1)
A successful harvest starts with successful germination. Here’s how I got my grow started.
- Growing medium: To create the growing medium, I add 9l of Biobizz Light Mix into my 11l Air-Pot. I then added the following ingredients:
- RQS Easy Boost Organic Nutrition: 50g
- RQS Bat Guano: 70g
- RQS Rhizobacter: 11g
This mix fulfiled a lot of the plant’s nutritional needs throughout the growing cycle, alongside a bacterial inoculation to enhance nutrient uptake and defend against root pathogens. I mixed everything together thoroughly before adding another 2l of Biobizz Light Mix on top to fill the container completely. I then watered the growing medium until saturation.
- Lighting: I suspended my MIGRO 200+ lamps using the ratchet hangers provided. I positioned both lamps 35cm vertically from the rim of the pot, and 30cm horizontally from the centre of the tent to achieve an even distribution of photons. I set my lamps to run for 24 hours each day as soon as the shoot emerged from the soil.
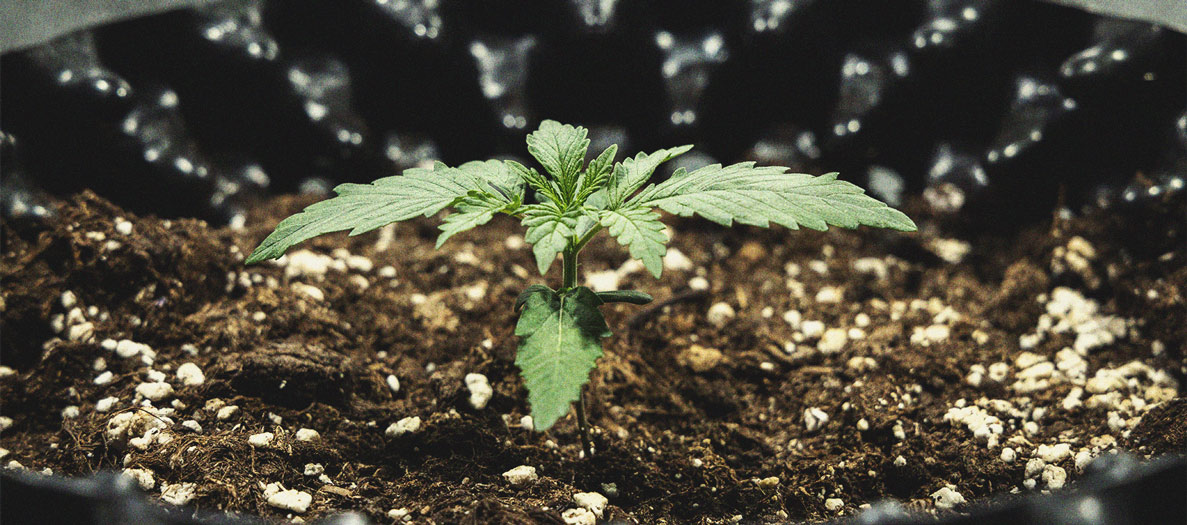
- Germination: I made a hole in the centre of the growing medium of around 1cm in depth. I inserted my seed, covered it lightly with soil, and misted the area to hydrate the seed.
- Environment: During the first week, I measured an average temperature of 27°C and a relative humidity of 59%.
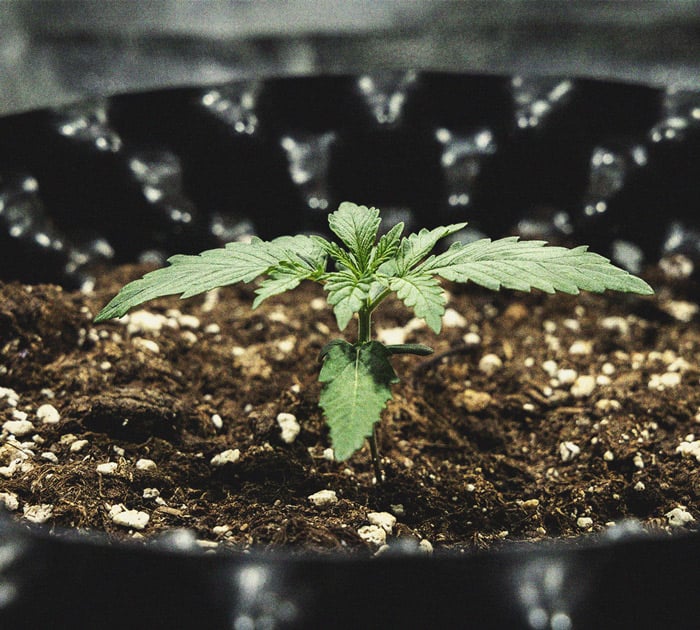
- Plant status: By the end of the first week, my seedling looked healthy and turgid. It stood at a height of around 3cm.
Cookies Gelato Automatic Grow Report: Vegetative Stage (Weeks 2–4)
Welcome to the start of the vegetative phase of my Cookies Gelato Automatic week-by-week grow report! This stage of the growing cycle went great overall. My plant greatly increased in size and exhibited no signs of disease or deficiency. Find out the steps I took to achieve this.
Week 2
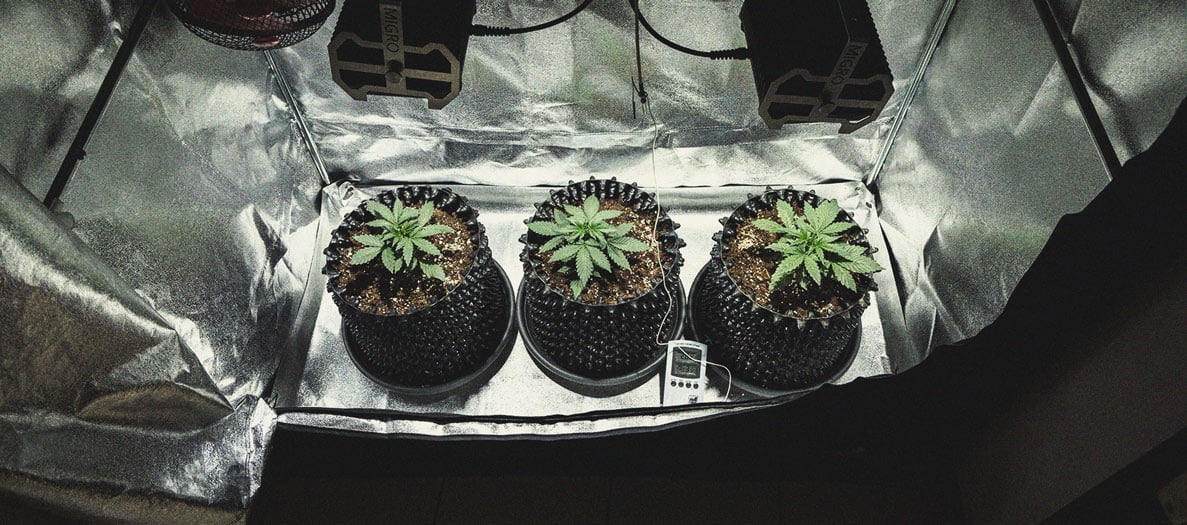
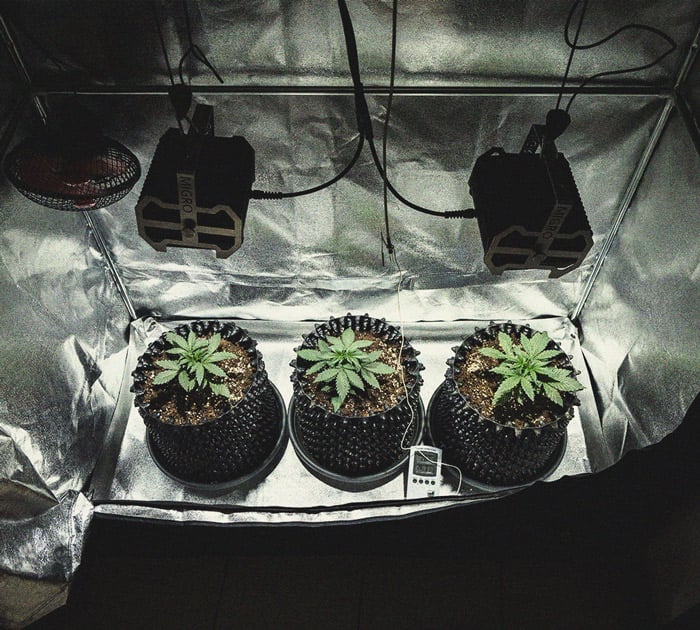
My plant packed on some size during week two, as well as several new sets of healthy fan leaves.
- Lighting: I continued to run my lamps for 24 hours a day and repositioned them to hang 35cm above the tip of my plant.
- Nutrients: I applied 1l of water (regulated to a pH of 6.1) on day 2 of the week. On day 5, I mixed 1ml of Bigger Flowers from the RQS Bio Flowering Booster pack into 1l of water and applied it as a soil drench.
- Environment: I recorded an average temperature of 29°C and a relative humidity of 56%.
- Plant status: By the end of the week, my plant appeared healthy and strong and had reached a height of 9cm.
Week 3
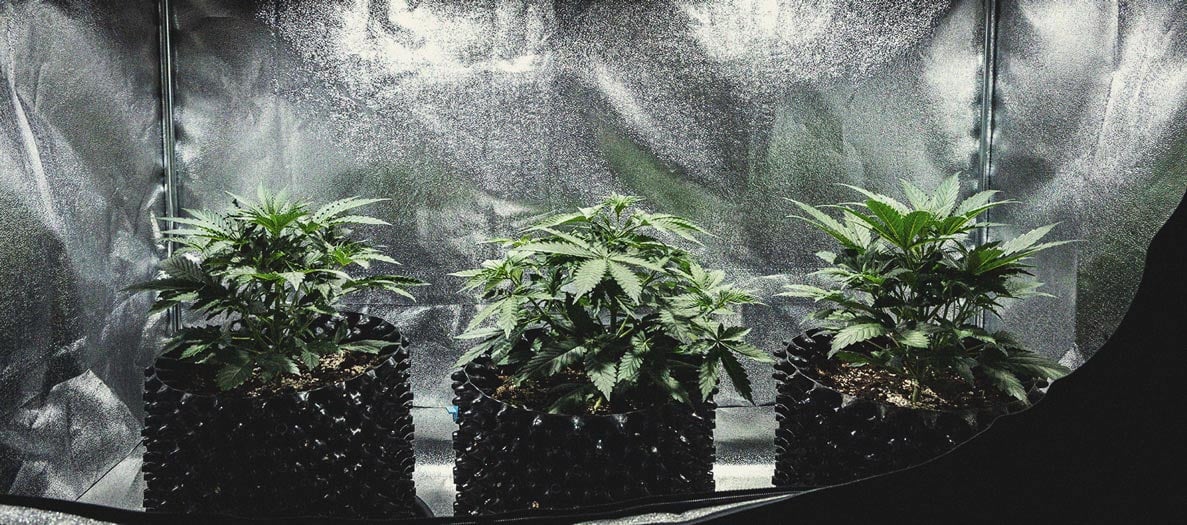
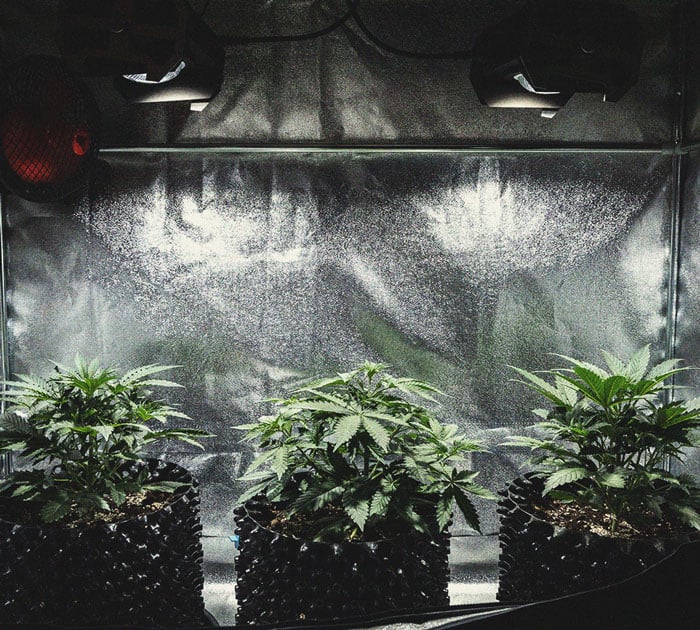
My plant had developed a thick and sturdy stem by this point, along with plenty of turgid and large fan leaves. So far, I detected no signs of deficiency, meaning my initial potting mix and biological inputs had worked out great.
- Lighting: I repositioned my lamps to 35cm away from the tip of the canopy and continued to run them for 24 hours per day.
- Nutrients: I prepped 1l of pH-regulated water and hydrated my plant on day 1 of the week. On day 4, I added 1ml of Bigger Flowers to 1l of pH-regulated water and applied it as a soil drench.
- Environment: Temperature hovered around 29°C and humidity around 50%.
- Plant status: My plant looked great by the end of week 3. This speedy variety started to develop the first signs of pistils at the end of this period, a sure sign that the flowering stage wasn’t far away.
Week 4
Many more preflowers started to form during this time, and my plant packed on more height. I had a holiday booked for this time, so I asked a green-fingered friend to take care of my plant. Thankfully, he did a great job!
- Lighting: He kept my lamps on for 24 hours each day and moved them slightly higher to be 35cm above the tip of my plant.
- Nutrients: I asked my friend to feed 1ml of Bigger Flowers mixed into 1l of pH-adjusted water. On day 4, I asked him to apply just 1l of pH-adjusted water.
- Environment: Average temperature clocked in at 29°C and humidity at 50%.
- Plant status: After returning from holiday, I was relieved to see my plant looking healthy. It stood at a height of 41cm and many more preflowers started to develop. The main cola looked thicker and had put out more pistils. I definitely owed my friend a few buds for his hard work!
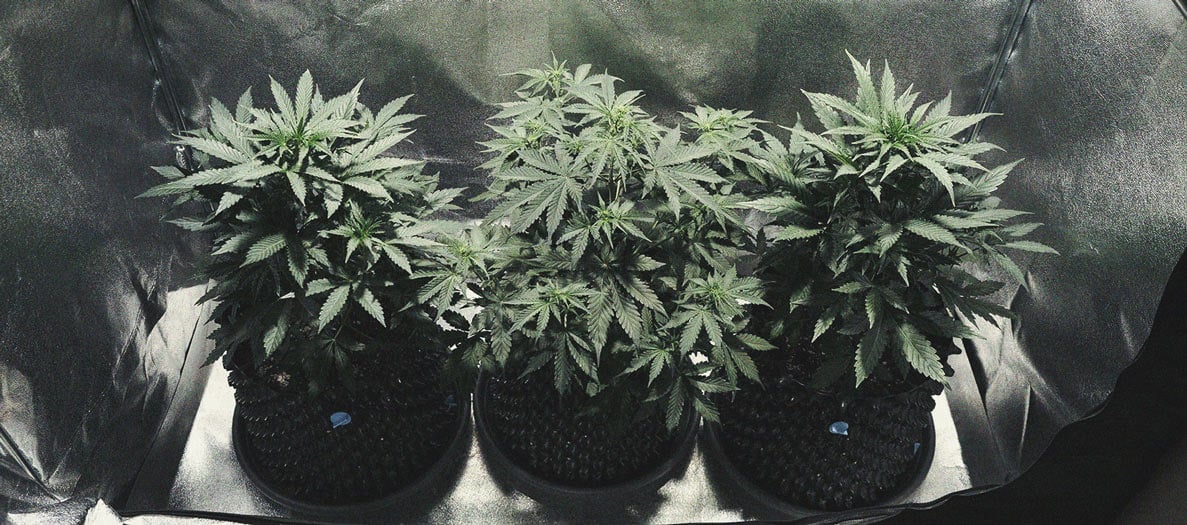
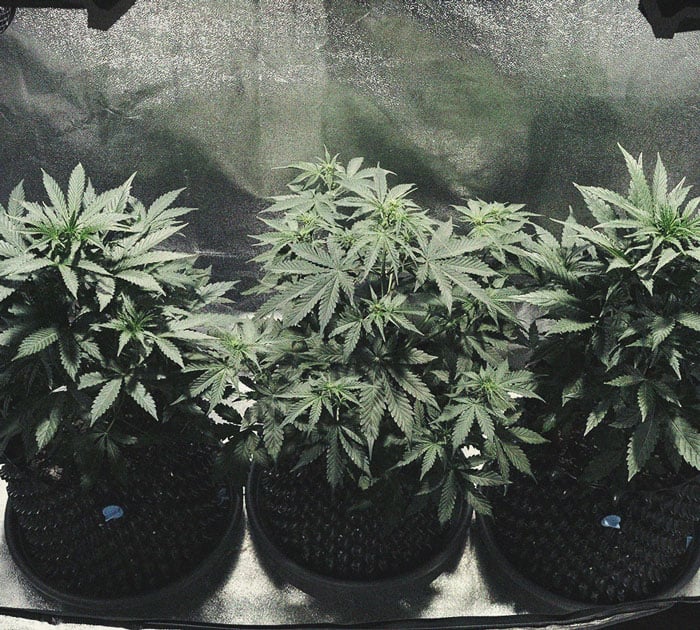
Cookies Gelato Automatic Grow Report: Flowering Stage (Weeks 5–11)
Week 5 marked the start of the flowering stage! My plant quickly started to produce compact flowers during this period, with pistils appearing at many of the nodes across the canopy. Thanks to a careful nutritional strategy and microbial inoculation, my plant showed no signs of deficiency or disease.
Week 5
My plant started to stretch during the early flowering stage. To facilitate this final period of vertical growth, and the formation of flowers, I started using other bottles from the Bio Flowering Booster range to provide a broader spectrum of nutrients.
- Lighting: I reduced the light cycle to 18 hours on and 6 hours off. Once again, I repositioned my lights to hang 35cm from the tip of my plant.
- Nutrients: I mixed the following into 2l of water and administered on days 1 and 3 of the week:
- 2ml Thicker Flowers
- 2ml Bigger Flowers
- On day 7, I administered 1.5l of pH-adjusted water.
- Environment: I measured an average temperature of 29°C and a humidity of 48%.
- Plant status: My plant reached a height of 62cm by the end of the week. I defoliated some of the lower fan leaves to promote aeration within the canopy.
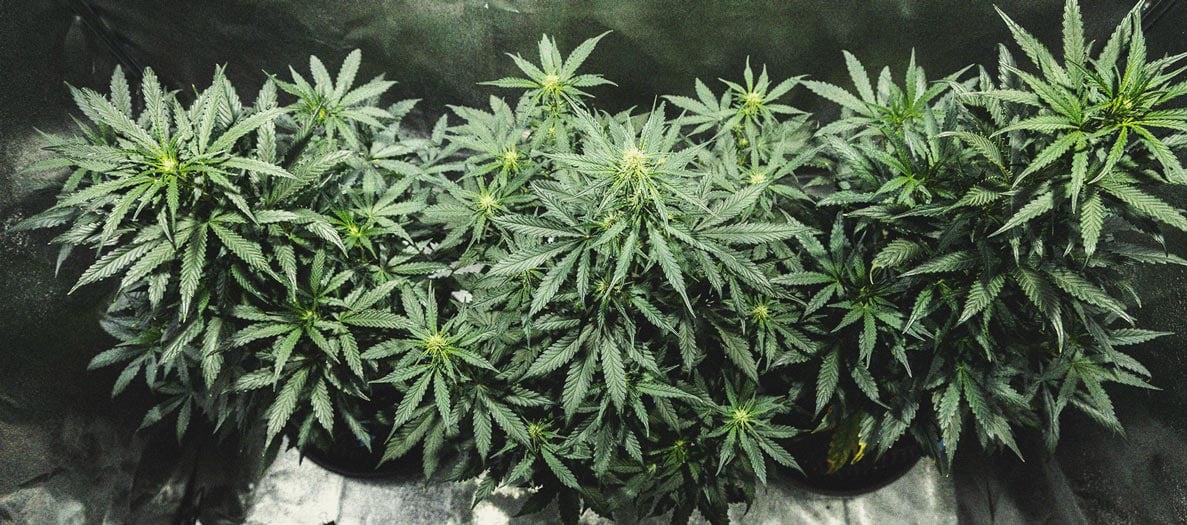
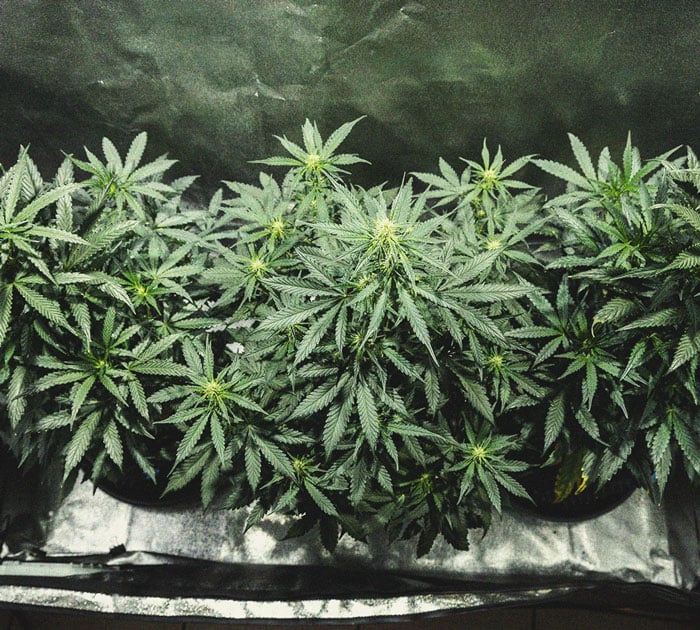
Weeks 6 & 7
My plant continued to bloom nicely over the next two weeks. I added the third component of the Bio Flowering Booster range to maximise flower development during the build-up to flushing.
- Lighting: I continued to run my lamps for 18 hours each day.
- Nutrients: I mixed the following into 2l of water and administered on days 1 and 3 of the week:
- 1.8ml Thicker Flowers
- 2ml Bigger Flowers
- 0.8ml Sweeter Flowers
- Environment: Temperature stayed around 29°C and humidity at 45%.
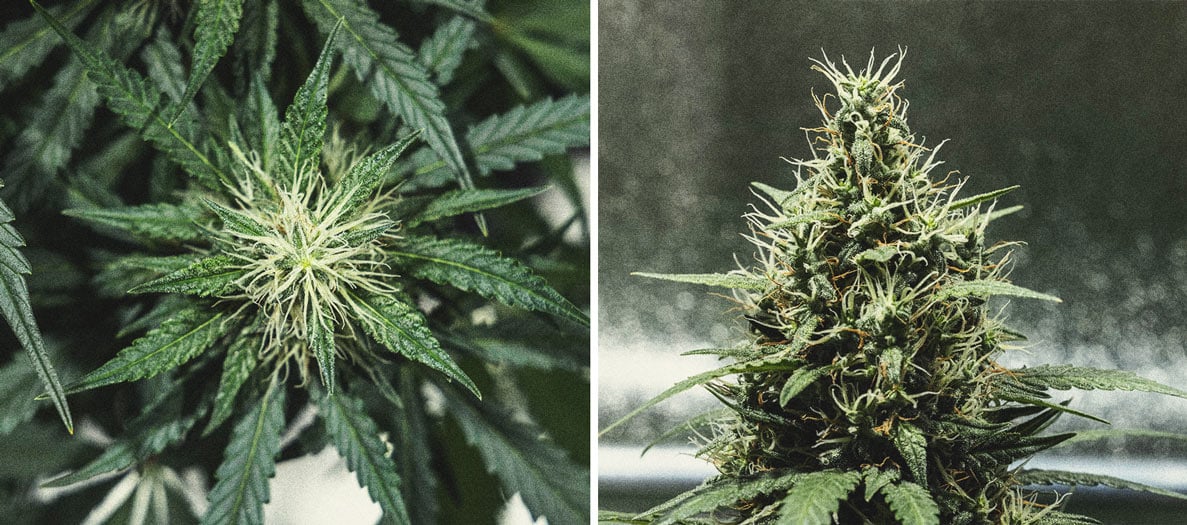
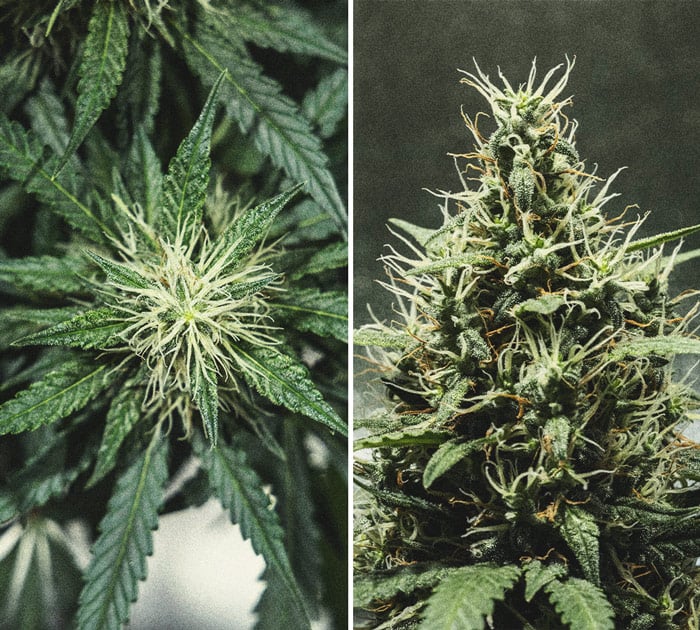
- Plant status: My plant had grown to 67cm by the end of the week. The flowers became denser, longer, and started to develop an abundance of brilliant white pistils.
Week 8
The final week before flushing! I continued to monitor my plant for any signs of pests or disease. Luckily, everything appeared healthy. I continued a similar feeding regimen as the previous week.
- Lighting: I continued to run my lamps for 18 hours each day.
- Nutrients: I applied the following in 2l of water on days 1 and 3 of the week:
- 1ml Thicker Flowers
- 2ml Bigger Flowers
- 1ml Sweeter Flowers
- On day 7, I added 100g of Bat Guano as a top dressing and watered it in with warm water.
- Environment: Temperature reduced slightly to 28°C and humidity rose to 55%.
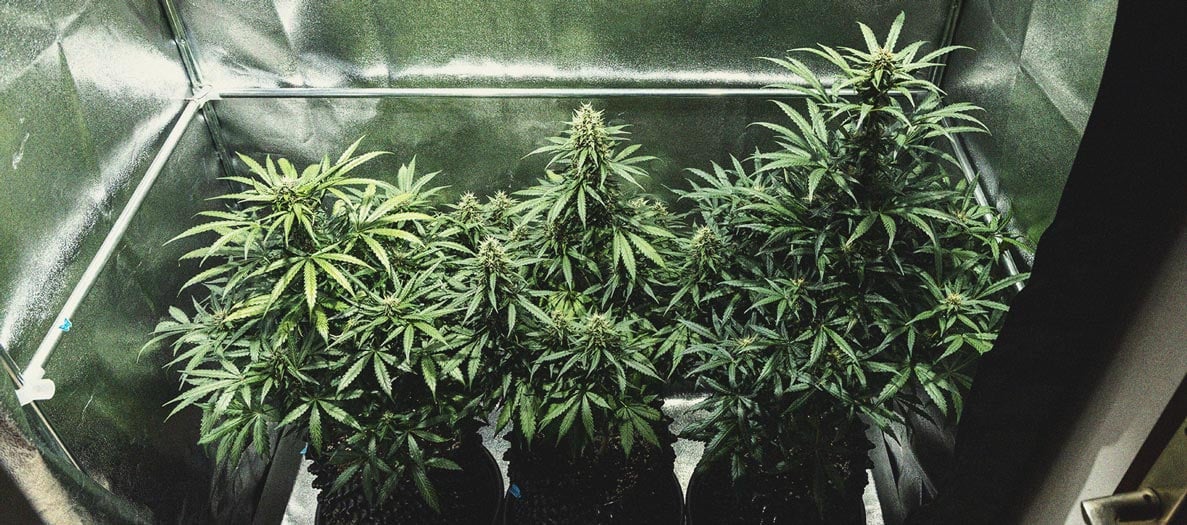
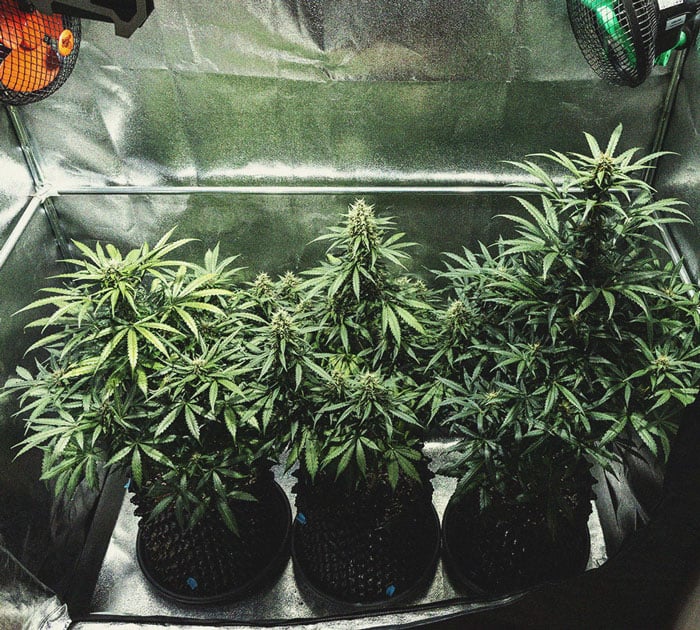
- Plant status: Trichome density continued to increase, the plant started to emit a powerful aroma, and the pistils started to transition from white to orange.
Weeks 9, 10 & 11
Let the flushing commence! I restricted feeding during this time to prompt my plant to use up its internal resources.
- Lighting: I continued to run my lamps for 18 hours each day.
- Nutrients: I applied nothing but 2l of pH-regulated water on day 1 and day 3 of the remaining weeks.
- Environment: I recorded an average temperature of 27°C and humidity of 50%.
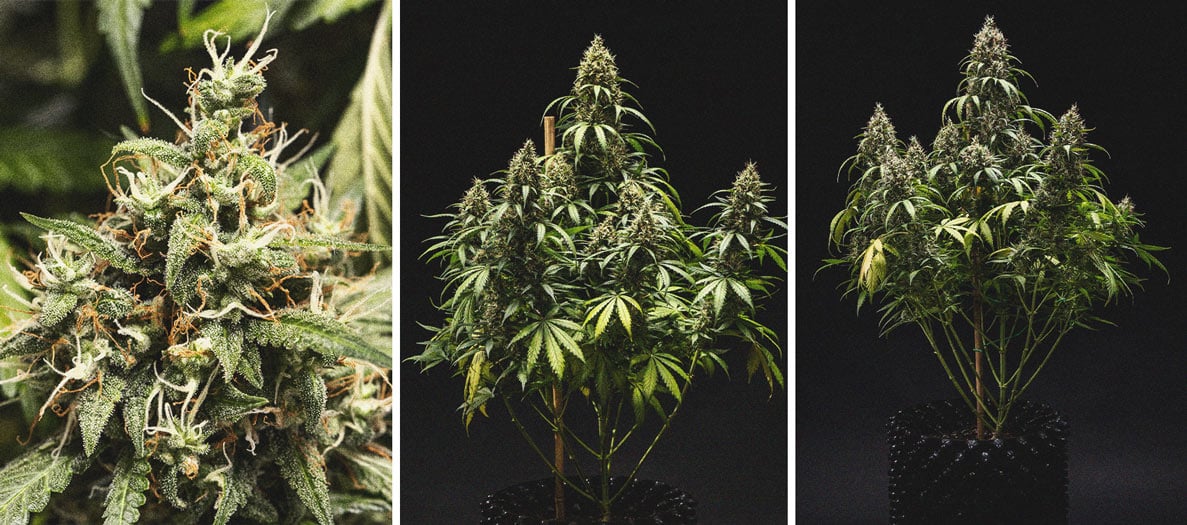
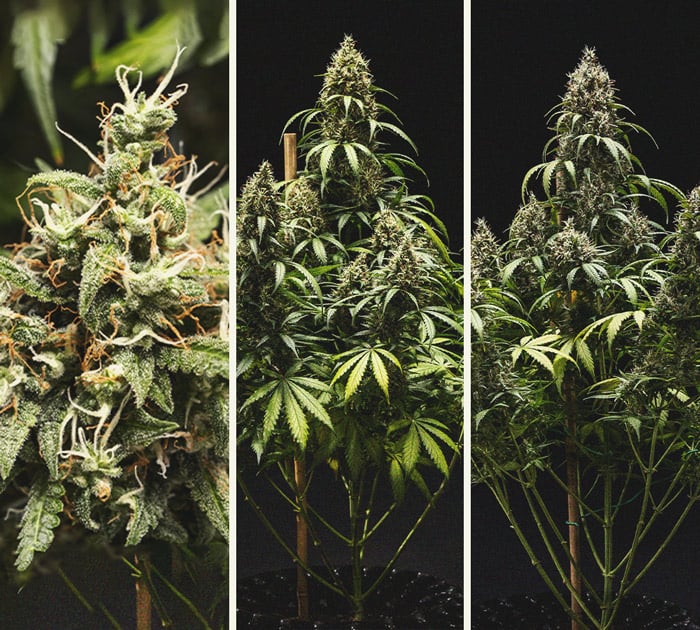
- Plant status: By the end of the flush, my flowers looked large, thick, and resinous. The fan leaves had a yellow and wilted look to them—a sign that the flush had worked to catabolise internal nutrients.
Harvest (Week 12)
I cut my plant at the base and hung it upside down from the top of my grow box. I kept my fans running and let my plant dry in the dark for the next 10 days. After removing and dry trimming the buds, I weighed a total harvest of 110g. I placed my buds into glass jars to cure for the next 6 weeks before enjoying the fruits of my labour.
Genetic Attributes of Cookies Gelato Automatic
What makes Cookies Gelato Automatic so special? Well, for a start, she descends from two legendary parent strains. She inherited most of her traits from Cookies Gelato, a powerhouse hybrid that produces THC levels of up to 28%. In order to reduce the growing time of this titan, our skilled breeders crossed her with Big Skunk Auto. This cultivar added the autoflowering gene to the mix and contributed some sharper and skunkier aromas to the terpene profile. Overall, Cookies Gelato Auto features an indica-dominant genetic profile consisting of 75% indica, 20% sativa, and 5% ruderalis.
Cookies Gelato Auto
|
|
Cookies Gelato x Big Skunk Auto |
|
|
450 - 500 gr/m2 |
|
|
90 – 140 cm |
|
|
55 - 60 days |
|
|
THC: Up to 23% |
|
|
Sativa 20%, Indica 75%, Ruderalis 5% |
|
|
90 - 140 gr/plant |
|
|
80 - 140 cm |
|
|
10 - 12 weeks after sprouting |
|
|
Balanced, Creative |
Growing Characteristics of Cookies Gelato Automatic
Cookies Gelato Auto grows to a small-to-medium height both indoors and outdoors. Growers have full control over how this plant expresses itself. To keep her small and stealthy, select a small pot size and apply LST during the short vegetative phase. If you prefer larger plants, use a bigger container, or grow her directly in the ground outdoors, and let her central cola reach for the sky untrained. This variety features an indica morphology and sports fan leaves with thick leaflets and dense purple colas during the late-flowering stage.
Indoors, you can expect a yield of up to 500g/m² when using a large pot and powerful lights. If you’re growing outdoors, prepare to process between 90–140g/plant. Regardless of where you grow her, this strain will surge from seed to harvest in as little as 10 weeks.
Effects and Flavour of Cookies Gelato Automatic
With a hard-hitting THC content of 23%, Cookies Gelato Automatic ranks as one of the most powerful autoflowering strains available. It only takes a couple of hits to feel her creative, euphoric, and physical high take hold. Keep smoking, and you’ll find yourself sinking deeper into that couch as the philosophical thoughts come pouring in. Her tasty terpenes, which offer flavours of cookies, earth, fruit, and honey, also contribute to the stoning experience.
 Grow Guide Topic Finder
- Growing weed step by step
- Cannabis growing basics
- Choosing your seeds
- How to germinate seeds
- The cannabis vegetative stage
- The cannabis flowering stage
- Harvesting cannabis
- Trimming, drying, and curing
- Choosing pots and soil
-
Growing indoors
- A Complete Overview Of Growing Cannabis Indoors
- Cannabis Cultivation Tips: How To Set Up Indoor Grow Lights
- How Many Cannabis Plants Can You Grow Per Square Metre?
- Indoor Cannabis Growing: Relative Humidity and Temperatures
- Hydroponics Cannabis Growing Guide (with diagrams)
- Cannabis Micro Growing: Growing Great Weed in Tiny Spaces
- Growing outdoors
- How to grow autoflowering cannabis
- Cannabis nutrients and pH
- Cannabis troubleshooting: Nutrients
-
Cannabis troubleshooting: Growing
- Cannabis Seed Germination — Troubleshooting Guide
- How to Deal With Pythium (Root Rot) in Cannabis Plants
- Slow Cannabis Plant Growth And What You Can Do About It
- How to Deal With Leggy Cannabis Seedlings
- Watering Your Cannabis: How to Fix Overwatering and Underwatering
- Understanding Male, Female, And Hermaphrodite Cannabis
- Identifying and Treating Common Cannabis Ailments
- How To Revive a Sick Cannabis Plant
- How to Avoid Mouldy Weed During Drying and Curing
- How to Prevent and Treat Dry and Crispy Cannabis Leaves
- What Cannabis Leaves Can Tell You
- Causes and Solutions for Yellow Cannabis Leaves
-
Cannabis Strains Grow Report
- HulkBerry Automatic Grow Report
- Blue Cheese Auto Grow Report
- Purple Punch Automatic Strain Grow Report
- Triple G Automatic Grow Report
- Do-Si-Dos Automatic Grow Report
- Green Gelato Automatic Grow Report
- Haze Berry Automatic Grow Report
- Purple Queen Automatic Grow Report
- Cookies Gelato Automatic Grow Report
- Sherbet Queen Automatic Grow Report
- Sweet Skunk Automatic Grow Report
- Medusa F1 Grow Report
- Cannabis plant training
-
Weed growing tips
- The Cannabis Plant Anatomy
- How to preserve seeds - UK
- How Much Sunlight Do Outdoor Cannabis Plants Need To Grow?
- How to Control and Prevent Stretching in Cannabis Plants
- My Cannabis Plants Are Growing Too Tall: What Should I Do?
- Should You Worry About Purple Or Red Cannabis Stems?
- What To Do When Your Indoor Cannabis Won’t Flower
- How To Protect Your Cannabis Plants From Heat Stress
- How To Tell If Your Female Cannabis Plant Has Been Pollinated
- Growing Medical Marijuana
- Bud Washing: How to Clean Your Weed
- Understanding Cannabis Yield per Plant


