 Weed Grow Guide by Royal Queen Seeds
- Growing weed step by step
- Cannabis growing basics
- Choosing your seeds
- How to germinate seeds
- The cannabis vegetative stage
- The cannabis flowering stage
- Harvesting cannabis
- Trimming, drying, and curing
- Choosing pots and soil
-
Growing indoors
- A Complete Overview Of Growing Cannabis Indoors
- Cannabis Cultivation Tips: How To Set Up Indoor Grow Lights
- How Many Cannabis Plants Can You Grow Per Square Metre?
- Indoor Cannabis Growing: Relative Humidity and Temperatures
- Hydroponics Cannabis Growing Guide (with diagrams)
- Cannabis Micro Growing: Growing Great Weed in Tiny Spaces
- Growing outdoors
- How to grow autoflowering cannabis
- Cannabis nutrients and pH
- Cannabis troubleshooting: Nutrients
-
Cannabis troubleshooting: Growing
- Cannabis Seed Germination — Troubleshooting Guide
- How to Deal With Pythium (Root Rot) in Cannabis Plants
- Slow Cannabis Plant Growth And What You Can Do About It
- How to Deal With Leggy Cannabis Seedlings
- Watering Your Cannabis: How to Fix Overwatering and Underwatering
- Understanding Male, Female, And Hermaphrodite Cannabis
- Identifying and Treating Common Cannabis Ailments
- How To Revive a Sick Cannabis Plant
- How to Avoid Mouldy Weed During Drying and Curing
- How to Prevent and Treat Dry and Crispy Cannabis Leaves
- What Cannabis Leaves Can Tell You
- Causes and Solutions for Yellow Cannabis Leaves
-
Cannabis Strains Grow Report
- HulkBerry Automatic Grow Report
- Blue Cheese Auto Grow Report
- Purple Punch Automatic Strain Grow Report
- Triple G Automatic Grow Report
- Do-Si-Dos Automatic Grow Report
- Green Gelato Automatic Grow Report
- Haze Berry Automatic Grow Report
- Purple Queen Automatic Grow Report
- Cookies Gelato Automatic Grow Report
- Sherbet Queen Automatic Grow Report
- Sweet Skunk Automatic Grow Report
- Medusa F1 Grow Report
- Cannabis plant training
-
Weed growing tips
- The Cannabis Plant Anatomy
- How to preserve seeds - UK
- How Much Sunlight Do Outdoor Cannabis Plants Need To Grow?
- How to Control and Prevent Stretching in Cannabis Plants
- My Cannabis Plants Are Growing Too Tall: What Should I Do?
- Should You Worry About Purple Or Red Cannabis Stems?
- What To Do When Your Indoor Cannabis Won’t Flower
- How To Protect Your Cannabis Plants From Heat Stress
- How To Tell If Your Female Cannabis Plant Has Been Pollinated
- Growing Medical Marijuana
- Bud Washing: How to Clean Your Weed
- Understanding Cannabis Yield per Plant
How and When to Flush Marijuana Plants
Contents:
- What is flushing?
- The best time to flush your cannabis
- Prevent nutrient lockout before it becomes an issue
- Enzymes to the rescue
- How to properly flush cannabis
- How to flush hydroponic plants
- The outcome of flushing your cannabis
- When to avoid flushing your plants
- The flushing debate: is it necessary?
You have finally finished your grow, ending up with a beautiful plant covered in tremendous bud, now dried, cured and ready to go – yet something is not quite right. You can hardly get the stuff to burn, and when you take a hit, it feels like a mule kicked your lungs as you end up coughing for your life! The taste is harsh and disappointing. If this is a situation you have experienced, chances are your plants were not flushed properly before harvest.
This less-pleasant smoke is caused by complex combustion reactions of various molecules, altering the way it burns. Flushing removes excess nutrients[1] from the soil and makes the plant change its internal metabolism to consume nutrients. Fortunately, flushing your cannabis is an effortless and easy task, and will have you producing smooth and delightful bud in no time.
What is flushing?
The act of flushing a plant is using plain water to actively remove any nutrients in the soil. A large amount of water is passed through the soil and drained away on a regular basis. Any minerals and nutrients present in the soil are washed away over time by the water, leaving the soil clean.
Why would you want to strip away all the minerals from the soil? Isn't this hurting your harvest? It actually helps your harvest a significant way. When the nutrients are removed from the soil, it forces your cannabis plant to use up any remaining nutrients still present in the plant. It is a lot like the human body. We take in a lot of food and, what we do not use is turned into fat. In extreme situations where food is scarce, the body relies on this stored fat for energy.
As flushing forces cannabis to use up any remaining nutrients left in the plant, none should remain to taint the use of the harvest bud. However, if done to early, it can leave your plant unhealthy, so timing is key.
The best time to flush your cannabis
Flushing is usually commenced two weeks before harvest. If the plant has an eight-week flowering period, the flushing will need to take place six weeks after the start of the flowering stage. It is best to take a close look at the trichomes on your plant to assess when your cannabis is likely to be ready for harvest. If the tiny trichomes are just beginning to turn from clear, to a cloudy and milky colour, this could be a good indication that the plant can begin flushing. It should be timed so that the majority of trichomes will have fully changed to the desired colour for harvest after two weeks – this gets easier with experience, so stick with it!
Flushing can also be a good way to reset the soil while a plant is in the vegetative state. Sometime, growers will accidently overfeed their cannabis, causing the tips of the leaves to begin changing colour and shriveling. This is called “nutrient burn”. Flushing the soil can remove the excess nutrients, helping avert the problem. However, it is a drastic measure at this phase of growth, so be sure that the problem is nutrient burn, and not something else first.
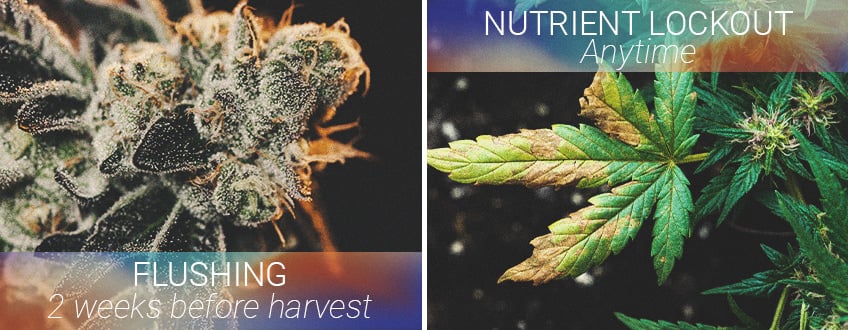
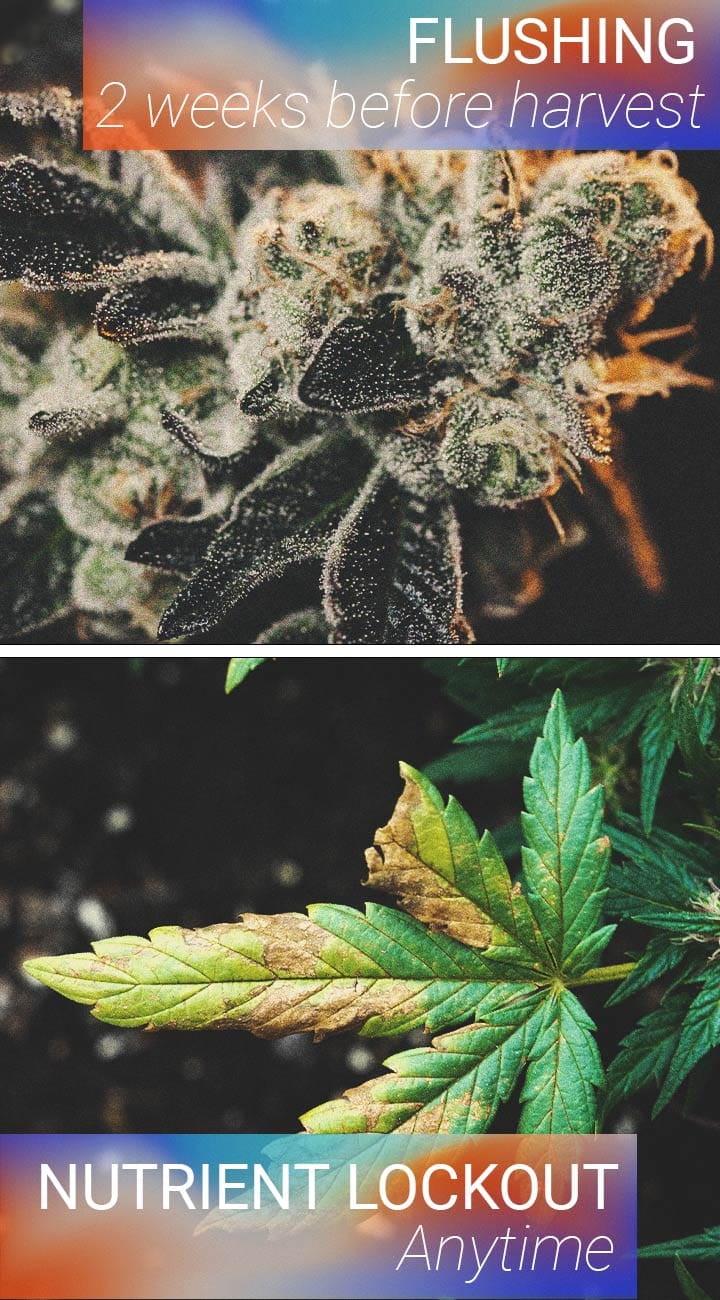
Flushing isn’t exclusive to harvest time. The technique can also be used in the vegetative phase to remove excess nutrients from the soil. Sure, nutrients keep your plant healthy and ensure optimal yields, but too much can cause nutrient lockout—a state where plants can’t access nutrients.
Nutrient lockout can be caused by both salt buildup and incorrect pH levels. It can be solved by flushing affected plants with plain water. The fluids push nutrients out of the soil and wash away the buildup, allowing roots to once again freely uptake nutrients.
Prevent nutrient lockout before it becomes an issue
Nutrient lockout can be an inconvenience at best and devastating at worst. As the old saying goes, prevention is better than a cure. It’s best to take steps to avoid nutrient lockout as opposed to tackling it later down the line.
Preventing nutrient lockout can be accomplished via routine flushing. By flushing your plants once before flowering begins and once halfway through flowering, you’ll minimise the chances of nutrient buildup.
Enzymes to the rescue
After flushing to counter nutrient lockout or before harvest, you might still notice your plants are dark green in appearance—a sign of excess nutrients. In this case, some growers elect to add enzyme-rich formulas to the soil.
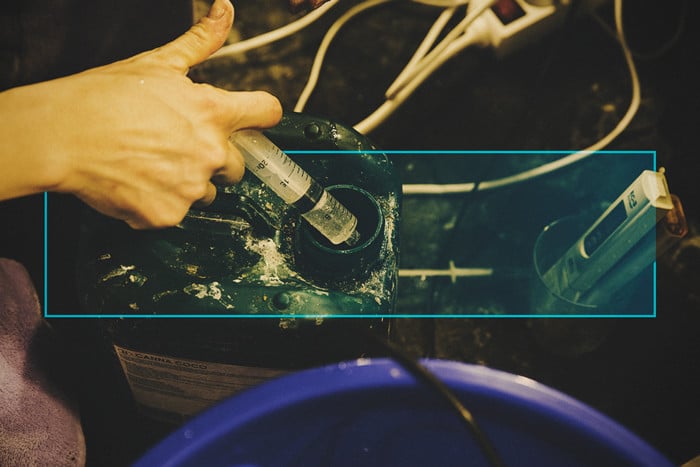
If you don’t remember anything from biology class, enzymes are proteins that catalyse reactions. They help to flush out the soil by breaking down starches, carbohydrates, and nutrients. There’s a variety of products on the market that contain effective enzyme formulas.
If water isn’t doing it for your plants, these small proteins will make lingering nutrients budge!

How to properly flush cannabis
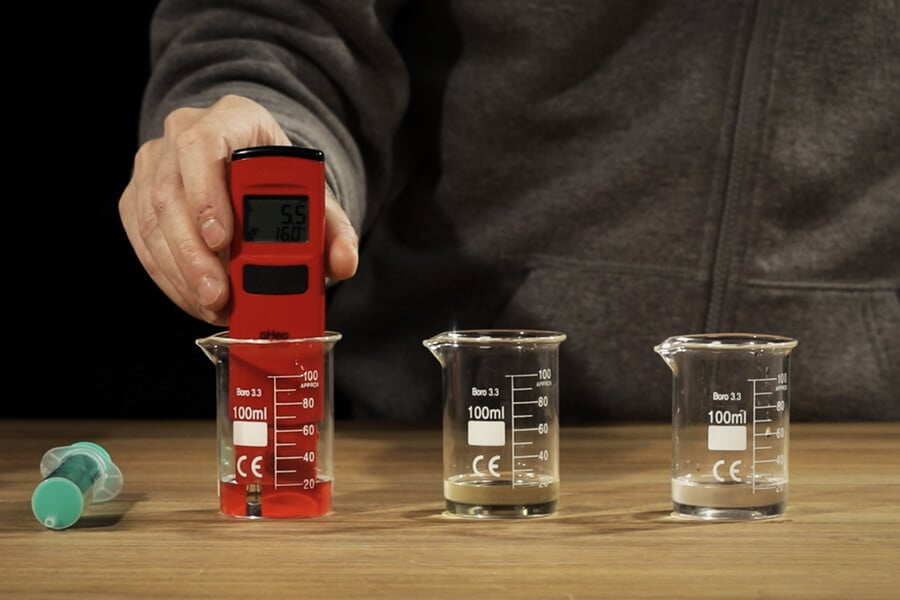
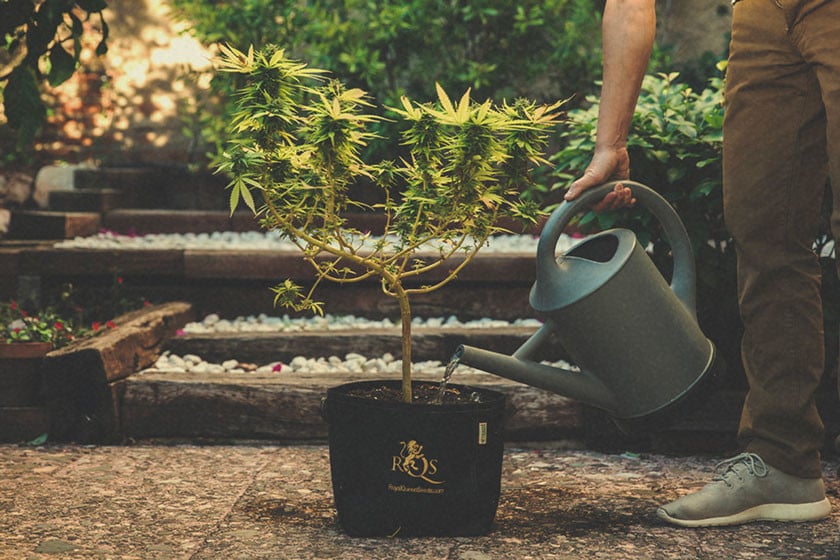
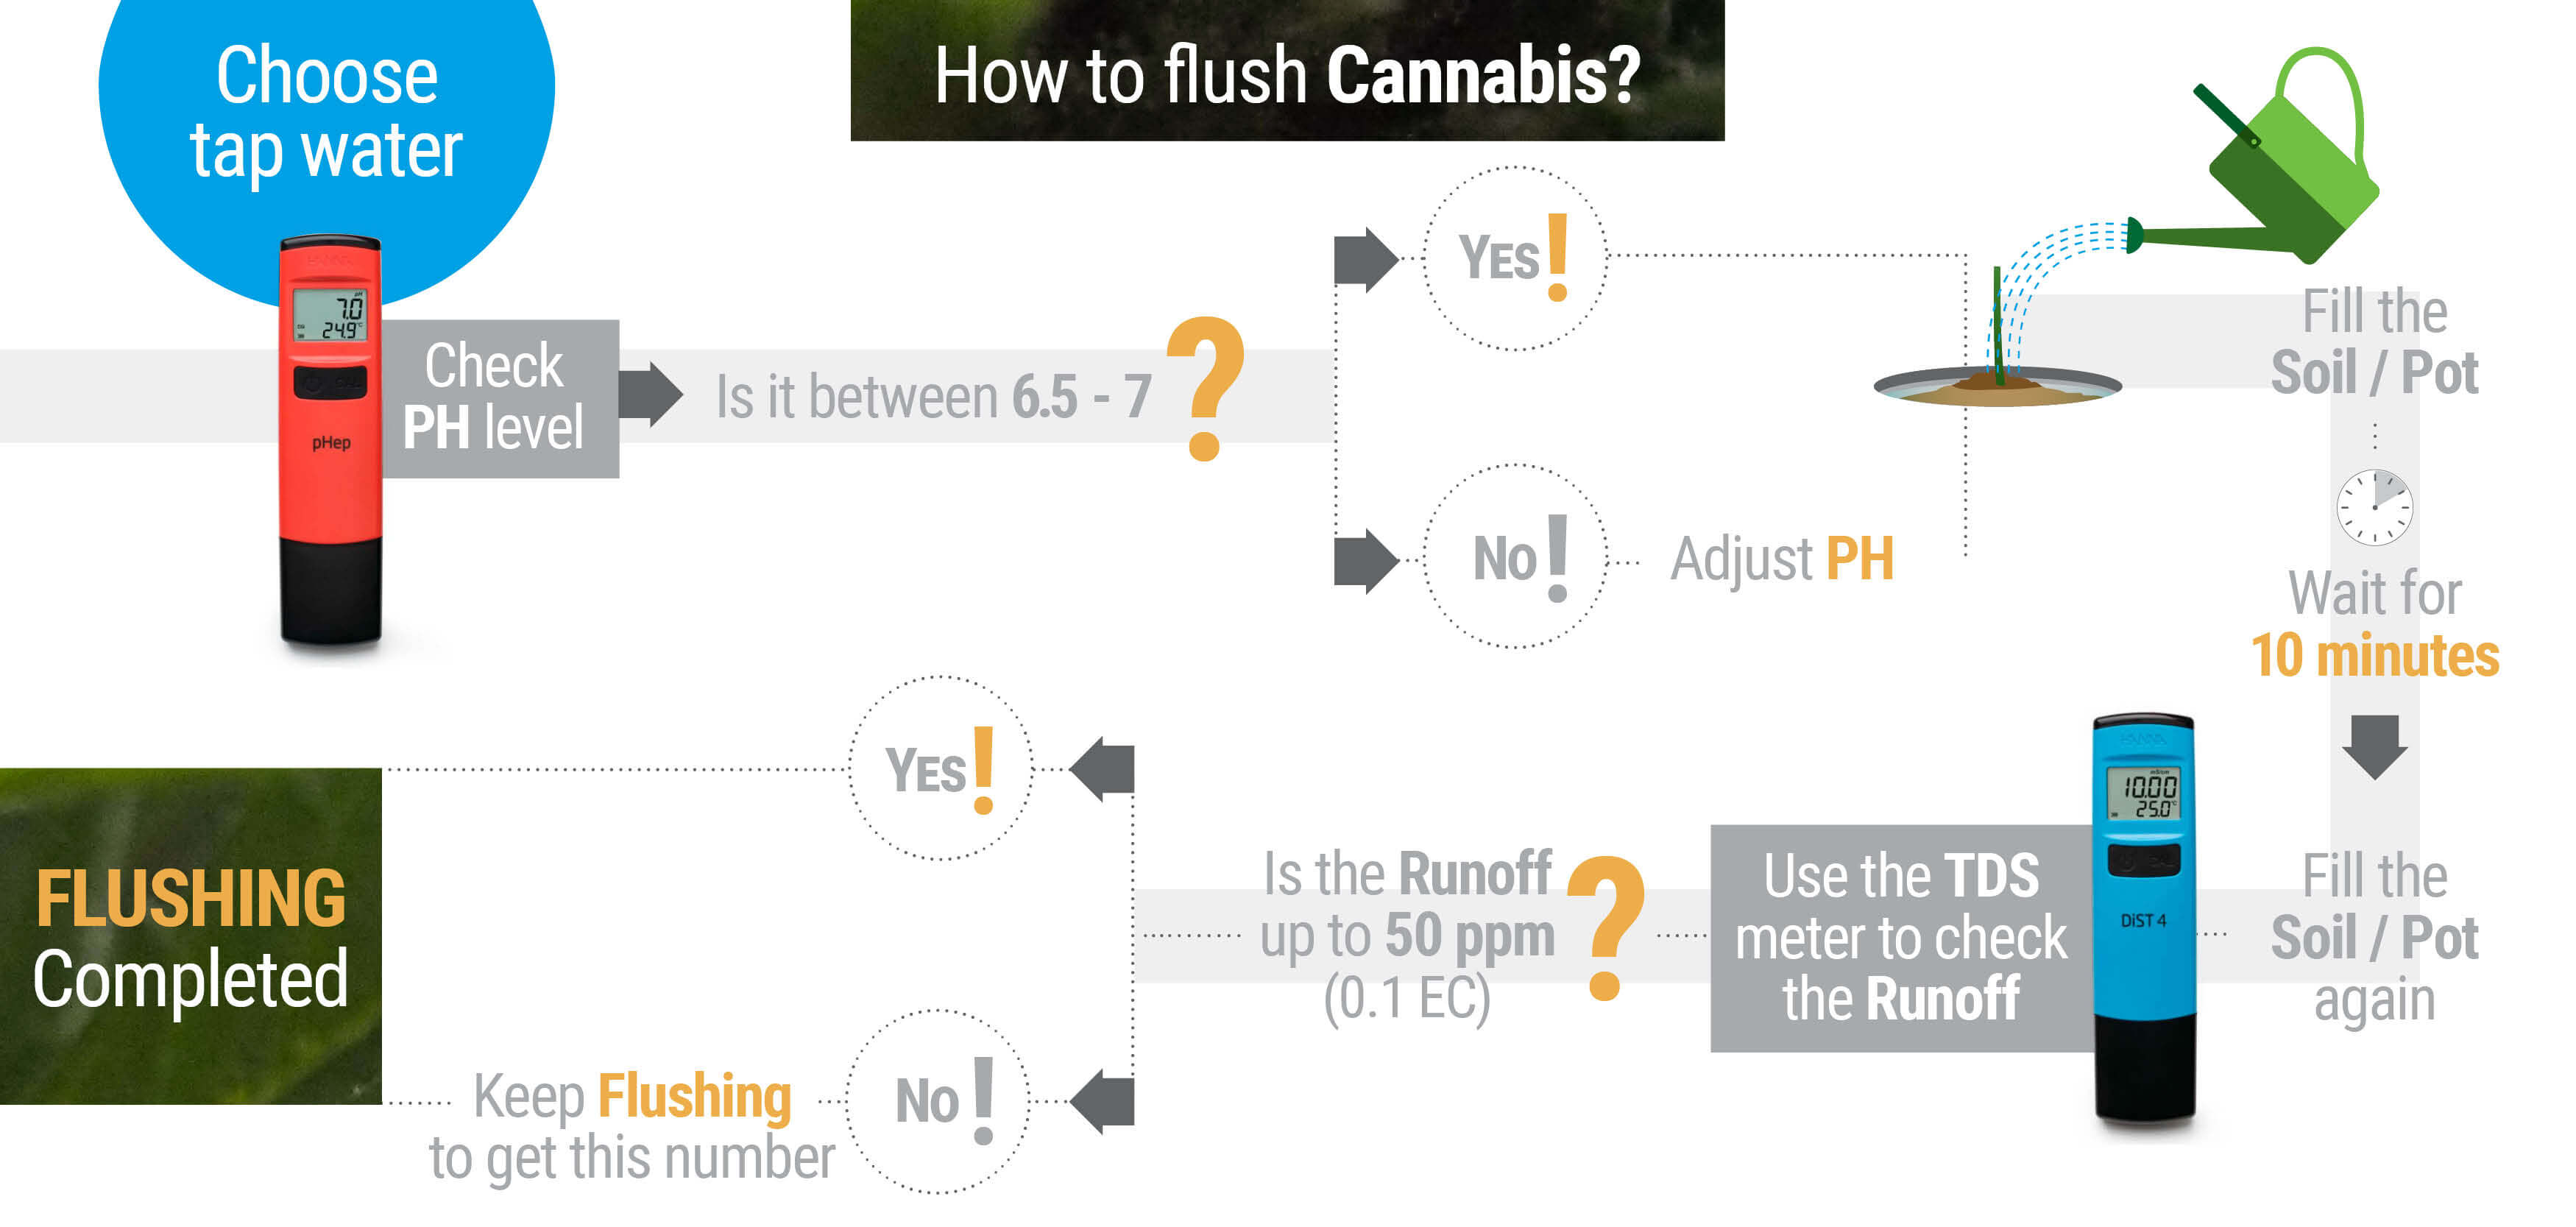
Flushing your cannabis plants is a straight forward process. Whenever you would normally feed, you flush instead. Untreated tap water is all you need to use for flushing, just be sure to make sure the pH is at a safe level for cannabis. Most well water contains a healthy pH level and will not need treatment, but if it is necessary for you to add treatment to adjust the pH of your flushing water, feel free to do so. The pH adjustments will be the only thing you will need to be concerned about.
Flood the soil with as much fresh water as it can hold. Leave this for a few minutes to allow all of the nutrients to be picked up, then flood the soil again to flush it all away from the plant. If you are indoors, using pots, observe the colour of the water draining from the bottom. It should look stained and dirty.
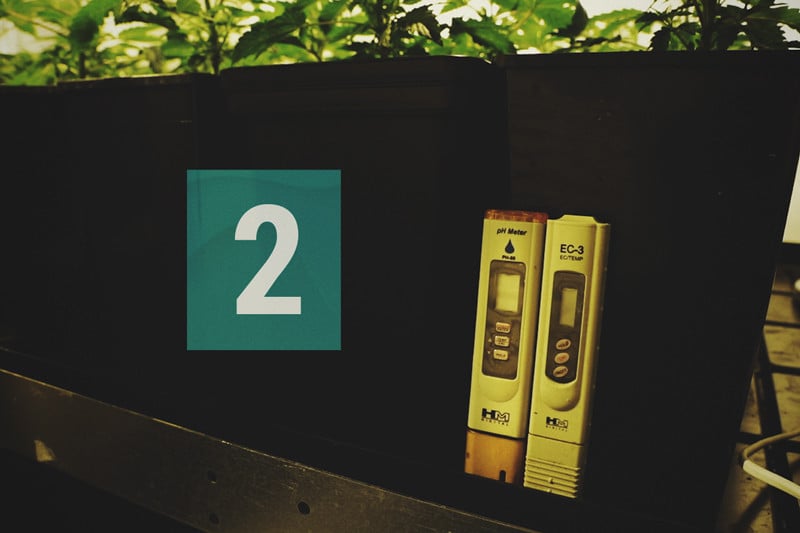
This is where a TDS (total dissolved solids) meter and conductivity testers will come in handy. If you were to collect and measure the TDS of the “drained off” water, it would be around 1300ppm, which is pretty high. It is essential to keep flushing the plant until this number drops to a level of 50ppm, or at least until it is close to matching the TDS of the freshwater you are using to flush.
In terms of electrical conductivity (EC), the values would be considered high at 2.5–3.0mS/cm, so you should keep flushing until your EC meter reaches 0.0–0.2mS/cm.
The colour of the runoff will lighten up and appear cleaner. You want to get as much of the dissolved minerals away from the plant as you can.
How to flush hydroponic plants
Flushing hydroponic plants is much easier than removing nutrients from a soil medium. Hydro growers can simply drain their system and replace the water with plain pH-balanced water instead.
Flushing hydroponic plants is also a much shorter process. Once the water supply has been switched out, hydro plants won’t have access to any external nutrients. Because of this, you’ll only need to flush plants for two days.
The outcome of flushing your cannabis
After the bud is harvested, take the extra time to cure the bud to its highest potential. A proper cure will cut back even further on that harsh edge, removing aspects like excess chlorophyll. You will be amazed at the difference this small effort can do to your product. All of your hard work will show in that first inhale of that silky smooth smoke that hits the back of your throat as soft as honey. This is nature at its smoothest. You can increase the quality of your cannabis by just adding water!
When to avoid flushing your plants
The only time it’s recommended to avoid flushing is when you’re growing in an amended organic soil or super soil. This medium is carefully developed over time to harbour beneficial microorganisms such as bacteria and fungi. This delicate biodiversity can be washed away and damaged by flushing.
Then again, the lack of flushing shouldn’t be an issue as no synthetic or external nutrients are added to this medium. Instead, plants rely on microorganisms to break down organic matter and deliver it to the roots.
The Flushing Debate: Is It Necessary?
Now you know why cannabis growers choose to flush their plants and how to conduct this practice. However, to present a balanced point of view, we want to expose you to the other side of the debate. If you’ve ever grown cannabis before, chances are that you chose to flush your soil before harvest. Most of the cultivators you know probably swear by this practice, too. But some growers choose not to flush. Not only do they see no benefit, but they argue that doing so produces results opposite of the intended effect. Contrary to what some growers believe, flushing doesn’t destroy and remove stored nutrients within plants. Why? Because the covalent bonds between these molecules are strong and techniques studied in organic chemistry are required to break them. This means that flushing doesn’t generate the destruction of chemistry created by plants. Instead, it works to dilute the available nutrients in the growing medium.
The concept behind flushing suggests that attempting to remove residual nutrients within the growing medium causes cannabis plants to mobilise and utilise their nutrient stores. In theory, cutting off their external nutrient supply causes plants to use up what’s left, resulting in buds that are less harsh and more flavourful. While flushing affects the number of ionic nutrients in the growing medium, it does little to impact the chemistry already present in plant tissues directly.
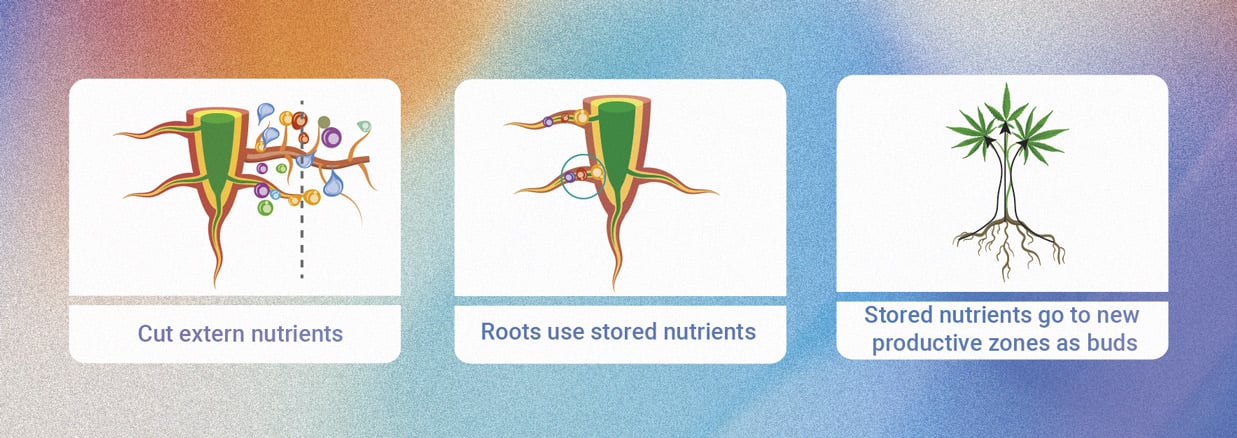
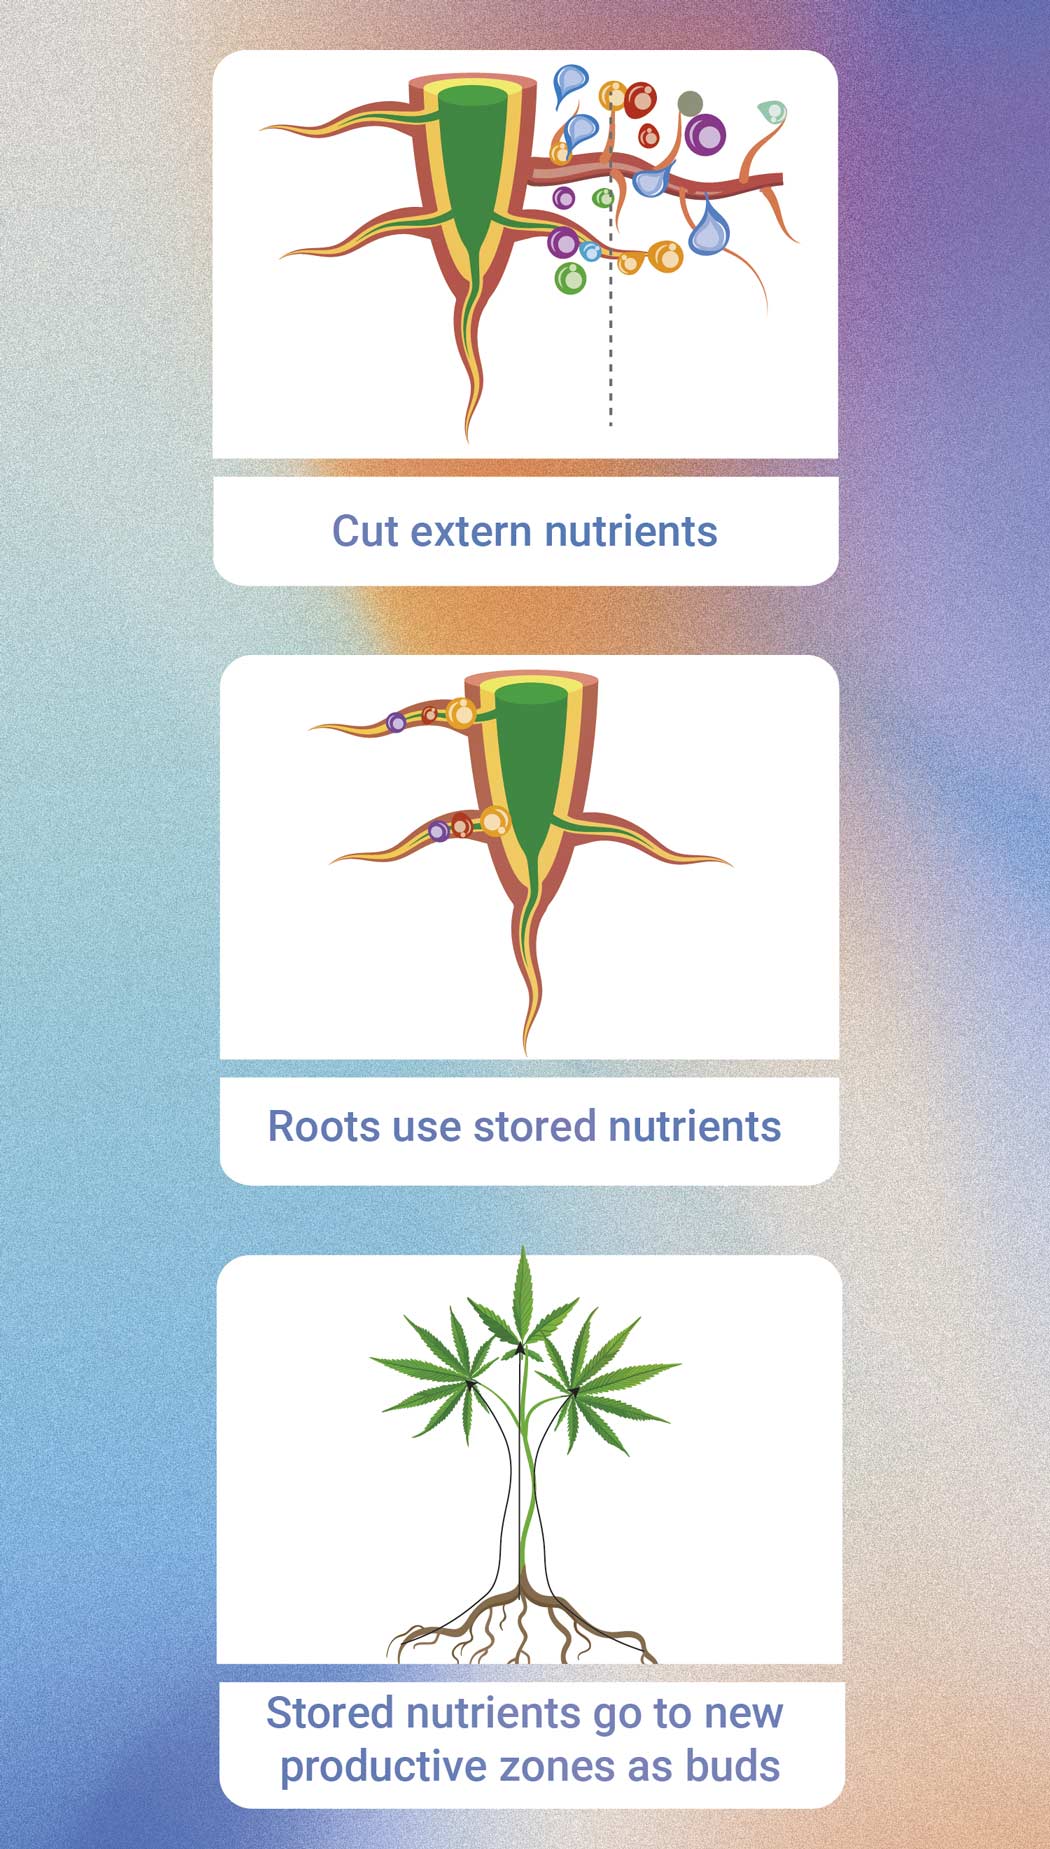
During flushing, growers are advised to gradually increase the pH of their applied solution to decrease the availability of nutrients such as iron, manganese, boron, copper, and zinc. The practice also generates a deficit of the three macronutrients nitrogen, potassium, and phosphorus. As cannabis plants detect a lull in nutrients, they tap into old sink tissue and ferry stored nutrients to newer and more productive sites, such as the flowers. Growers that oppose flushing argue that this mobilisation of nutrients results in even more minerals and elements entering flower tissue compared to not flushing.
Furthermore, restricting vital nutrients during flowering puts plants into an economy of war. In a focus to ensure survival and reach reproduction, plants are less likely to pump vital energy into the production of secondary metabolites, including cannabinoids and terpenes. With this in mind, proponents of flushing argue the opposite[2]. Because secondary metabolites are produced by plants to combat stress, they state that a deficit in nutrients causes an increase in the production of these compounds; some research findings
- https://www.sciencedirect.com/science/article/abs/pii/S0926669024011348?via%3Dihub
- Effects of Nitrogen Fertilization on Synthesis of Primary and Secondary Metabolites in Three Varieties of Kacip Fatimah (Labisia Pumila Blume) - PMC https://www.ncbi.nlm.nih.gov
 Grow Guide Topic Finder
- Growing weed step by step
- Cannabis growing basics
- Choosing your seeds
- How to germinate seeds
- The cannabis vegetative stage
- The cannabis flowering stage
- Harvesting cannabis
- Trimming, drying, and curing
- Choosing pots and soil
-
Growing indoors
- A Complete Overview Of Growing Cannabis Indoors
- Cannabis Cultivation Tips: How To Set Up Indoor Grow Lights
- How Many Cannabis Plants Can You Grow Per Square Metre?
- Indoor Cannabis Growing: Relative Humidity and Temperatures
- Hydroponics Cannabis Growing Guide (with diagrams)
- Cannabis Micro Growing: Growing Great Weed in Tiny Spaces
- Growing outdoors
- How to grow autoflowering cannabis
- Cannabis nutrients and pH
- Cannabis troubleshooting: Nutrients
-
Cannabis troubleshooting: Growing
- Cannabis Seed Germination — Troubleshooting Guide
- How to Deal With Pythium (Root Rot) in Cannabis Plants
- Slow Cannabis Plant Growth And What You Can Do About It
- How to Deal With Leggy Cannabis Seedlings
- Watering Your Cannabis: How to Fix Overwatering and Underwatering
- Understanding Male, Female, And Hermaphrodite Cannabis
- Identifying and Treating Common Cannabis Ailments
- How To Revive a Sick Cannabis Plant
- How to Avoid Mouldy Weed During Drying and Curing
- How to Prevent and Treat Dry and Crispy Cannabis Leaves
- What Cannabis Leaves Can Tell You
- Causes and Solutions for Yellow Cannabis Leaves
-
Cannabis Strains Grow Report
- HulkBerry Automatic Grow Report
- Blue Cheese Auto Grow Report
- Purple Punch Automatic Strain Grow Report
- Triple G Automatic Grow Report
- Do-Si-Dos Automatic Grow Report
- Green Gelato Automatic Grow Report
- Haze Berry Automatic Grow Report
- Purple Queen Automatic Grow Report
- Cookies Gelato Automatic Grow Report
- Sherbet Queen Automatic Grow Report
- Sweet Skunk Automatic Grow Report
- Medusa F1 Grow Report
- Cannabis plant training
-
Weed growing tips
- The Cannabis Plant Anatomy
- How to preserve seeds - UK
- How Much Sunlight Do Outdoor Cannabis Plants Need To Grow?
- How to Control and Prevent Stretching in Cannabis Plants
- My Cannabis Plants Are Growing Too Tall: What Should I Do?
- Should You Worry About Purple Or Red Cannabis Stems?
- What To Do When Your Indoor Cannabis Won’t Flower
- How To Protect Your Cannabis Plants From Heat Stress
- How To Tell If Your Female Cannabis Plant Has Been Pollinated
- Growing Medical Marijuana
- Bud Washing: How to Clean Your Weed
- Understanding Cannabis Yield per Plant


