Contents:
Power Flower Grow Report
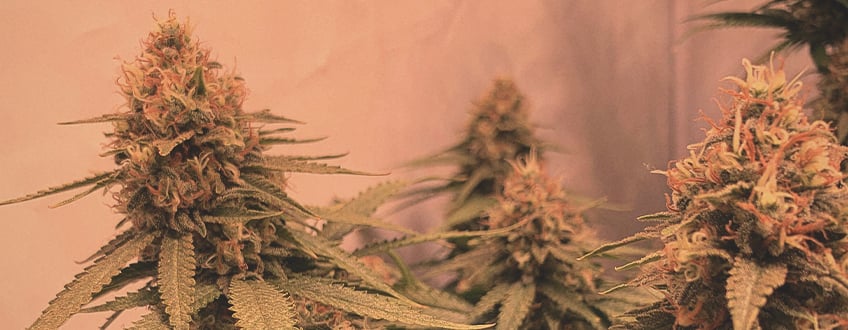
Outlined below is a grow diary for RQS’s Power Flower, a sativa with a fruity terpene profile and some impressive characteristics. My setup is modest, but as you'll see, even small grow spaces and limited equipment can have good results.
I've detailed every aspect of the process, from seed to harvest, but before we get started, let's quickly cover some of the details of my chosen strain and grow setup.
Power Flower's Genetics & Characteristics
A virtually pure sativa (88%), Power Flower is RQS' recreation of the iconic Power Plant and it carries genetics of South African sativas. I was attracted to this strain because of its impressive potential yields (500–550g/m² indoors or 500–550g per plant outdoors), as well as its sweet, citrusy flavours.
However, Power Flower's greatest appeal is perhaps the relatively short flowering period (8 weeks), which for a sativa is surprising. On paper, Power Flower promises to be a strain with great potential, a reasonably easy-going nature and ability to handle training.
Power Flower
|
|
South African Sativas |
|
|
500 - 550 gr/m2 |
|
|
80 - 120 cm |
|
|
60 - 65 days |
|
|
THC: Up to 19% |
|
|
Sativa 88% Indica 12% |
|
|
500 - 550 gr/plant |
|
|
160 - 200 cm |
|
|
October |
|
|
Heavy |
Setup
- 1m² box
- 2 x 250W LED light
- 4 x 18L pot
- 4 x 0.5L pot
- Wi-Fi light switch
- 320m³/h extraction fan
- Humidity and temperature sensor
Setup is pretty straightforward, but perfect for a small grow tent. There is one piece of equipment I wouldn't live without, though, and that's the Wi-Fi light switch. It lets me fully control LED lights from my phone and set a specific schedule for veg and flowering.
Finally, to make the most of the space and the plants' potential yields, I used topping and training techniques once the first few nodes were established.
Germination and Seedling Phase
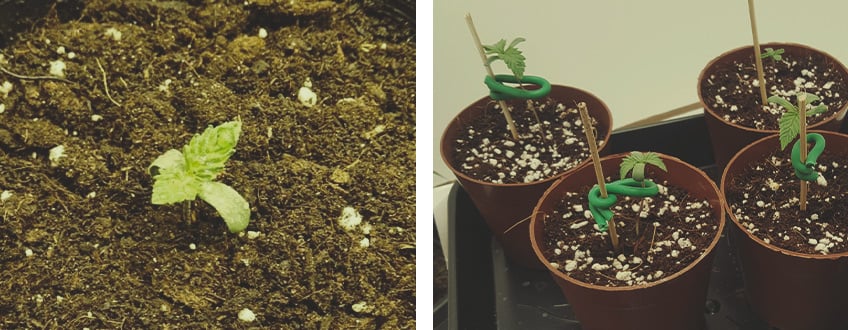
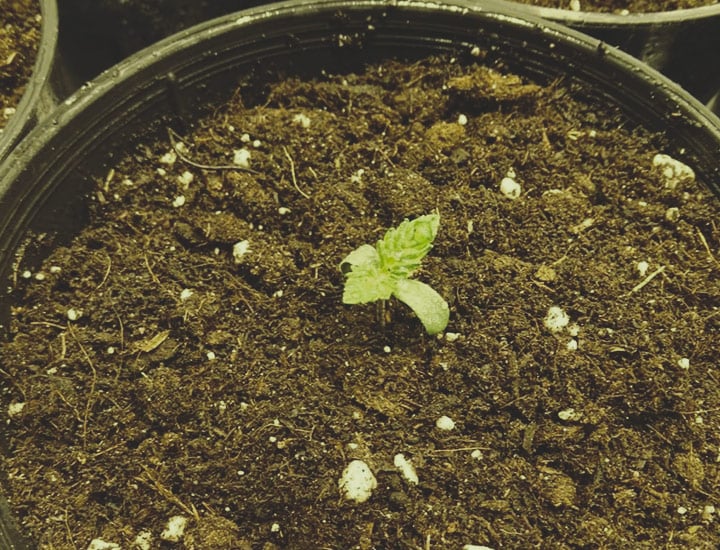
I started with four seeds, all of which were germinated using 0.5L pots and a basic potting mix (which I pre-soaked). I punched a small hole in the soil of each container using a screwdriver and loosely covered the seeds.
I put all four pots on an RQS rolling tray and positioned them carefully in my airing cupboard. The temperature and humidity there are perfect for germinating seeds, and I didn't need to worry about any ambient light.
Two seeds popped after 48 hours, closely followed by the other two. As soon as the seedlings poked their head above the soil, I moved them across to the grow box and put them on an 18/6 light schedule.
My seedlings didn't need much else at this point as they found their feet and started to develop their first set of true leaves.
Vegetative Phase
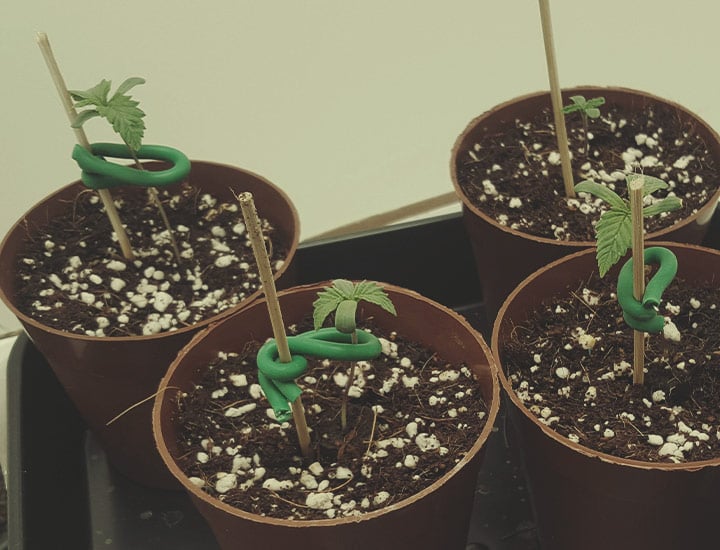
With the first few sets of leaves present, it was time to move my plants into their final 18L pots. I added some perlite to the substrate mix (approximately 15%) to improve drainage and to get oxygen to the roots. And, for a little extra boost, I used a root juice (4ml/L).
I also made sure to transplant at the end of their light schedule, so my plants had a full six hours of darkness to recover, and the roots could get used to their new surroundings.
Weeks 1–2
The first two weeks were about settling my plants into their new surroundings and setting up a routine with light, watering and nutrients.
Both LED panels were positioned about 30cm away from the plants. At this distance, they're still close enough to give them an abundance of light, but not too close to cause heat stress.
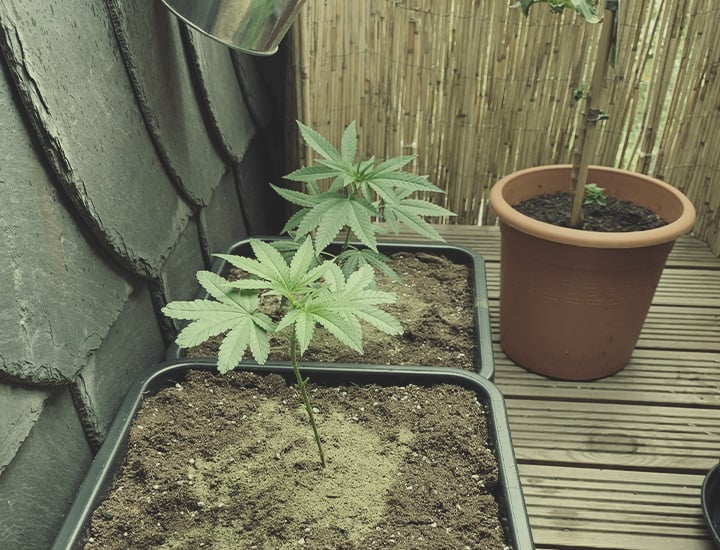
I should also point out that my LED panels have different switches for vegging and flowering. The bloom function has a different light spectrum designed to improve yields. But, for now, the white lights of the growth setting were plenty.
Each Power Flower plant had about two litres of water every 48 hours, with temperature and humidity at a stable 26°C and 65% respectively. Thankfully, with adequate ventilation and mild ambient temperatures, my grow box was naturally the right environment for my plants to thrive.
Weeks 3–4
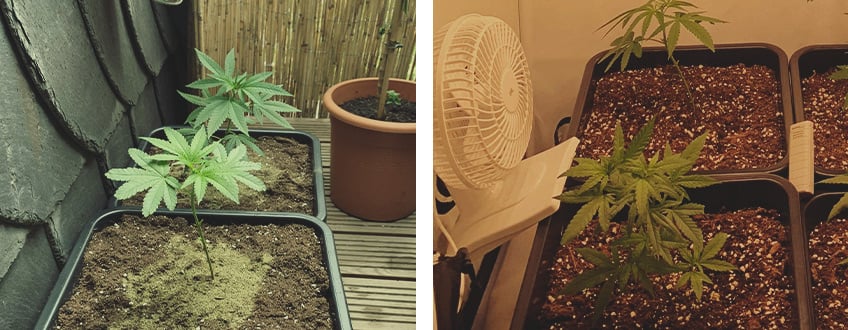
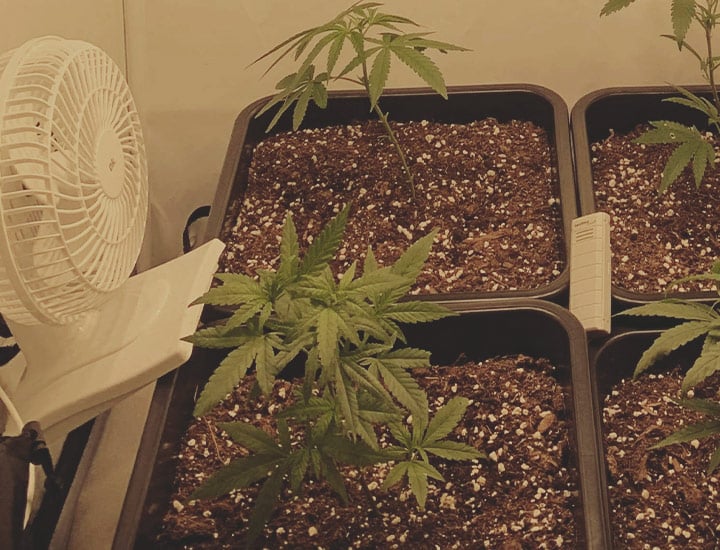
Three weeks in and my plants have reached the giddy height of 25cm. Although they weren't much to look at, it was time to start tinkering with them. Light position, schedule, temperature and humidity remained the same as during the first couple of weeks of vegging, but with several nodes established, it was time to top and train.
Space in my box is quite tight, especially with four plants, so I knew I had to try main-lining to make the most of their potential. I topped each plant just after the fifth node and used string to tie down each major branch. It needed adjusting as the plant grew, but with each branch tied to the rim of the pot, it created a manifold rather than a central stem. This method also encourages the development of several colas, rather than a single, central formation.
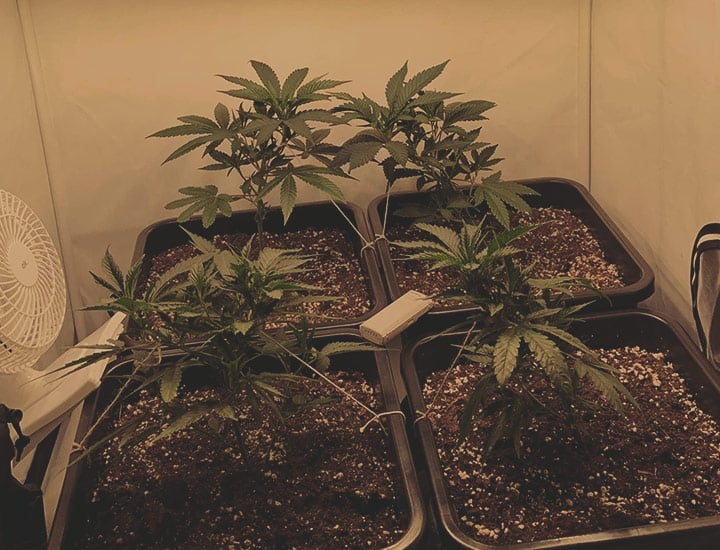
With my plants having to work a little harder now and deal with the stress of topping, I decided to add a more diverse nutrient blend. This time I included Alg-A-Mic, Bio-Heaven, Bio-Grow and Fish-Mix (2ml/L of each).
With the stage set, my plants had everything they needed and it was just a matter of letting them recover for a week before switching to flowering.
Flowering Phase
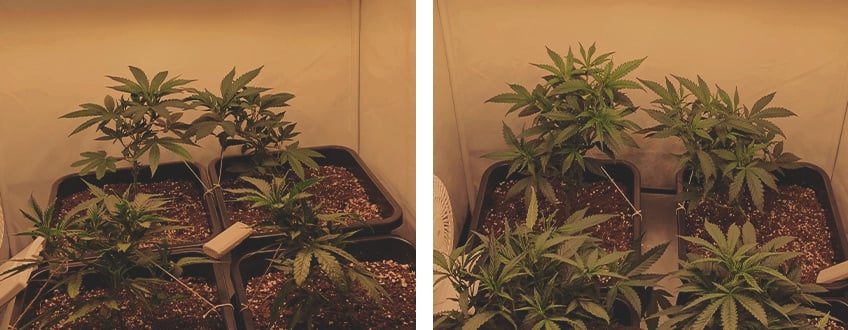
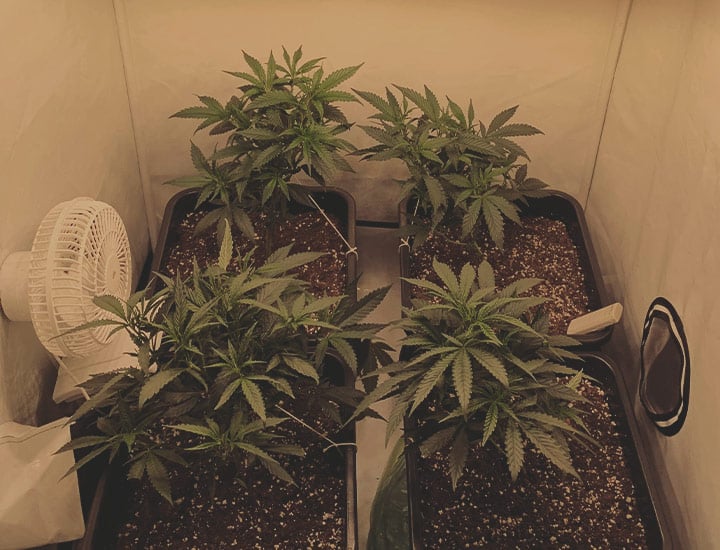
What a difference a week makes! Thanks to the extra nutrients I supplemented in week four, all plants have sprung into life. At the start of flowering, they're nearly double the size of week two, with multiple sets of fan leaves.
I also made the all-important switch to a 12/12 lighting schedule and activated the bloom setting on my lamps. The extra red LED light spectrum supports bud production and helps the plants transition into flowering.
Weeks 5–6
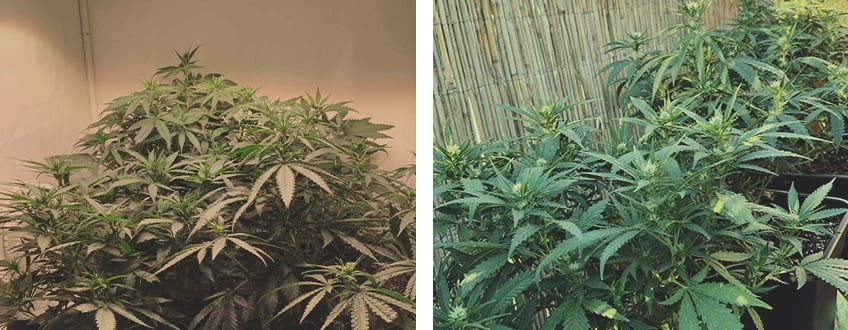
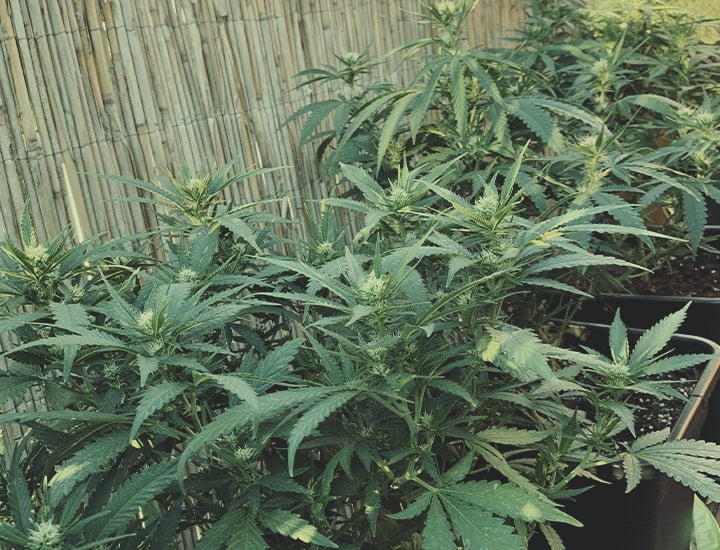
Usually, there wouldn't be much to report at this stage, but disaster struck! Earlier in the grow I moved all four plants out of their tent (to take pictures and check on them), and in the process they must have picked up a few rogue spider mites!
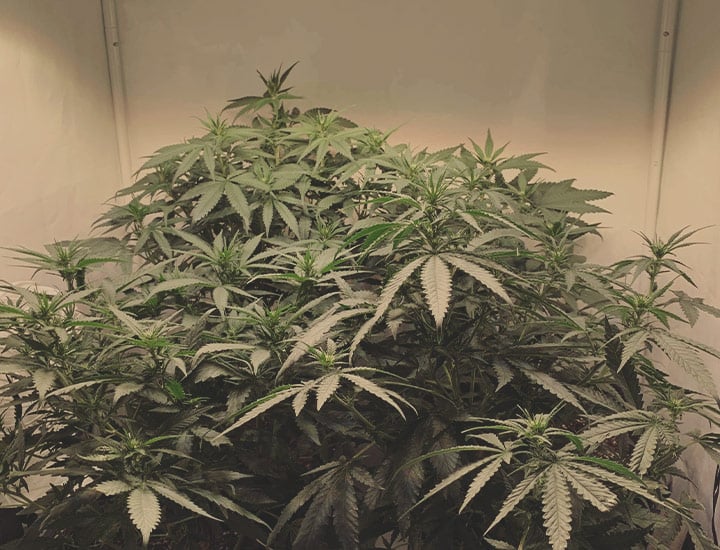
The infestation has done some damage already, so I moved my plants back outside while I cleaned down the inside of my grow box. And, you never know, there might be some hungry ladybugs that can lend me a helping hand.
Even with spider mites doing their best to ruin my hard work, I added Bio-Bloom (2ml/L) and Top-Max (1ml/L) to my nutrient regime. Both work to enhance the size, density and flavour of buds.
Weeks 7–8
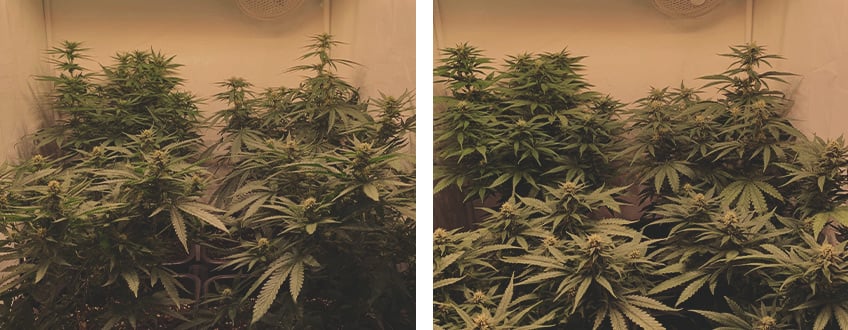
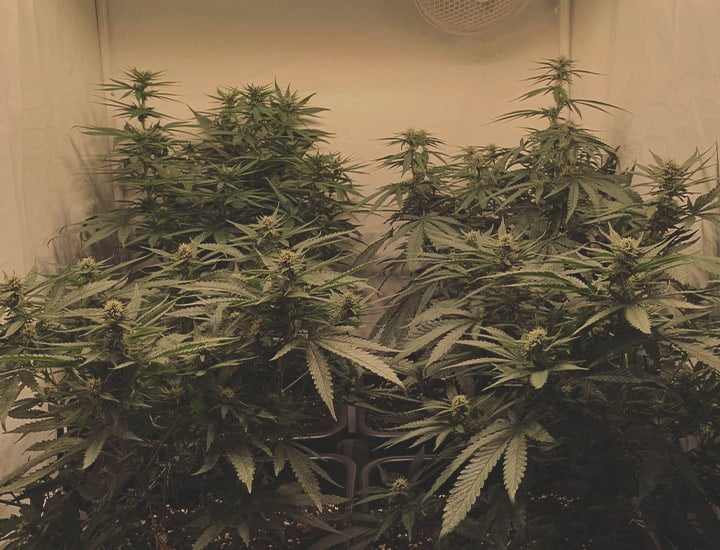
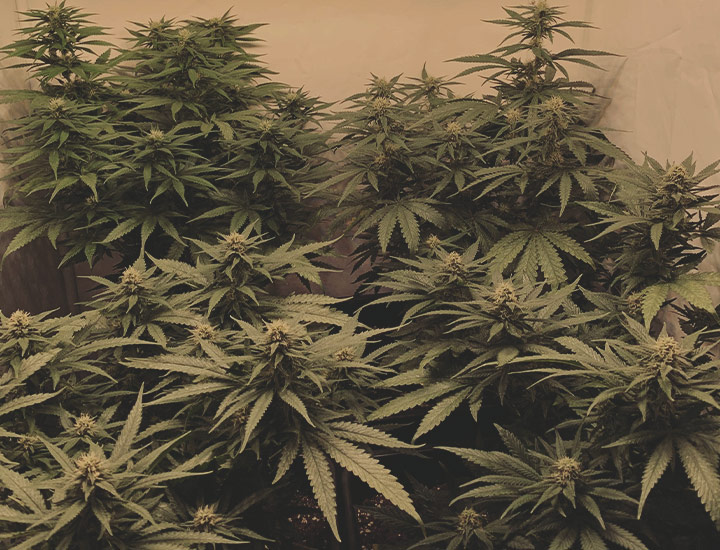
With a little bit of effort, the spider mite infestation was under control and plants were slowly but surely starting to recover. I took the opportunity to raise both LED lamps approximately 35cm above the canopy, and each plant was still getting two litres of water every other day.
Weeks 9–10
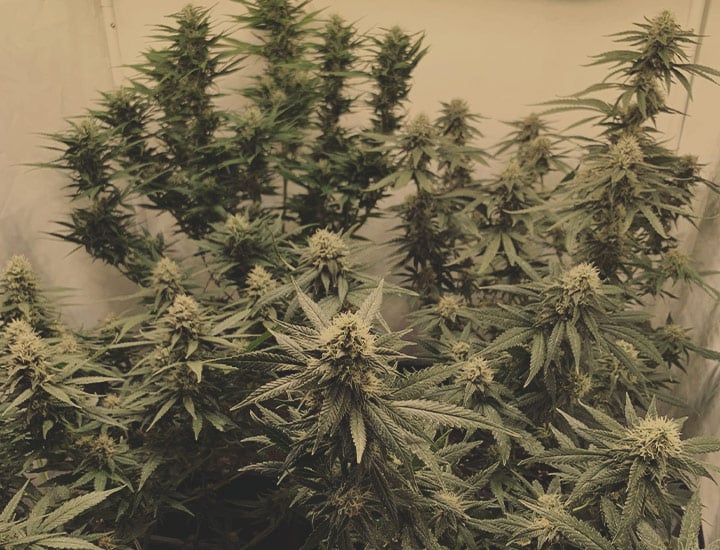
All four plants are deep into flowering, with some juicy colas forming. Sugar leaves are thick with resin, and the smell inside the box is divine. Thankfully, the extractor and carbon filter are putting in the work as there's almost no smell leaking outside. With the end in sight, I increased the feeding regime, essentially doubling the blend from weeks three and four—I started administering 5ml/L of Alg-A-Mic and Bio-Heaven, upping the other products to 4ml/L.
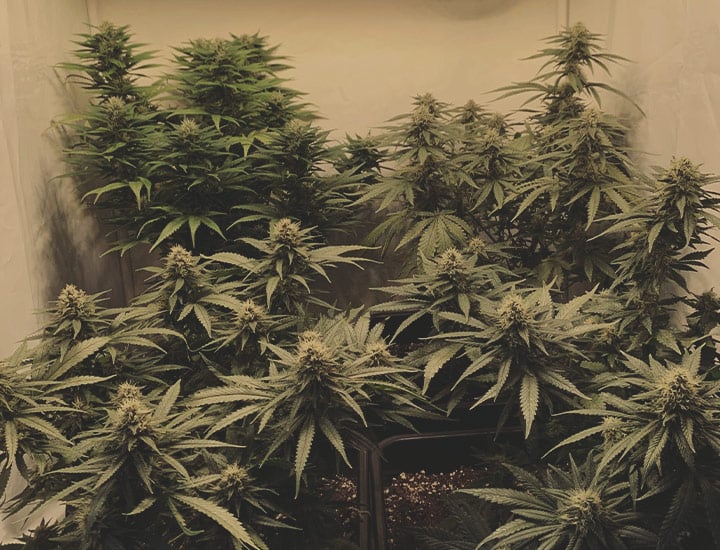
To help the plants focus all their attention on the buds, it was time I gave them a haircut. I removed the majority of the large fan leaves, leaving a few smaller ones behind, and of course, all of the sugar leaves.
I always try to prune close to the end of the light schedule, so plants have time to adjust overnight. Heavy pruning can stunt development (albeit temporarily), but all four Power Flower plants seemed unfazed.
Weeks 11–12
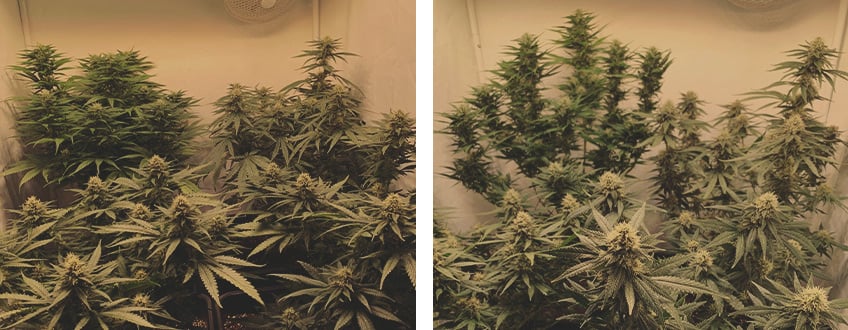
So close to the end and all I want to do is harvest and enjoy the flowers! The first two plants to germinate look like they are nearly ready, while the other two seem to be lagging. Brilliant orange stigmas are now visible, and leaves are starting to lose their colour as all available nutrients are diverted to the buds.
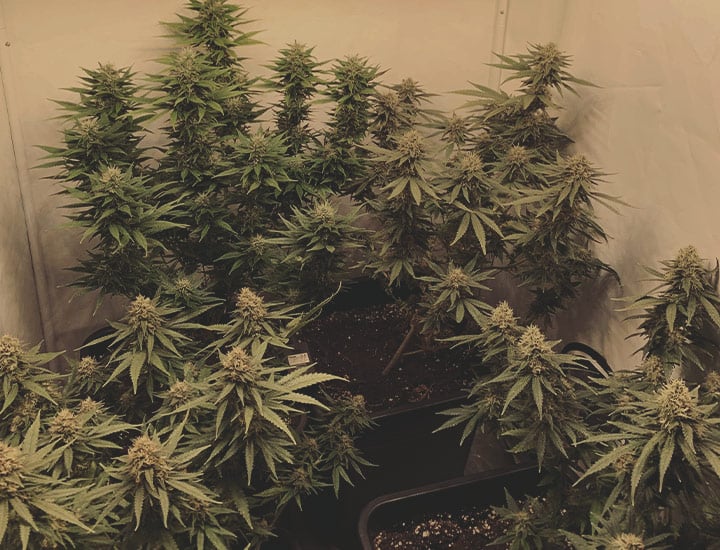
To end the eight-week flowering phase, I'm going to give all four plants a full two days in total darkness. Having tried this before, I found it helps increase resin production while also enhancing taste and aroma. It's a matter of personal preference, but it's a simple enough technique to try.
Harvest
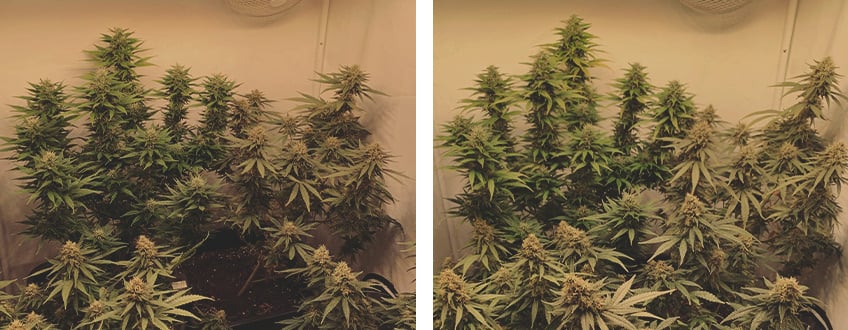
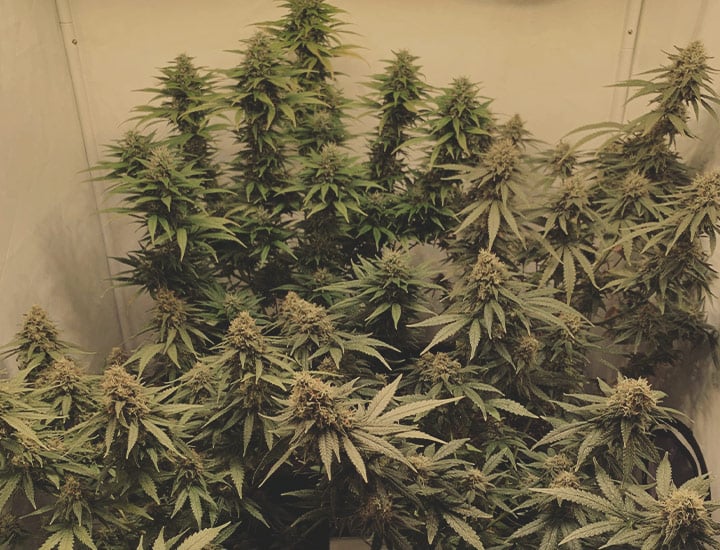
The extra nutrients in the final weeks of flowering and the two days of darkness paid off. Buds are incredibly sticky, and I can’t get anywhere near them without covering myself in resin. However, with some pruning scissors, powder-free gloves, and resolute determination, I persevered. My freshly trimmed buds will now spend the next week drying inside the grow box.
After moving the buds to glass mason jars (with a small Humidipak in each), I left them for several more weeks to mature. Every few days I opened the jars to rehydrate them, but mainly so I could tease myself with the incredible aroma.
Harvest results
After 12 weeks, the harvested wet weight was about 465g. With four weeks of curing, the final dry weight from all four plants came to roughly 204g. Which, given the wattage of my LED lights and the spider mite infestation, is not a bad result in my eyes.
Smoke Report
After converting to a vaporizer a few years ago, I've never looked back. I find it's the best way to enjoy the flavour and aroma of my buds. And, after picking up a Mighty for a reasonable price, it has been my go-to whenever I sit down to smoke—well vape—but you get the idea.
Flavour
The first thing that I noticed with Power Flower was a refreshing blast of citrus and fruit. The flavour continued to build the more I vaped, before slowly turning slightly sour. There are also pine undertones, but I only picked up on these after a few tokes—a welcome change to balance out the strain's overall sweetness.
Effects
I'm pleased to report the high is as expected from Power Flower's sativa genetics—profoundly energetic and euphoric. I felt nothing but happiness and even found myself getting lost in work thanks to a boost in creativity.
There were a few times I enjoyed Power Flower so much I went past my self-imposed soft limit, but the high never got too overwhelming. I did experience dry eyes and a dry mouth, but this is expected with any strain.
Power Flower: Final Thoughts
Overall, this could well be my new favourite strain. To me, Power Flower is the perfect ratio of sweet and sour, with a high that's equally balanced and uplifting. And, from a grower's perspective, she needed little attention (minus the spider mite infestation).
Given my modest conditions, she performed exceptionally well. I'd love to see how she performs with a stronger LED light and a bigger space to stretch—my guess is amazingly!


