Amount exceeded

4.7 out of 5 based on 58000 reviews


4.7 out of 5 based on 58000 reviews
.
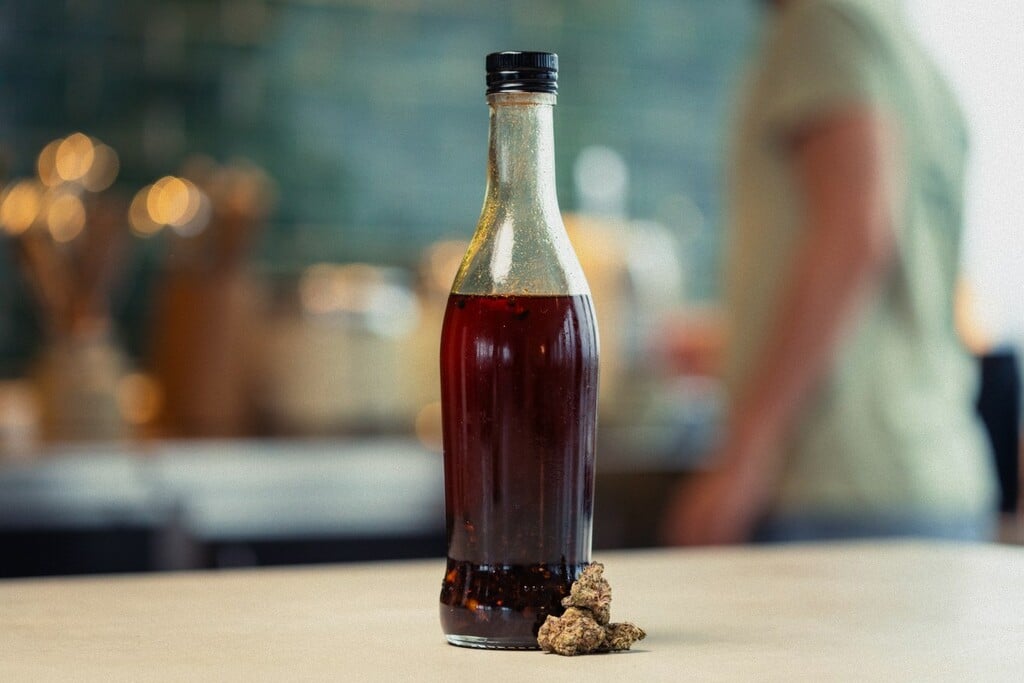
Create a flavour-first weed chilli oil recipe you can drizzle or use in savoury meals. Includes equipment, step-by-step infusion, potency estimation, and responsible dosing guidance.
Want to add heat and potency to your meals? Learn how to make weed chili oil at home for cooking, drizzling, and bold, flavor-packed dishes. It’s a quick, flavor-forward twist on a classic condiment, pairing the richness of oil with a chili kick and the depth of cannabis.
In this guide, we’ll walk you through a reliable method that prioritizes taste, control, and consistency, so you end up with a cannabis chili cooking oil you can actually use day to day. You’ll also learn how to keep the process safe, estimate strength, and choose the right ways to use it.
Chili oil is a flavored cooking oil infused with chili flakes, dried chiles, or fresh aromatics like garlic and ginger. The result is a punchy condiment that adds heat, fragrance, and silky richness to food without needing a full sauce.
When made and stored correctly in a clean, airtight jar, chili oil is also relatively shelf-stable. That versatility—part seasoning, part ingredient—makes it a staple you can keep on hand for quick, bold meals.
Cannabis chili oil is a multi-use cannabis cooking oil that fits naturally into savory meals. Instead of building an edible from scratch, you can dose by the spoon or drizzle, making it easier to control how much you’re taking while still enjoying a real dish.
Chili, garlic, and other aromatics also do a great job of covering up the herbal, “green” notes that can stand out in plain cannabis-infused olive oil.
Edible-style cannabis oils can take 30–120 minutes to kick in, so the biggest risk is overconsumption. If you redose too soon, effects can build and become unpleasant, including anxiety, nausea, dizziness, or an uncomfortably strong high. Keep portions small and wait before taking more.
When making chili oil, treat hot oil with respect. Keep the heat low, never leave the pan unattended, and avoid adding wet ingredients that can cause splattering. Have a lid nearby in case you need to smother a flare-up.
Store your finished oil clearly taged and out of reach of children and pets, ideally in a locked cabinet.
Finally, always check your local laws before making or using cannabis infusions, and only prepare them where it’s legal to do so.
Gather the following equipment:
Plan for about 10 minutes of prep, 45–60 minutes of gentle cooking, and roughly 1 hour and 10 minutes total (including cooling and straining).
Choose a high-quality olive oil with a clean, neutral flavor profile. Extra virgin adds more flavor, but it can be peppery and overpower more delicate aromatics if it’s especially robust. For chili strength, start modest and dial it up in your next batch—heat tends to intensify as the oil sits.


This method uses low, controlled heat to infuse olive oil with decarboxylated cannabis and chili, keeping flavors bright while helping protect cannabinoids from excessive temperatures.
Start with a clean workspace and dry everything thoroughly; water and hot oil don’t mix. Measure out your olive oil, chili flakes, and decarboxylated cannabis so you’re not scrambling once the pan is warm.
If you’re using garlic, peel the cloves and lightly crush them to release flavor without turning them into tiny bits that are hard to strain. For dried whole chiles, remove the stems and crumble or snip them into pieces. For fresh chiles, wash, pat dry, and slice (wear gloves to keep capsaicin off your hands). Keep aromatics and chiles ready in separate piles so you can add them smoothly and safely.


Pour the olive oil into a saucepan or double boiler and warm it gently. Use a thermometer and bring the oil to about 320°F. Keep the heat steady—if it starts smoking, it’s too hot.
Add your aromatics (like crushed garlic) and chili ingredients first, then stir in the decarboxylated cannabis. Hold the temperature and cook for 30–45 minutes, stirring every few minutes so nothing settles or sticks to the bottom. You’re looking for a light simmer in the oil, not frying.
If you want to protect flavor and potency even more, you can use a two-oil approach: make a small batch of cannabis oil separately over lower heat, then combine it with regular chili oil once both are warm (not hot). Mix thoroughly before straining.


Remove the pan from the heat and let the oil cool for 10–15 minutes so it’s safer to handle. Set a fine-mesh strainer (or cheesecloth) over a heatproof measuring cup and pour slowly, wearing gloves to protect against splashes. Don’t press the solids too hard; squeezing can force fine particles through, making the oil taste bitter and continue “cooking” in the bottle.
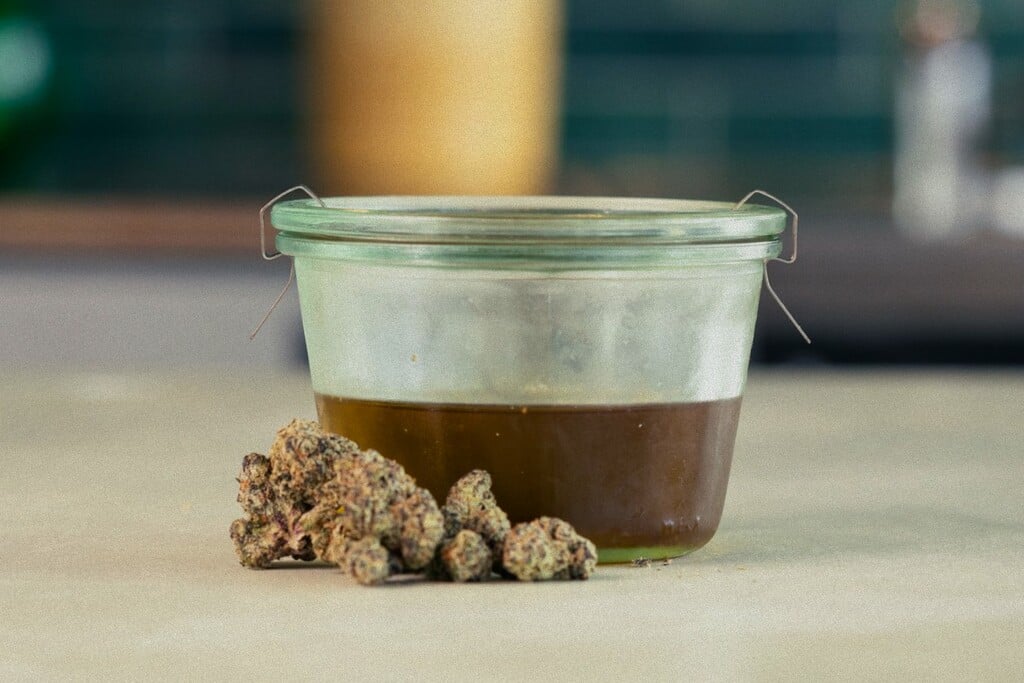
Once strained, use a funnel to transfer the oil into sterile glass jars or bottles. Seal tightly and tag it with the date, ingredients, and an estimated potency if you’ve calculated it. Clear tags help you dose consistently and keep your kitchen organized, especially if you store more than one infused oil.


Store your cannabis-infused oil in a sealed glass bottle or jar in a cool, dark place, away from the stove or a sunny windowsill. Light and heat can degrade both flavor and cannabinoids over time, so an opaque bottle or a cupboard is ideal.
For best quality, plan to use it within 4–6 weeks, and always check for off smells or cloudiness before cooking. If you’ve included any fresh ingredients, store the oil in the fridge and use it sooner, since moisture can shorten shelf life. Keep it clearly taged and out of reach of children and pets.


Dosing matters with cannabis oils because once THC is infused into fat, it’s easy to add more than you intended—especially with something as craveable as chili oil. The goal is consistency: you want to know roughly how much THC is in a teaspoon so you can cook and serve responsibly.
A simple estimate starts with your cannabis THC percentage. Convert that percentage into milligrams per gram, then factor in how much flower you used.
For example, 0.04 oz of cannabis at 20% THC contains about 200 mg THC (because 20% of 1,000 mg is 200 mg). If you infuse 0.07 oz, that’s 400 mg THC total before losses.
Home infusions aren’t perfectly efficient, so many people assume a 60–80% extraction rate. Using a cautious 70%, you’d expect about 280 mg THC in the finished oil. If your oil volume is 7 fl oz (US), that works out to roughly 1.4 mg THC per ml (or about 7 mg per teaspoon).
Edible effects take time. Onset can be 30–120 minutes, and topping up too soon can lead to stronger-than-expected results as doses add up. Stick to the classic rule: start low and go slow. Try a small amount, wait, and only then adjust next time.
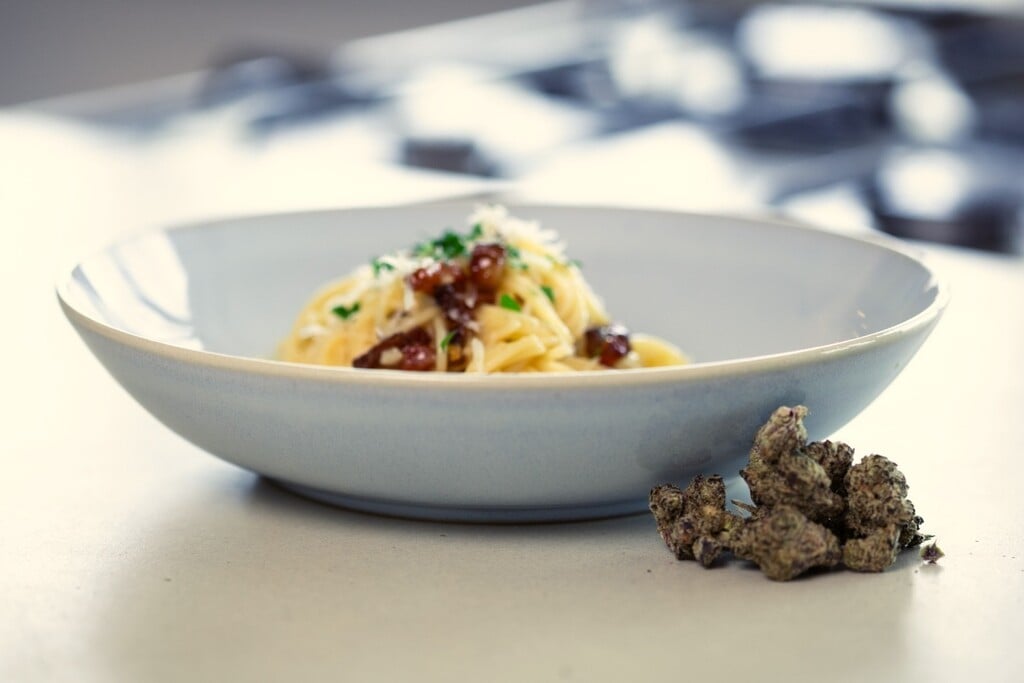
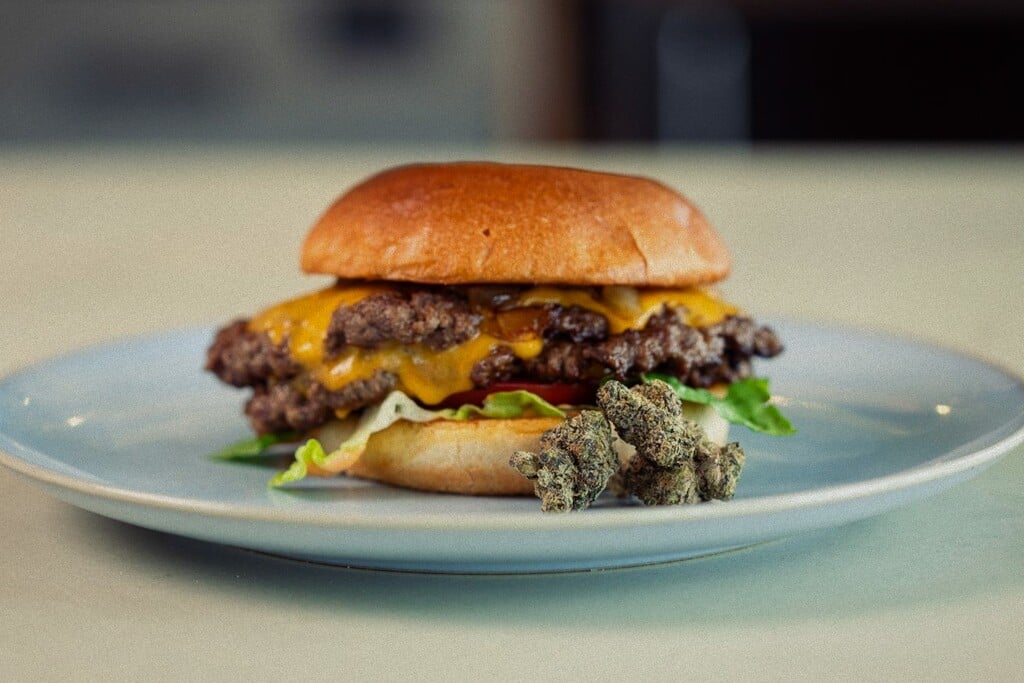
Think of cannabis chili oil as a finishing oil first, and a cooking oil second. A small drizzle over savory food gives you the bold aroma and heat without pushing the oil to high temperatures.
It’s great over noodles, fried rice, dumplings, ramen, and stir-fried greens. You can also use it in marinades and sauces. If you do heat it, keep it gentle and add it toward the end of cooking to preserve flavor and make dosing easier.