Amount exceeded

4.7 out of 5 based on 58606 reviews


4.7 out of 5 based on 58606 reviews
.
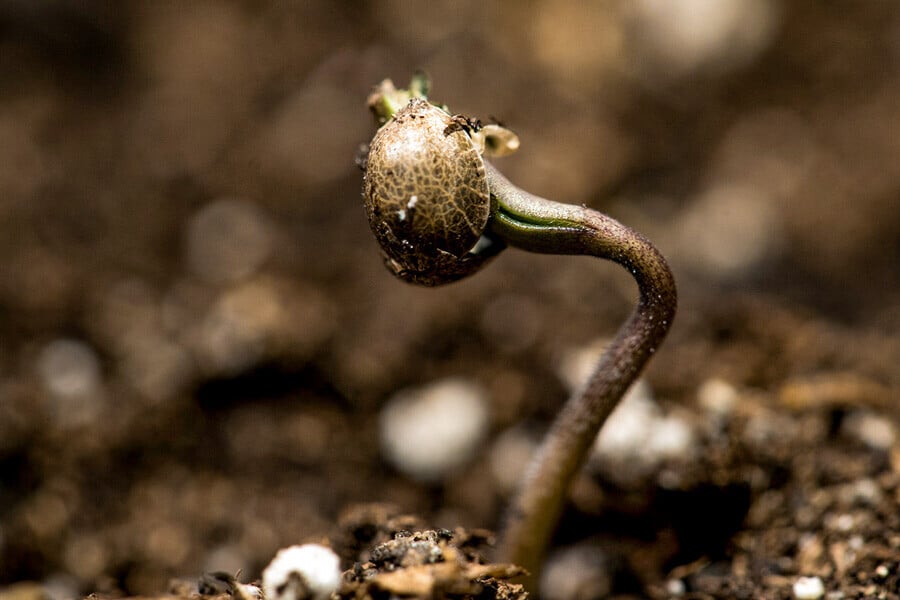
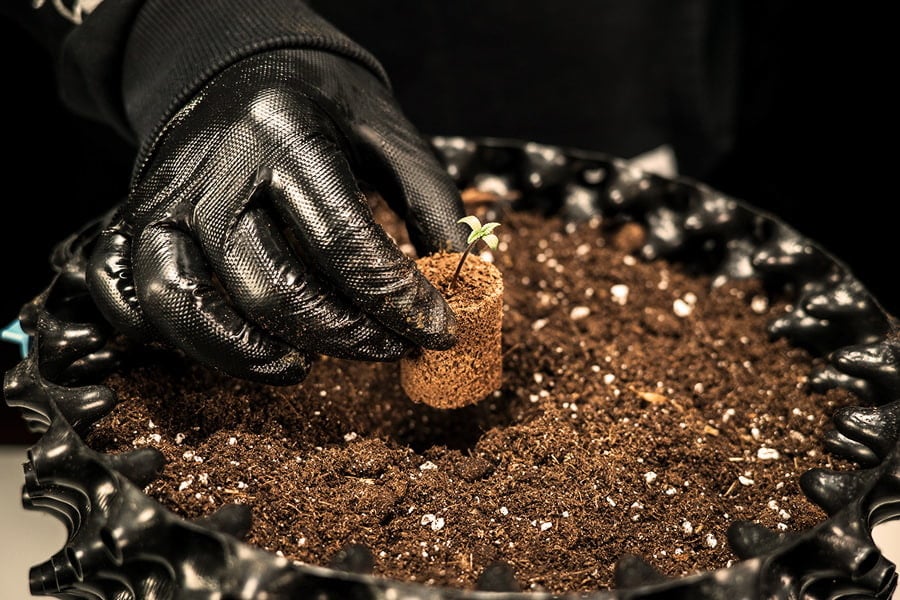
When your old cannabis seeds don't want to pop, one of these four techniques could come to their—and your—rescue. Aging seeds are more difficult to grow than fresh ones and we'll explain what you can do to help germination.
The older a cannabis seed gets, the harder it is to pop. But hard doesn't mean impossible. If you've been saving your seeds for a rainy day and it finally started pouring, these tips could help you get most, if not all, of your old beans to germinate.
As cannabis seeds age, their protective outer shell hardens and prevents water from passing through. Unless the tiny, dormant embryo that lives inside the shell detects moisture, it doesn't know that the conditions are right to sprout. As a first step, pre-soak your old cannabis seeds for about 12 hours to see if that does the trick.
To improve your chances, use carbonated water and/or add one of these supplements that help with water absorption. Fulvic acid and most boosters also give your seeds a light dose of nutrients.
Keep the water warm, but not too hot. Aim for around 22°C. Avoid direct sunlight, and keep an eye on the glass. Do not soak seeds for prolonged periods, more than 24 hours can deprive them of oxygen and make them drown.

Scarification, or scuffing the shell, can also help water pass through an older seed's tough outer shell.
To scarify your seeds, line a matchbox or other small container with sandpaper. Drop the seeds inside, shake vigorously for 30–60 seconds, then remove. You may not notice much of a difference, but the small micro-abrasions are sometimes enough to let water breach the shell and trigger germination.

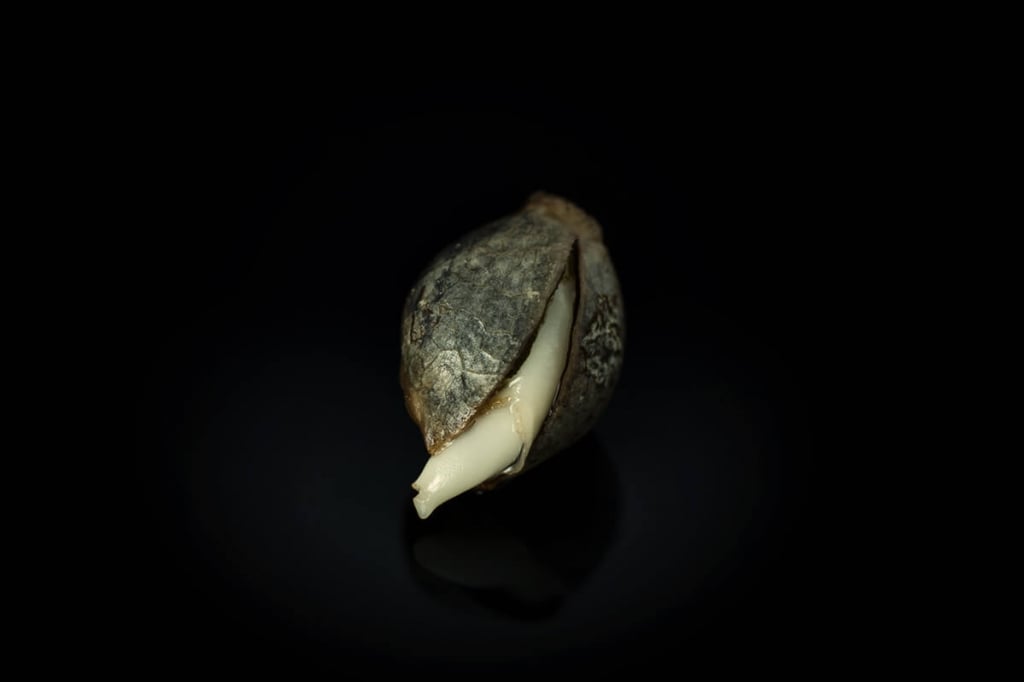
The seed's shell is made up of two pieces, with a seam going all around. The side that's raised more than the other is the ridge. A hardened ridge can make it difficult for the seed to open. To remove the ridge, run a sharp blade along the ridge on both sides. Handle gently and it should come off without damaging the inside of the seed.
Removing the ridge not only makes it easier for the seed to open, it helps with water absorption.

In a life or death situation, surgery may be the only option. Meaning—only do this if nothing else has worked because this technique ruins as many seeds as it saves.

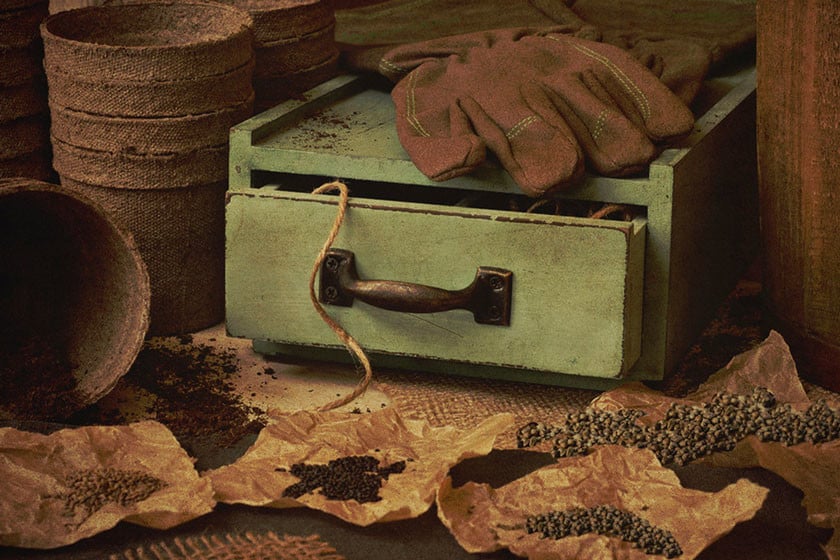
If you're going to keep seeds more than a year or two, proper storage will dramatically increase the chances of late-stage germination. Place them in an airtight container. Put the container in a refrigerator set at 6–8°C with 20–30% relative humidity. If excess moisture is a concern, add silica gel packs to the container.
As you proceed through these steps, the risk of damaging your seeds past the point of recovery increases. Between each suggestion, give them a few days to a week to germinate. Allow the outside to dry each time to prevent rot. Do not try all or multiple techniques at once.
In the future, consider growing your seeds before they get a chance to get old. They're not cheap, so letting them go bad is a waste in all kind of ways.