Amount exceeded

4.7 out of 5 based on 58606 reviews


4.7 out of 5 based on 58606 reviews
.
Drip irrigation might seem expensive or complex to set up, but it doesn't have to be. In this article, we'll teach you two ways to instal a drip irrigation system to help you cut down on physical labor and grow bigger, healthier cannabis plants.
Learn how to set up an indoor and outdoor drip irrigation system.
Contents:
With so much hype and info online about grow lights and nutrients, it’s easy for growers to forget about other aspects of their grow, like irrigation. However, without a healthy, regular watering schedule, your cannabis plants are never going to reach their full potential, regardless of how well you train them or how much money you spend on fertiliser.
In this article, we’ll walk you through drip irrigation, one of the simplest and most effective ways to automate the watering and feeding of your plants. With the right drip irrigation system in place, your plants will grow fast and healthy, without you needing to lift a finger to water or feed them.
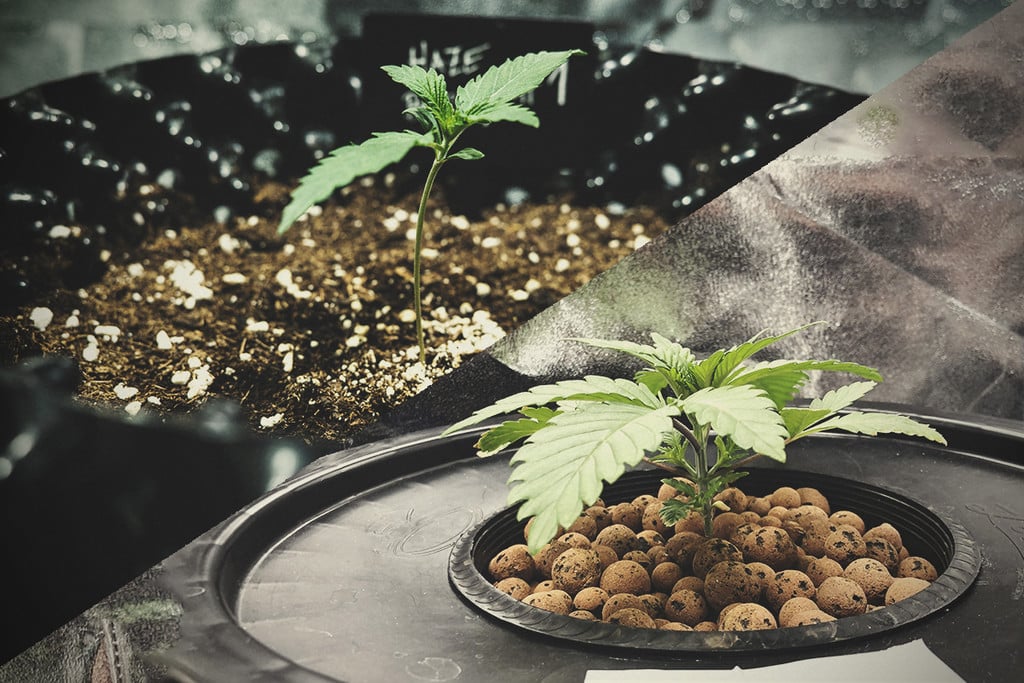
Drip irrigation, as the name suggests, is an irrigation system that slowly drip-feeds/waters your plants. It’s a low-pressure and low-volume irrigation technique that automatically delivers nutrients and water directly to a plant’s root zone in a very regulated and precise manner.
This seemingly advanced irrigation technique dates back to ancient China; the Fan Shengzhi shu, a Chinese agricultural text dating back to the 1st century BCE, describes a type of drip irrigation using buried clay pots filled with water.
Today, drip irrigation systems can vary greatly in both price and build quality/sophistication. Some of the most popular styles of drip irrigation include:
Drip line irrigation uses lines of tubing to deliver water from your faucets to your garden. These systems usually come with a pressure regulator (to lower the pressure of your water and ensure a slow, steady flow of water), a water filter, and a timer to allow you to automate irrigation.
Bottle drip irrigation is a very simple yet perfectly effective approach to drip irrigation. It uses plastic bottles placed around your garden, close to your plants’ roots, to deliver a slow, steady flow of water. Rather than investing in a drip line system, you can build your own DIY bottle drip irrigation system for next to nothing (instructions below).
The drip irrigation system described above is a simple and functional system that most people can instal in their homes. It does, however, have some restrictions and shortcomings, especially for hydro growers, that are important to consider.
Because the system above connects directly to a faucet, it does not allow you to treat, condition, or balance the water from your tap in order to better suit the needs of your plants. This means you won't be able to test or amend the pH of your water, nor measure/treat the amount of chlorine in it, both of which can, in turn, affect nutrient uptake, root health, and possibly even degrade the quality of your soil over time (chlorine kills beneficial bacteria and microbial lifeforms in living soil that help your plants feed and stay protected against pests and pathogens).
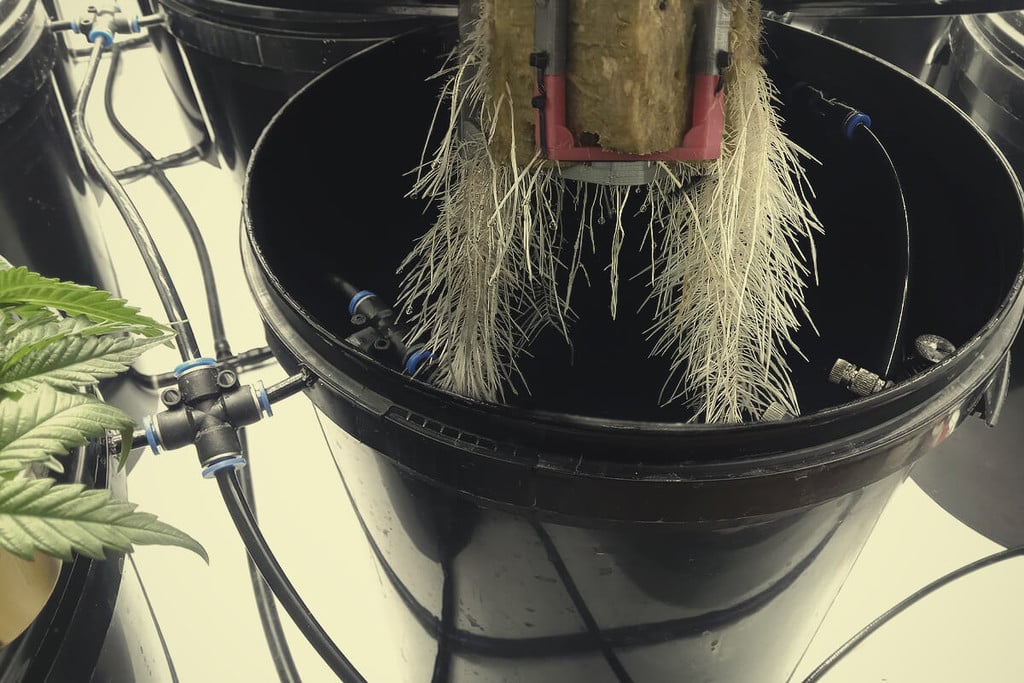
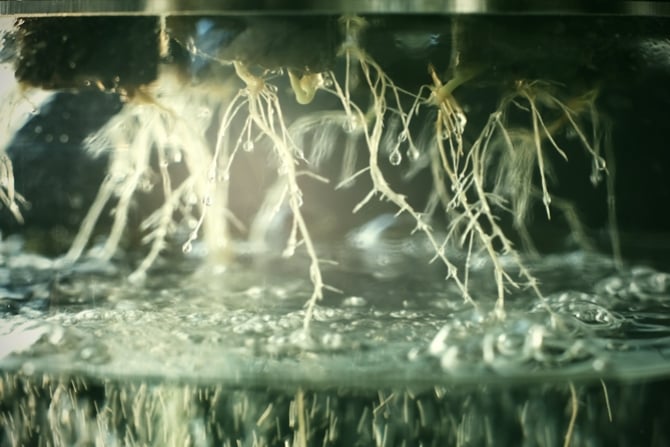
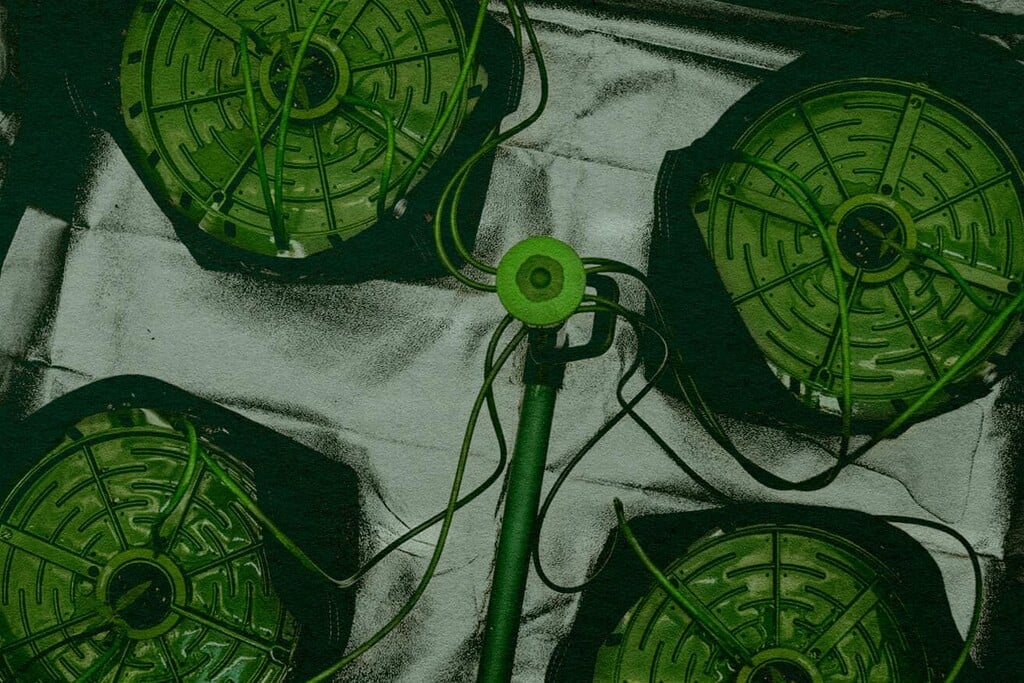
While the system we've described is a great starting point for amateur growers, if you're an experienced soil grower who needs more control over the quality of water you're using, we highly recommend using a reservoir-based system instead. Using a reservoir/bin/tote to house your water lets you balance the water's pH as well as condition its temperature, chlorination, and nutrient levels all before it gets pumped out to your plants. If you're growing hydroponically, using a reservoir system is a must, as it's the only way to add nutrients directly to the water to feed your plants.
Finally, using a reservoir-based system also provides more peace of mind. If you connect your drip irrigation system directly to your faucet and one of the system's fittings fails, you could experience catastrophic floods that wouldn't take place when working with a reservoir with limited water capacity and controlled by an electronic timer.
Yes, drip irrigation can save a lot of water, especially when compared to hand-watering, flood irrigation, or spray/sprinkler systems. Because it delivers water in a very controlled manner directly to the roots of your plants, it greatly reduces the loss of water from evaporation. Also, the flow and direction of water in a drip system isn’t affected by wind as it is in sprinkler systems, meaning it can dramatically improve watering efficiency outdoors.


Besides saving water, there are many other benefits to drip irrigation:
Unfortunately, drip irrigation systems also have their drawbacks. First and foremost, they can be more expensive than other irrigation systems, meaning they may not be suited to growers with a limited budget.
Drip irrigation systems also leave a lot of room for error. Installing these systems properly requires a lot of knowledge about your plants, their medium, and the local environment (if you’re growing outdoors). Without this knowledge, you may incorrectly instal or run your system, which might ultimately do your plants more harm than good.
Inexperienced growers using subsurface irrigation systems for the first time, for example, may run into issues with over- or underwatering, which can lead to stunted growth, pest issues, and more.
Some other disadvantages of drip irrigation systems include:


While professional drip irrigation can be expensive, you can easily craft a makeshift DIY drip system at home. Though there are many different ways to do this, we’ll share two of our favorites; a line irrigation system perfect for an indoor grow room, and an outdoor system made using plastic bottles.
Below, you’ll find a list of materials and instructions for creating a simple line drip irrigation system using basic materials. In our experience, these line systems are the best option for indoor gardeners as they minimise the risk of water splashing up onto your plants, which can create an inviting environment for pests and plagues.


5. Install the drippers simply by pushing them into the holes in your line. Make sure the drippers don’t wet any of your plant’s foliage or main stem, as this can attract pests and pathogens into your grow room.


6. Use tent stakes to hold the line in place close to your plants’ topsoil.
7. Where necessary, use the T, cross, and corner fittings listed above to neatly run your line through your tent/room. To instal the fittings, simply cut your line where you want the fitting to go, and push it into or over the fitting. You may want to warm the line in hot water first to make this process a little easier.
8. Once you’re finished running your line, cut it (if need be) and use an end plug to plug it
9. Turn on your faucet and check your line. Each dripper should effectively drip water into your plant’s medium. Replace any drippers that spray or appear blocked.


The following instructions are for a simple DIY drip irrigation system using hanging plastic bottles. While it might lack sophistication, this system is super easy to set up and gets the job done for next to no upfront investment in materials/equipment.


3. Screw the caps on each bottle, fill them with water, and hang them roughly 1 – 2 feet from the top of your pots.
4. Gently unscrew the caps on your bottles to let the water slowly seep out. You may want to experiment with opening and closing the cap to find that sweet spot with a nice, slow, steady drip. Also, make sure your bottles are dripping roughly 2 – 3.9 inches from the stem of your plants, and ensure they’re not wetting the stem or any foliage to avoid problems with pests and plagues.
5. Refill your bottles as needed.


Drip irrigation has some major benefits compared to hand-watering or other agricultural irrigation techniques. Unfortunately, one of the main reasons it still isn’t the norm for cannabis growers is its significant upfront cost. However, if you’re a serious grower with a bit of a budget and long-term growing goals, drip irrigation can seriously cut down on the physical labor it takes to run your garden, while helping you grow healthier plants and produce even better harvests.