.
How And Why To Create Homemade Organic Fertilizers
Organic fertilizers can save you money and boost your yields. Here's an overview on how and why you should make your own homemade fertilizer. You won't regret it!
Contents:
It has never been easier to start growing cannabis. The sheer amount of products and options available can be overwhelming, but they are all intended to make your life easier. That does not mean new systems will be cheaper or more effective than traditional methods for tending to your plants. It really depends on the scale of your operation and your goals as a cultivator.
SYNTHETIC VS ORGANIC FERTILIZERS
There seem to be two distinct schools of thought; one involves modern, petrochemical-intensive monoculture production, where sterile conditions and precise metric manipulation of variables are intended to maximise production. Bottled nutrients with strict NPK values and a short pH-range are utilised to minimise deficiencies and support robust growth.
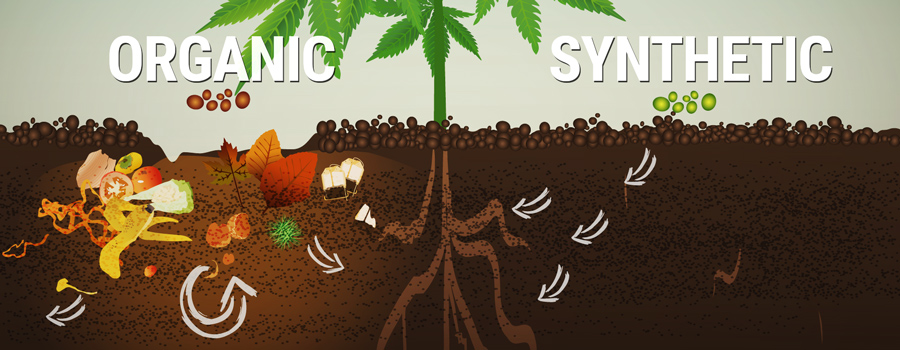
The other technique is the organic or “natural” way, in which plants are grown without petrochemical influence. In this scenario, what is really happening is you are feeding the soil microbiology, which in turn directly feeds the roots all of their favourite munchies in just the right proportions.
New, inexperienced growers need some time to delve into the intricacies of each method - organic vs synthetic. Analise the pros and cons, then get going with growing! You will surely change your mind on numerous subjects as you develop your green thumb.
ARE BOTTLED PRODUCTS WORTH IT?
As time passes, you will soon start to notice that most of what you buy in a bottle is either exceedingly expensive, wasted, or easily substituted at a fraction of the price with your own concoctions.
Take into consideration that most bottled fertilizers, be they synthetic or organic, lose some of their price value due to the high water content contained within. It is also extremely complicated to mix everything a plant needs into a stabilised bottle. There are limits to chemistry and plant physiology. Nutritional performance is surely lost to bottled convenience. It is also extremely complicated to mix everything a plant needs into a stabilised bottle. There are limits to chemistry and plant physiology. Nutritional performance is surely lost to bottled convenience.
MAKING YOUR OWN FERTILIZER
Making you own fertilizer can get quite addictive. Not only will you save a significant amount of money in the long-run, you will also begin to understand plant nutrition to a much greater extent, learn to dial-in exactly what your plants require, and ultimately, harvest bigger and better-tasting buds.
Are you throwing away your premium-price bagged soil after each crop or heavily dosing your plants with nutrients and additives without any significant increase in yield?
If so, simply read on.
HOMEMADE FERTILIZER: WHAT DO PLANTS EAT?
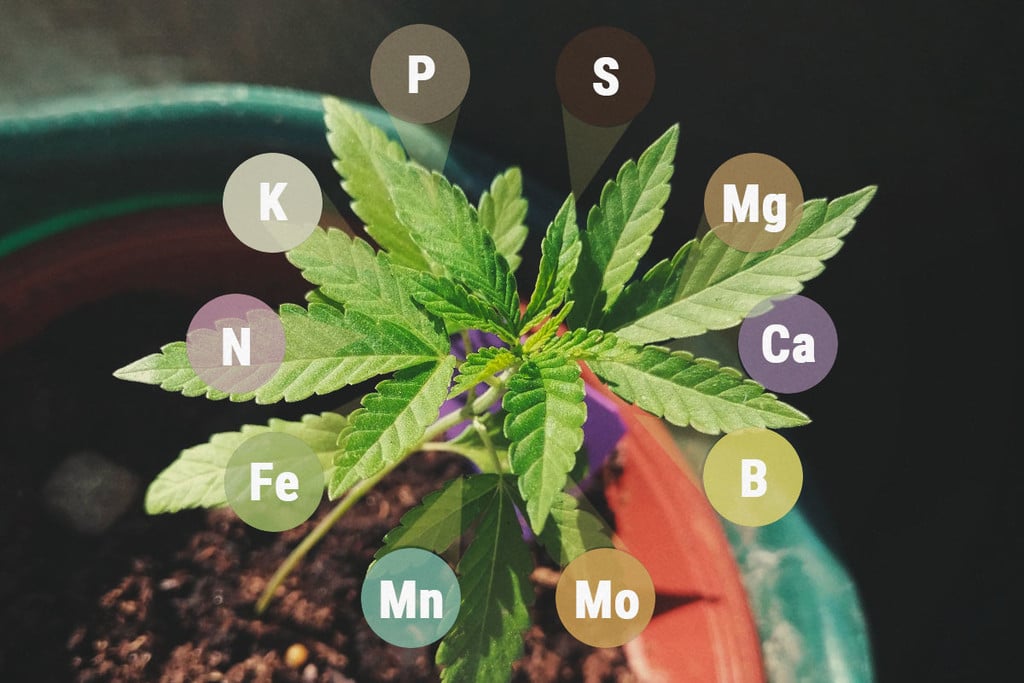
We will not go too deep into this subject, rather, we shall quickly provide some basic concepts. Surely you have seen “NPK” mentioned before. These are the primary macronutrients - the big players in a plant’s health and development.
- N - nitrogen
- P - phosphorus
- K - potassium
Along with these primary macronutrients, we also have secondary macronutrients and micronutrients (referred to as trace elements). These are metals and minerals that the plant needs in lower quantities, yet are of equal importance as NPK for healthy plant growth. The secondary macronutrients include calcium, magnesium, and sulphur, and the micronutrients are copper, iron, zinc, manganese, molybdenum, nickel, boron, and chlorine.
We also include vitamins and acids here, along with other organic compounds.
Fertilizer manufacturers essentially mix these and attempt to chemically stabilise them for bottling, transportation, and shelf-life. Any given nutrient line is just that brand’s take on a full nutritional plan; all of them claim to be better than the rest.
The secret to a grade-A yield is the right proportion of these constituents at the right time. In this sense, these nutrient lines are quite convenient.
But there is simply no replacement for creating or supplementing with your own, homemade organic fertilizer. In fact, that is what the best of growers do on a regular basis. With some experimentation, you will soon understand how easy this is, and what a difference organic soil makes in your garden.
WHY ORGANIC?
The main reason for making organic nutrients is quite simple; they can be extremely cheap (or free), and you can make them in your backgarden or kitchen with household appliances. They are often very easy to make, are not dangerous, and ultimately, are more environmentally friendly.
Composting, for instance, can save you a ton of hard-earned cash. After a harvest, the soil you used needs to be “recharged”. Most indoor tent growers simply throw away the depleted soil and buy a fresh new bag. That means lugging bags in and out and buying new soil each run. If you start composting all your organic food waste along with your used soil, magic happens. The soil is literally recycled and recharged with all the necessary microbiology and high-quality food your plants need. It will contain everything - NPK, trace elements, and an army of agro-bacteria and mycos to colonise your rhizosphere.
HUNGRY HUNGRY CANNABIS
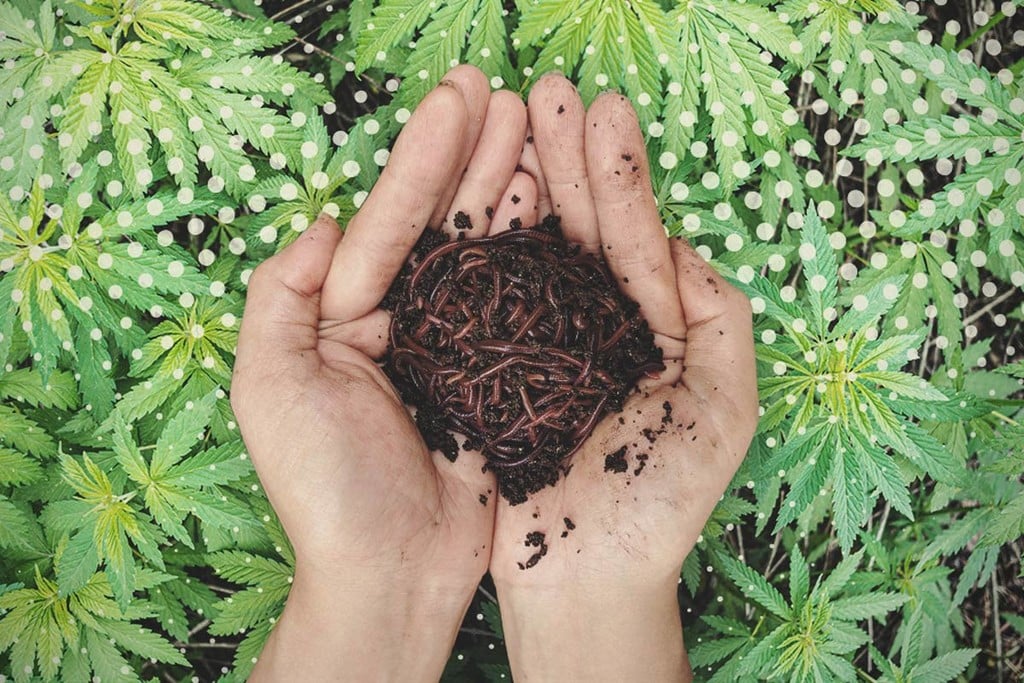
But cannabis can be a very hungry plant, and if you want those highly desired, heavy, and dense nugs, you need to supplement the base soil conditions. Since you technically do not feed your plants directly when growing in soil, we highly recommend getting into the habit of brewing your own bacteria. The technical term is Actively Aerated Compost Tea (AACT), but the slang terms “bennies”, “beneficial bacterial tea”, worm casting tea, or just compost tea are frequently used.
Regardless of terminology, they are simple to make. Prepare to be amazed. Not only will you increase the population of millions of little minions that will protect and feed your roots, you will also extract the best mineral and fungal properties of these soils into a tea, which you can directly feed to your roots, or use as a foliar spray against most common diseases.
SOIL AMENDMENTS
If you are growing outdoors and/or your soil quality needs a serious boost, here are some common amendments.
MACRONUTRIENT SOURCES
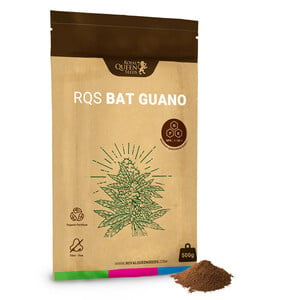
If you need a nitrogen (N) boost, you can add worm castings, a chicken manure recipe, crustaceous meal, and/or bat guano. You can also use human urine, but be sure to dilute it at a ratio of 10:1 parts water to urine. Otherwise, the urine will turn to ammonia and harm your plants. Never pee directly on your plants, it will burn the roots!
If you need a phosphorous (P) boost, boil some banana peels and drench your soil. Let it ferment slightly for optimal onset. Bone and fish meals, chicken manure, and rock dust are also great sources of phosphorus. Rock dust, for instance, is a slow-release source, so it’s great to mix with your depleted soil for a crop-long source of P.
If you need a potassium (K) boost, banana peel, bat guano, fish meal, kelp, wood ash, compost, and siliceous rocks are all great sources.
The two secondary micronutrients calcium and magnesium should be set aside, as these are particularly important, especially during bloom. Only after these reach optimum levels can the other trace elements function to their full potential.
Secondary Macronutrient and Micronutrient Sources
- Calcium - limestone, clay, chalk, gypsum
- Magnesium - dolomite, magnesium sulfate (Epsom salts)
- Other trace elements - azomite (trace nutrients and humic acid)
It is very rare to need to specifically boost other trace elements. They are present in the vast majority of soils and rocks. In fact, most of the amendments we suggested will excessively turbo-charge with trace elements, although this is not a bad thing.
MANURE RECIPES
Manure recipes are as old as agriculture itself. Man started to notice that where animals went to do their business, flora would flourish. Manure, to this day, continues to be one of the main agricultural inputs across the globe.
Manure recipes are a fantastic source of slow-release NPK, but they pose two medium-risk problems. If not properly composted or fermented, they can potentially present harmful pathogens to humans, animals, and plants. They can also be a bit tricky to balance with your base soil. So there is no right or wrong manure recipe choice, it depends on your region. Talk to local farmers to get a sense what works best.
| Sheep | Balanced and rich, but requires fermentation |
| Goat | Similar to sheep, but stronger |
| Cow | Not so rich, but easy to source and to work with |
| Swine | Obsolete |
| Chicken | Very rich, but usually exceedingly strong in NPK - be sure to dilute |
| Rabbit | Best for composting and worm production, very rich |
| Equine | Easy to work with and exceptionally great for pot flowers |

TAKE IT A STEP FURTHER - GO VEGANIC!
If you are environmentally conscious, here is a quick note about “organic” fertilizers. Petrochemical fertilizers are really bad for the environment, but so are animal-derived products like bone or fish meals, among others.
First of all, the organic label is not a synonym of good, better, or correct. If you really care about the environment, be on the lookout for the OMRI certificate on bottles.
These animal by-products are industrial leftovers that are chemically treated and dehydrated to squeeze every last inch of profit possible out of the industrial process. They are far from being “organic”; they simply contain unadulterated organic raw materials before they are treated with synthetic chemicals. Way better that petrochemicals, but still, our environmental conscience and global warming efforts must not stop there.
Legendary, award-winning cannabis editor, writer, breeder, and activist Kyle Kushman is at the forefront of veganic (plant-based) cultivation of cannabis. Results are clear. If you respect millions of years of natural selection, you will be able to reach maximum genetic potential. Stop trying to cheat Mother Nature. She’s got dibs on experimentation and time.
THAT WAS WAY TOO COMPLICATED
If you are new to this, you may be suffering from information overload. How on earth could you ditch your handy bottles and get your hands dirty in cow dung?
We’re not suggesting that. In fact, we have barely scraped the surface of this subject. Entire books are dedicated to this very issue. It is tremendously difficult to condense so much information into so few words and make it pragmatically useful. We hope this is like a little seed of information to get you going in the right direction.
Above all, please understand that after you manage to get over the learning curve, it all is very simple!
BASIC HOMEMADE FERTILIZERS
To give you some perspective, you only need a bag of premium worm humus (if you are not composting yourself), a bucket, a strong pump, and an airstone; in 48h, you could breed enough bacteria, fungi, and trace minerals to make your plants go into turbo production mode. Do this every odd week during a crop cycle to net yourself a 20-40% increase in yield. It really is as simple as that.
Indoors or outdoors, you can compost your kitchen rejects like onion skins and egg shells or leftover salads; better still, use the stems and leaves from your last crop! To that, add some worms to drive your composting, and soon you will save tons on soil, recycling it into a world-class grow medium!
Don’t want to pay for kelp extract? If you live near the sea, just go out hunting for seaweeds and make your own seaweed infusion. And if you manage to do it right, it may well be more effective than the bottled version.
WORK YOUR WAY TO ORGANIC
If you are new to this, please do not feel overwhelmed with all these new terms. They are very similar, yet all slightly different. The trick is to understand your base growing medium, and what inputs you need to produce great results. Even pure hydroponics can benefit from organic additives.
We are not suggesting you ditch all commercial-grade nutrients. Rather, start supplementing those with your organic, homemade fertilizers. Baby steps.
Take it one extra level at a time. Eventually, you will notice that not only are your plants growing better, your bank account will grow too.
Little changes like adding compost teas will have a compounding effect. Your plants will grow more vigorously, and your soil will not deplete so aggressively.
Just by reading this article, you are halfway to a fully sustainable model. Feel free to experiment and adapt your methodology for a greener tomorrow.
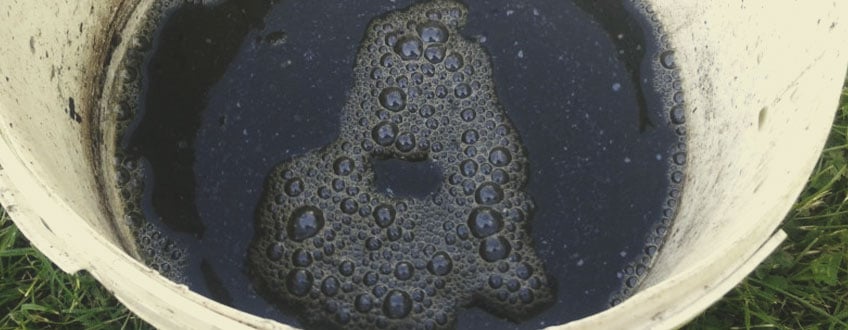
FERMENTED PLANT JUICE (FPJ)
Fermented plant juice is a cheap and easy way to provide nutrients to your cannabis plants. This completely natural and organic method harnesses beneficial bacteria to break down plants into easily absorbed nutrients. It’s a simple way of creating super soil in your garden. FPJ is a product used commonly in Korean Natural Farming — a holistic cultivation approach that seeks to improve soil health through the use of indigenous microorganisms and the avoiding of chemicals.
Gardeners create FPJ using nutrient-dense plants and herbs such as comfrey, yarrow, stinging nettle, mugwort, aloe vera, horsetail, lambsquartres, and thistle. Some of these plants are viewed as common weeds and grow in most gardens. They’re a superb free source of plant nutrition! It’s best to harvest the young portions of these plants, which are particularly nutritionally-dense.
Some growers choose to use fruit instead of plants to create fermented fruit juice (FFJ). The concept here is the same — these natural products contain a wealth of nutrients that can be liberated by beneficial bacteria. Popular fruits include cantaloupe melons, apricots, berries, tomatoes, and sweet peppers.
Regardless of the source used, plant or fruit, bacteria are the real heroes here. These tiny beings conduct the metabolic process of fermentation. They extract energy from molecules and break down larger molecules into smaller ones. Essentially, they free up all the nutrition stored in fruits and plants.
These microorganisms feed on sugar and convert it into alcohol, obtaining energy in the process. During this process, they create a nutrient-dense soup, which will provide your plant with many of the nutrients they need for healthy growth. Sugar is also added to help pull nutrients and juices out of the plant material. This happens through the process called osmosis — the movement of solvent molecules from an area of low concentration to an area of high concentration.
HOW TO MAKE FERMENTED PLANT/FRUIT JUICE
Making your own FPJ or FFJ at home is super easy. Choose from the list of plants or fruits above and let’s get started.
| STEP 1 | Peel and cube your chosen fruit. If you’re using plants, chop them up into smaller pieces. If you’re using plants or fruits from your garden, don’t wash them! They possess beneficial bacteria that will enhance the fermentation process. |
| STEP 2 | Weigh your fruit or plants before placing them into a large glass jar or a container. Add in an equal amount of brown sugar and mash up the plant material with a large spoon. Mix everything up to distribute the sugar all over the plant material. |
| STEP 3 | Cover the opening of your jar or container with a piece of cheesecloth. Use an elastic band to keep it tightly attached. The small holes in the material will allow carbon dioxide created through fermentation to escape. Store the mixture in a cool and dark place for 7–14 days. |
| STEP 4 | Strain the mixture through a fine sieve and pour it into bottles for storage. Keep them in the fridge until you’re ready to use them. |
| STEP 5 | Add four tablespoons of mixture to about 3.5 litres of water and apply as a foliar spray or use for watering. |
| STEP 1 |
|
Peel and cube your chosen fruit. If you’re using plants, chop them up into smaller pieces. If you’re using plants or fruits from your garden, don’t wash them! They possess beneficial bacteria that will enhance the fermentation process. |
| STEP 2 |
|
Weigh your fruit or plants before placing them into a large glass jar or a container. Add in an equal amount of brown sugar and mash up the plant material with a large spoon. Mix everything up to distribute the sugar all over the plant material. |
| STEP 3 |
|
Cover the opening of your jar or container with a piece of cheesecloth. Use an elastic band to keep it tightly attached. The small holes in the material will allow carbon dioxide created through fermentation to escape. Store the mixture in a cool and dark place for 7–14 days. |
| STEP 4 |
|
Strain the mixture through a fine sieve and pour it into bottles for storage. Keep them in the fridge until you’re ready to use them. |
| STEP 5 |
|
Add four tablespoons of mixture to about 3.5 litres of water and apply as a foliar spray or use for watering. |


