Amount exceeded

4.7 out of 5 based on 58606 reviews


4.7 out of 5 based on 58606 reviews
.
Cannabis photography is a fun hobby that's pretty easy to get started with. And who knows, if you've got the knack for it, you might even be able to turn it into a career! Read along to explore the basics of cannabis photography, so you can impress your friends—and yourself—with top-quality weed pictures.
There was a time when keeping a photographic record of your cannabis habit was considered a danger—even more so keeping a record of your cannabis growing activities. Well, in some places this may still be the case. But these days, many people are now celebrating cannabis through the medium of photography.
In this article, we’ll explore the different types of cannabis photography and give you some tips on how to get started.
Contents:
There are many reasons to take quality photos of cannabis plants, perhaps chief among them being fun! If you’re a cannabis enthusiast and a photographer (or a “budding” photographer), then why not merge these distinct interests and indulge two passions at once?


Beyond pure fun, there are several other good reasons to keep a photographic record of your cannabis adventures (these mostly apply to those who grow their own weed).
Taking good pictures of cannabis requires, more than the best equipment, a wealth of knowledge and a deep appreciation for the plant. Knowing how the cannabis plant grows, the stages of its life cycle, and the nuances of its behaviours and traits will help you identify how and when to take the best weed photographs. By understanding your subject, you’ll be able to record and capture it most effectively.
For instance, taking photos of seedlings is very different to taking pictures of mature plants with resinous buds. And how should you take a photograph of a large vegging plant that has no eye-catching flowers yet?
With the above in mind, here are some quick tips on how to take photographs of weed at different stages of the plant’s life cycle.


Generally, the format of cannabis photography falls into four main categories, which we’ll outline below. These are great places to start, but don’t feel confined to our rules! If you can think of something novel, then go for it.
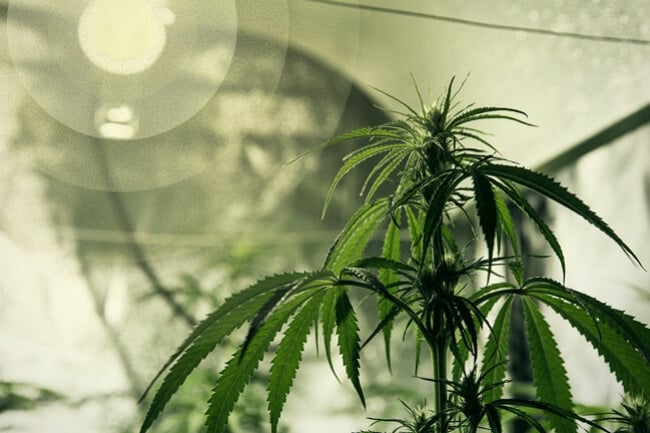
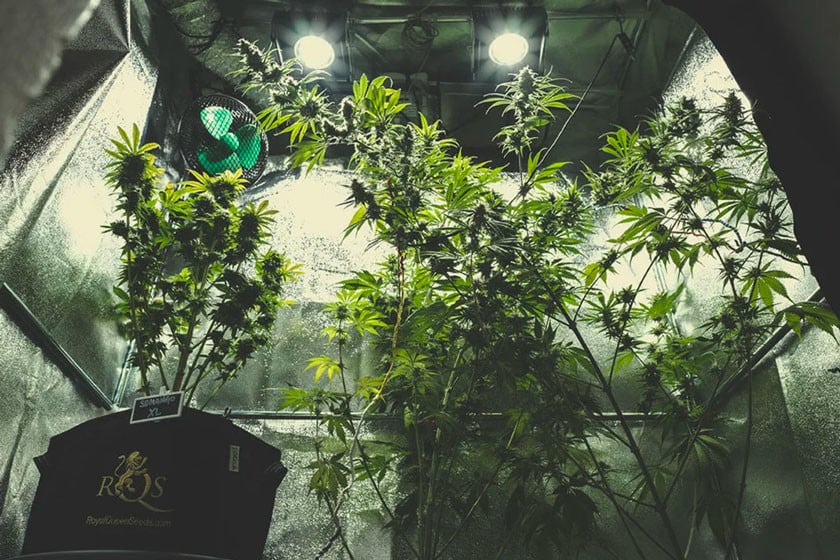
As the name suggests, overview photographs tend to show a whole plant, or even a whole crop. It’s about showing plants in their full glory. Many angles can be used, but photographers often opt to take these shots from below, as this makes plants look bigger and more imposing.
But you can also choose to take shots from the side to make the crop look like a veritable forest of green stems and branches. Or, nearing the end of the grow cycle, you can take the shots from above to display the broad and cola-rich canopy of a whole crop.
Ever seen those shots taken from directly above spices and herbs strewn across a work surface? Or maybe you’ve seen pictures of a huge amount of cannabis flowers everywhere, spilling out of jars, with about an ounce’s worth of ground bits all over the place?
Well, these are called flat lays. Even though they’re quite commonplace by now, they still serve a purpose, and there are surely ways to make them a little more interesting. Why not have some fun with them?
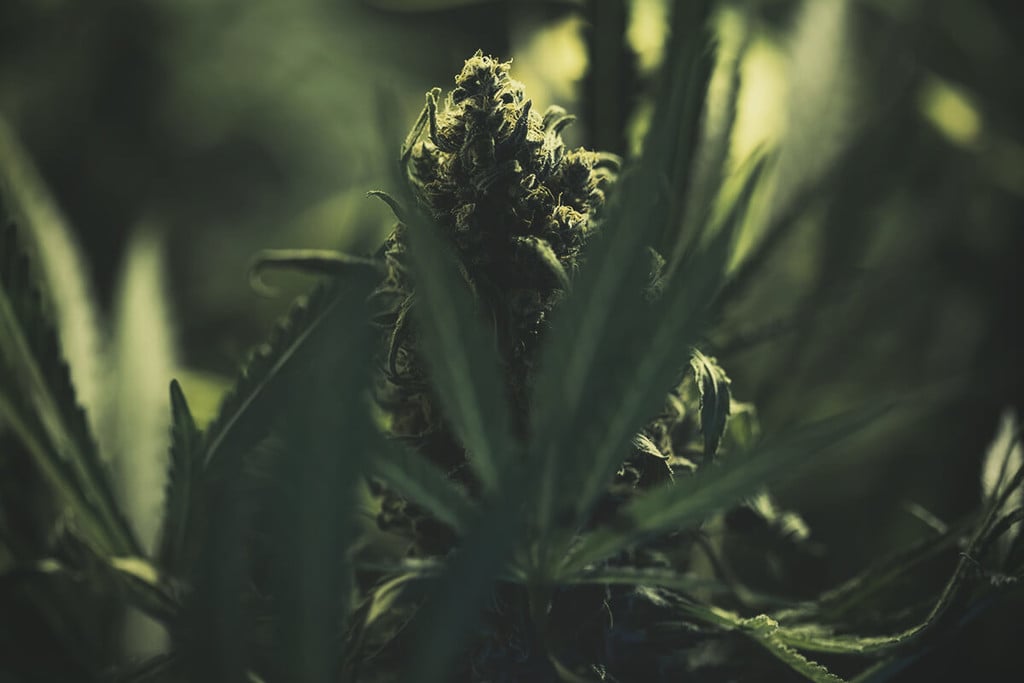
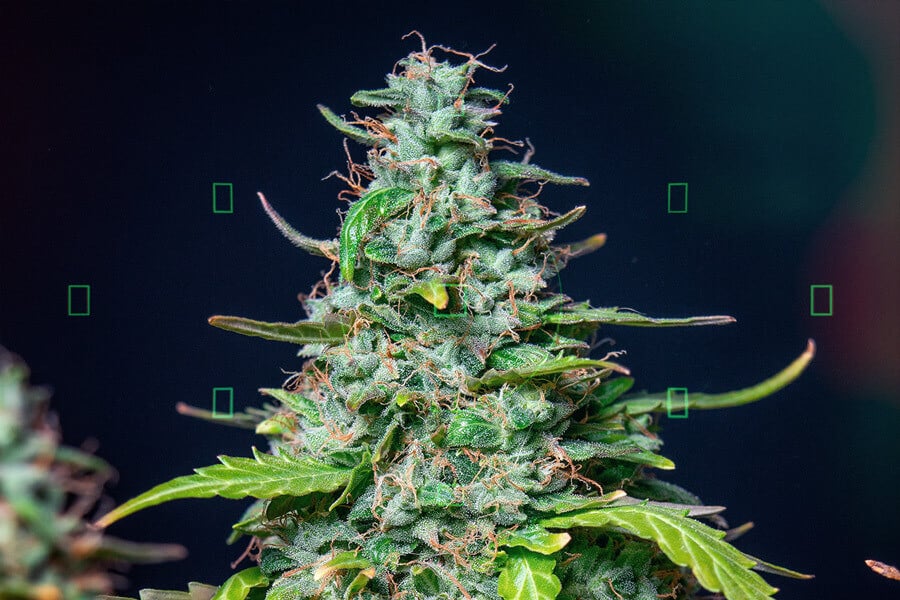
Few people can resist taking photos of their fat buds once they develop. You can use a range of techniques to take pictures of cannabis flowers, from macro lenses through to standard phone cameras. The key here is to light them well and get the focus right so that the colors and nuances stand out.
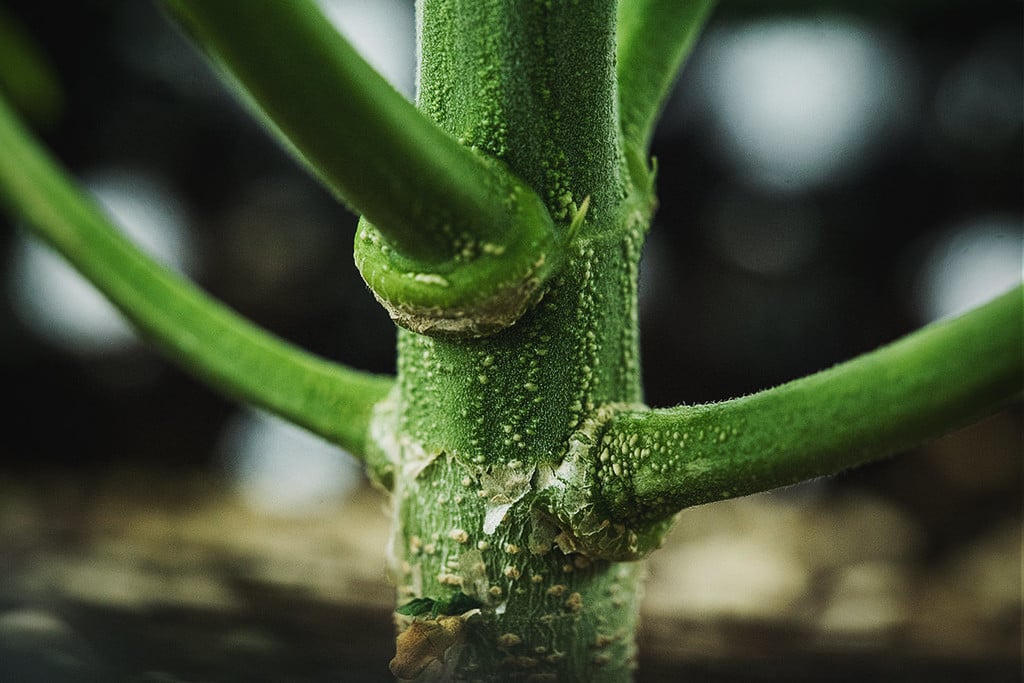
We’ve all seen macro shots of trichomes that look like some otherworldly fungal forest. Well, to take these, all you need is a macro lens. Gone are the days when these were the preserve of professional photographers, and you can even buy macro lens attachments for camera phones.
To take pictures of trichomes, you need to get the lighting just right and make sure the parts of the plant you actually want to photograph are perfectly in focus. Macro shots have a small depth of field, so most of the photograph will be blurred.


If you’re using a camera phone to take pictures of weed, all you really need to adjust is the exposure. This determines how long the shutter stays open, and therefore how much light gets in. Shorter exposure leads to photos with less brightness but also less noise. Shots with a higher exposure are brighter, but after a certain point become quite grainy and noisy. Finding a good balance is fairly simple, but makes a huge difference to quality.
ISO can compensate for exposure, or complement it. Lower ISO ratings result in higher-quality images but they’re darker, and higher ISO leads to brighter pictures (meaning you can keep the exposure low, helping with focus) that have more noise. Fortunately, modern digital cameras can get to very high ISOs before picture quality starts to meaningfully degrade. So, a high ISO is useful for keeping exposure low, meaning photos will have more clarity.
Aperture determines how big or small the hole is that lets light into the camera. A small aperture creates a greater depth of field, meaning more of the shot is in focus (useful for overviews and flat lays). A larger aperture creates a shallower depth of field, which makes the subject stand out with exaggerated clarity against a blurred, unfocused background.
White balance essentially adjusts the colors in the photo to the lighting. To properly adjust it, you should hold a white sheet of paper in front of the camera and go through white balance settings until it actually looks white. Getting this right will assure you capture the colors as they actually are.
You can take a good photo with any lens. As the classic saying goes: the best camera is the one you have on you!
Still, high-quality lenses do lead to high-quality photos, but in this modern age even low-quality cameras and lenses are catching up. A standard 18–55mm lens should do you well for most shots. However, wide angle lenses (around 10mm) can create broad shots that look very attractive.
And, of course, macro lenses! For those incredible shots of flowers and trichomes, a macro lens is a must. Normal lenses can’t focus at such close distances, so you can’t get those intimate shots.


Here are five top tips to get you off to a good start with weed photography. There’s much more to it than we can say briefly here, but with this knowledge, you should be able to start taking good photos—and from there, you can experiment to your heart’s content.
Tripods are used to keep cameras completely stable in order to prevent blurring and tilted frames. They do a much better job than shooting with cameras in hand, and are a worthwhile investment for both the hobbyist and professional photographer. Tripods are extremely adjustable and will enable you to get perfectly still shots from all sorts of angles, such as from above and very close up. A cheap alternative to a tripod is to simply place your camera on a stack of books or a table to achieve a clear shot. This option can be difficult at times, especially when trying to capture certain angles. Small tripods are also available for smartphones, allowing photographers to get steady shots using these more commonplace devices.
The background of a photograph can be just as important as what is in the foreground. Photographing plants with foil, fans, and light bulbs in the picture can make the image seem quite messy and chaotic. Of course, if you are aiming to display these items intentionally, then by all means keep them visible. If not, it’s more aesthetically pleasing to only include the greenery of plants in the background, especially for macro shots. Imagine a close-up of a fat bud, heavy with trichomes in the foreground against a glittering sea of green. Looks pretty beautiful, right?
If your objective is to photograph an entire plant, then you can place the specimen against a pure white background to capture its elegance without any unnecessary objects within the frame. Creating a makeshift studio is very easy to do, and the background itself can even be constructed out of non-reflective white paper or cardstock.
Although flashes do work well, continuous lighting setups can be used to get sharp images that boost detail and minimise any potential blurring. Flash can work great in some situations, but the direct light can often generate a harsher image. Indirect light causes more of a soft lighting effect that is much more desirable in many cases. Soft light can be achieved by bouncing light off of a white surface such as a sheet of paper.¡
Macro photography is the art of capturing objects and organisms extremely close up and in great detail. To start with, set your DSLR to macro mode. This will enable your lens to focus well and better detect the small trichomes on the surface of cannabis flowers. Macro mode will pick up on the fine details of plants and make the picture look stunning. Additionally, the use of macro lenses will really help to get crisp and clean shots of the tiny sections of plant anatomy. There are a wide spectrum of macro lenses for DSLR cameras, and now smartphone owners can utilise this technology by clipping a macro lens onto their device.


As mentioned, adjusting the aperture is one of the easiest ways to dramatically change the quality of a photograph. Use small apertures to get clear shots of large spaces, where there are many different levels. For instance, if you want to photograph an entire crop, then a small aperture will help you do this. But if you want one plant to stand out against the rest, then a large aperture will bring it into focus against an otherwise blurred background. This is also great when photographing individual flowers.
Counterintuitively, you should use a small aperture when taking macro photographs. Because of the nature of these lenses, even at the smallest aperture, the subject will appear in sharp focus while the background blurs. A larger aperture will make too much of the photograph blur.
Unless you’re serious about making a career of it, the main reason most people make the effort to learn about and practise cannabis photography is for enjoyment and for recording the progress of their crops. So don’t stress if results aren’t what you want them to be right at the start. Just play around, get to know the equipment, and, in doing so, you’ll get to know your plants better too.