Amount exceeded

4.7 out of 5 based on 58502 reviews


4.7 out of 5 based on 58502 reviews
.
We made germinating seeds easy with our Starter Kits. We made feeding your plants easy with our range of nutrients. We even made discovering strains easy with our Seedfinder. Now, we turn our attention toward drying your stash. Let us introduce the RQS Herb Dryer—the easiest way to dry weed.
Contents:
How do you dry your cannabis? Do you mess around with paper bags? Do you find yourself rushing to string up wire or rope post-harvest? Now, you can make the drying process more streamlined than ever with the RQS Herb Dryer. Not only does it make life easier, but it dries cannabis flowers excellently every time. Below, we'll cover some traditional drying methods, after which we'll provide our step-by-step guide to drying marijuana with the Herb Dryer.
So, what does it take to successfully dry a cannabis harvest? There are several key variables you need to consider. Let’s look at the factors that determine successful drying.
Choose a dedicated spot in which to dry your cannabis. An empty room or grow tent with good air circulation is perfect. You might find it tempting to dry your weed in the same room where you’re growing your plants—don’t do this! Living plants have different temperature and humidity requirements than harvested buds.
If you're drying in a grow tent, you won’t have to think about light exposure. However, if you’re hanging your buds in an empty room with windows, make sure you have blinds or curtains in place to block out ambient and direct sunlight during the day, and street lights at night. Even indirect sunlight can degrade cannabinoids[1] and subsequently alter the potency and effects of your harvest.
Temperature is another key drying metric. It might seem logical to attempt to dry your buds as quickly as possible to prevent the occurrence of fungal infections. However, going low and slow does the job just fine, without degrading those precious volatile aromatic constituents.
Aim to maintain a temperature of 15–21°C in your drying space. You can use a digital thermo-hygrometer to keep an eye on temperature, and fans or an air conditioning unit to keep it within the desired range.
Drying marijuana requires a low-enough relative humidity to prevent mold, but high enough to prevent bone-dry buds that lose flavor and color. Digital hygrometers come in handy here. Aim to keep relative humidity at a consistent 55–65%, using a dehumidifier if necessary.
Cannabis flowers usually take between two days (at the very least) and nine days to be sufficiently dry, although they can take longer than this. The length of drying fluctuates according to climate and air circulation. Wet trimming also makes for a faster drying process.
To test if your buds are dry, you can bend the stem. If it snaps, the buds are dry. But if the stem bends, there’s still too much moisture, and you should give it more time.
Download our Pro Growing Guide for detailed drying protocols, ideal temperature/humidity ranges, airflow setups, and step-by-step curing schedules that lock in flavor, aroma, and potency every time.
Free Advanced
Growing Guide!
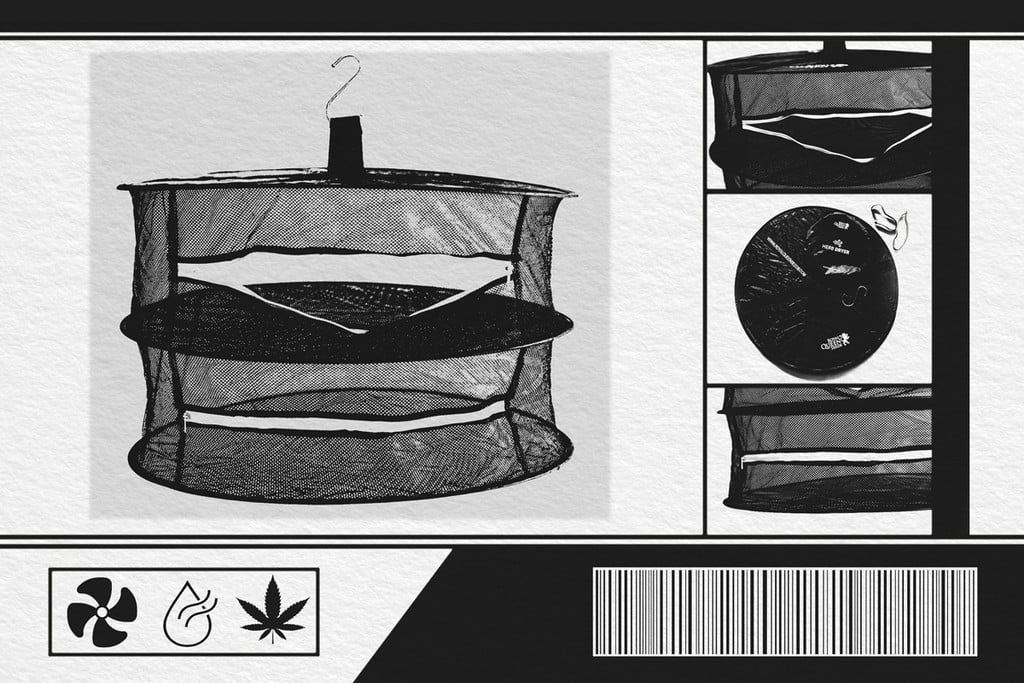
At Royal Queen Seeds, we’ve worked with cannabis for decades, and we know the post-harvest process inside out. Using our combined experience, we created a product that makes drying weed easier than ever. You don’t need to find boxes and bags, you don’t need to hang up wire and string, and you certainly don’t need to assemble a rack. Let us introduce the RQS Herb Dryer.
Check out the step-by-step process below, and take the hassle out of drying your weed.
First things first; you need to prepare your drying space. If you’re using a grow tent, you’re pretty much good to go. If, however, you’re using a spare, empty room, you need to make sure you have curtains or blinds in place to block out any light. Place additional drying equipment, including fans, an air conditioner, a dehumidifier, and a hygrometer, into your space.
You’re about to find out how easy the RQS Herb Dryer makes the drying process. To assemble, simply slide the folded Herb Dryer out of its bag. Do so carefully, as it’ll spring open in a similar fashion to a pop-up tent. It really is that easy. There’s no assembly required, and you’re ready to start drying buds within seconds of opening the bag.
The RQS Herb Dryer features a fabric loop on the top side. The product also comes with a metal “S”. Hang the “S” from the ceiling of your grow space, such as the scaffolding of your grow tent, for example. Then, hang your Herb Dryer from the piece of metal using the fabric loop up top.
The time has come! Whether you chose to wet or dry trim, it’s time to load those buds into the Herb Dryer. Scatter them evenly across both layers, leaving as much space as possible between individual flowers. Each section can hold up to 5.3 oz of bud, for a total of 10.6 oz per Herb Dryer. Once you’ve placed them, insert a small digital hygrometer, and close each section using the bright green zips.
Turn on an oscillating fan to keep air circulating around the room. Don’t point the fan directly at the Herb Dryer. Instead, position it to blow into empty space. This way, the turbulent air currents will blow past your buds and they won’t dry out too quickly. Check your hygrometer daily and use your climate-adjusting equipment to make any necessary alterations.
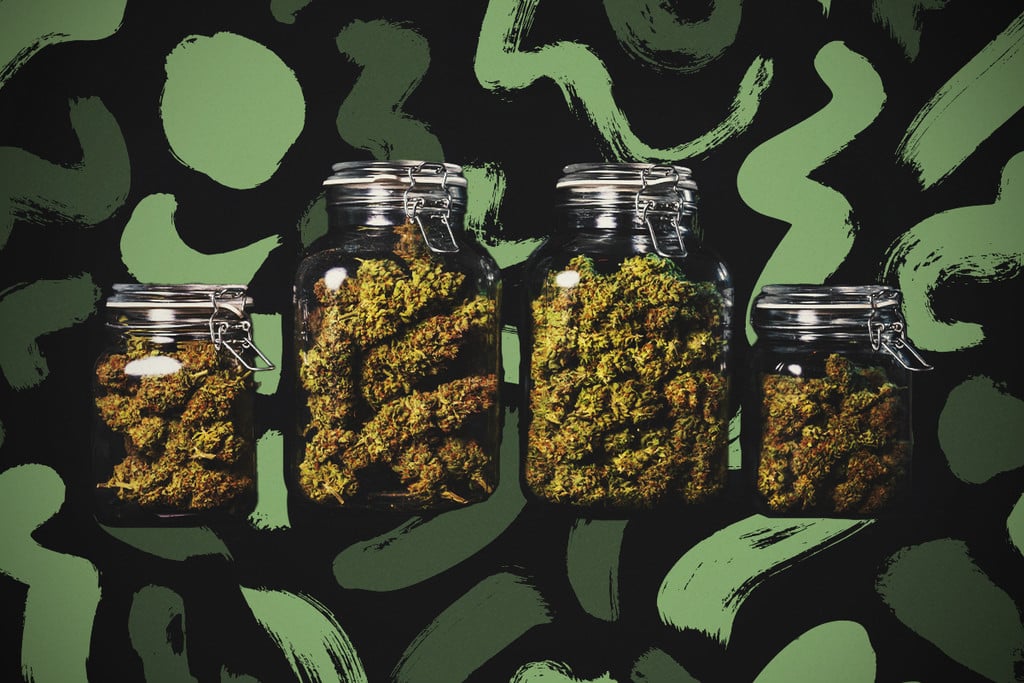
After several days, you’ll have yourself a Herb Dryer filled with perfectly dried buds. Again, you’ll know they’re ready when the stalks snap instead of bend. Now, you need to transition your harvest to curing jars for several weeks to bring out their terpene profile and improve their smoothness.
Before you start sowing your next batch of seeds (or transplanting your next set of seedlings, if you’re that ahead of the game), you’ll need to pack away your Herb Dryer. Unhook it from the ceiling and collapse it down into a flat, circular shape. Next, hold the circle with both hands, and fold it into a smaller circle. Keep a firm grip on the Herb Dryer and pack it back into its bag. Done!


Let’s review three other procedures growers use to achieve dried buds.
Whether you have limited space or you’ve reached your growing budget for the year, box or bag drying serves as a simple, easy, and cheap way to remove moisture from your marijuana flowers post-harvest.


The process looks almost exactly the same for bag drying. Fill each bag with 2–3 layers of buds, and open them occasionally to release built-up humidity.
Hanging up branches or entire plants in a closet or grow tent works well when dealing with a medium to large quantity of cannabis.


Drying in stacked racks works great for both wet-trimmed and dry-trimmed buds. Racks with a metal mesh or net surface enable air to flow past each individual flower.


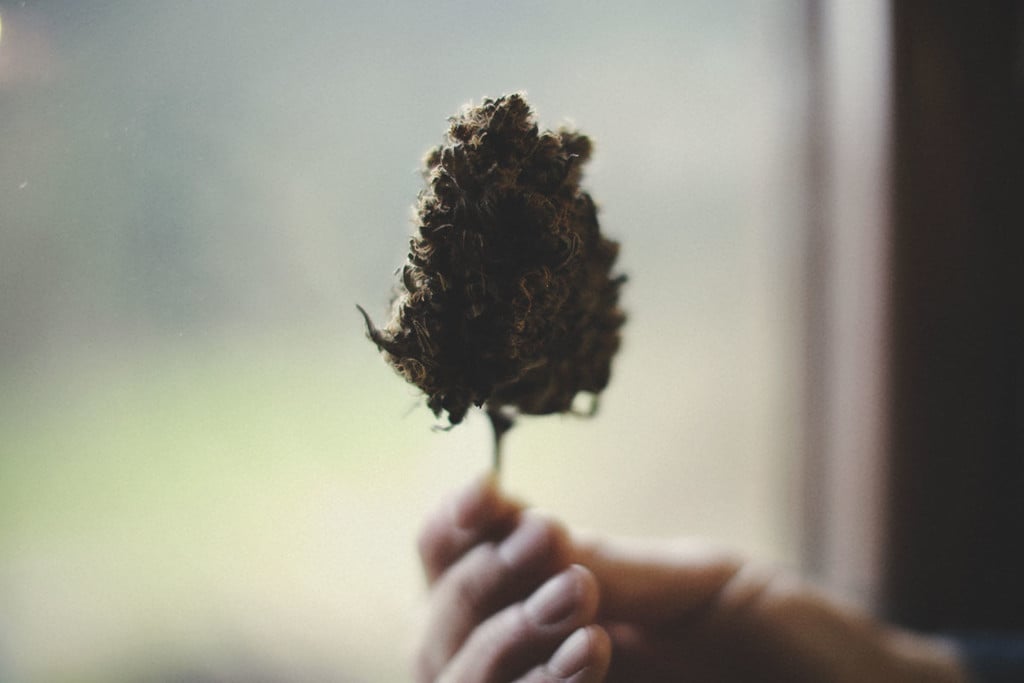
Anyone who has grown cannabis knows that the work doesn’t end once your buds are harvested. You’ll need to trim your flowers, dry them, and cure them to bring out their flavors and improve their smoothness.
Furthermore, failing to adequately dry cannabis flowers makes them almost impossible to smoke and vulnerable to fungi and bacteria, rendering them useless. Drying cannabis involves maintaining a fine balance of temperature and humidity. Achieving this sweet spot will dry the buds sufficiently, extending their shelf life and staving off mold, while retaining enough moisture to prevent crumbling or harshness.
While trimming assists the drying process, not every grower chooses to snip away sugar leaves before hanging up their buds to dry. It all boils down to wet trimming vs dry trimming.
Wet trimming occurs immediately after harvest when colas still have a high water content. Removing the sugar leaves at this point proves more sticky, but it helps to reduce the chance of mold forming post-harvest. In contrast, dry trimming occurs after the drying process; it’s much less messy and helps to preserve volatile terpenes, but it can predispose flowers to fungal infections, especially in more humid climates. It also prolongs the drying process, given the additional plant matter.
Now, don’t tell us that wasn’t easy! We’ve dried our fair share of cannabis and identified numerous ways to improve the process while doing so. The RQS Herb Dryer will make your life as a cannabis cultivator much, much easier. Instead of faffing around with wire or stashing away paper bags, the Herb Dryer makes post-harvest life more linear, systematic, and organized. This tried and tested device suspends buds in circulating air, and the mesh material keeps buds fresh and mold-free. Once you’re done, the collapsed Herb Dryer will store away in a small cupboard or drawer until you find yourself needing to dry your next harvest!