Amount exceeded

4.7 out of 5 based on 57118 reviews


4.7 out of 5 based on 57118 reviews
.
An automated curing system can streamline the cannabis curing process and optimise the quality of your bud. Plus, it's a fun project for those who enjoy such tasks! Here we outline the benefits and caveats of crafting an auto-curing system, as well as directions for building your own.
Welcome to the future of cannabis cultivation, where automated cannabis curing systems take away all of your troubles. Well, not quite, but it can make life easier for those willing to put in the effort. In an era where efficiency and consistency are key in all walks of life, automation fulfills these needs and, also, just makes our lives a little easier (once we have the system set up).
These systems don’t just save precious time but also ensure each bud reaches its highest potential, achieving uniform dryness and optimal flavor. This means that after the painstaking months of careful growing, we can get everything just right at this final, important step. Indeed, curing is the last step in a long process, and it’s the one that really perfects our efforts. Whether you're managing large harvests or simply passionate about precision, understanding automated curing can make your life easier and your bud even better!
This article will guide you through everything from the basics of automated curing systems to building your very own DIY system.
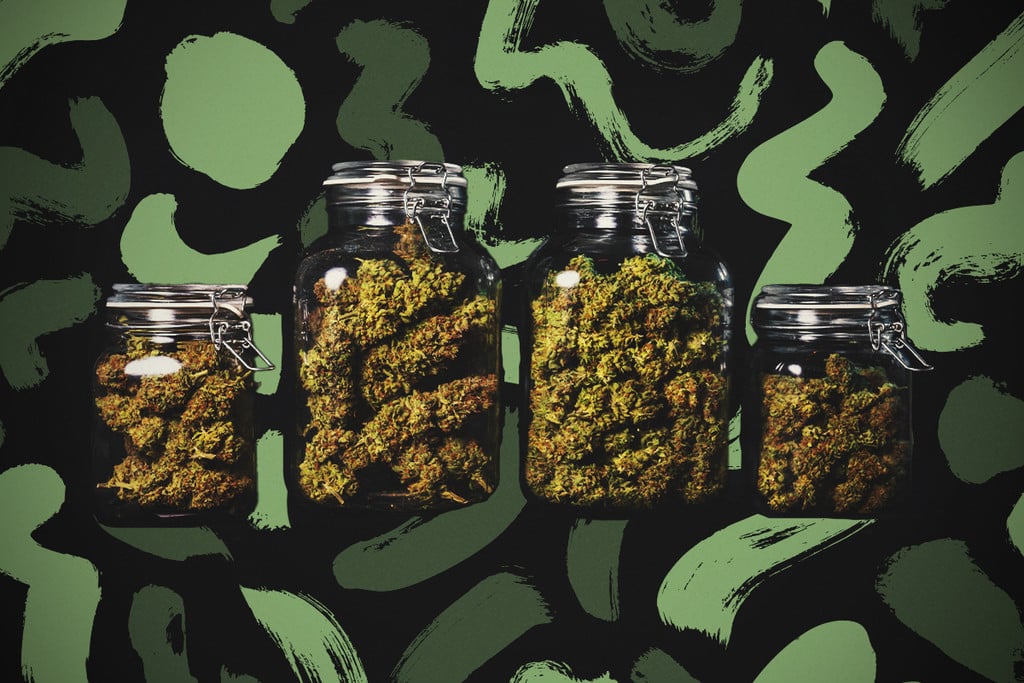
An automated cannabis curing system is a solution that aims to make curing weed easier and more efficient. By automating the control of environmental factors such as relative humidity (RH) and air exchange (exactly the reason we “burp” curing jars), these systems ensure that cannabis buds cure evenly and efficiently. Ultimately, this process reduces the harsh flavors of chlorophyll and brings out the more delicate flavors of the many terpenes in your chosen bud.
Among growers for whom flavor is of the utmost importance, an automated curing system can take some of the randomness and chance out of the process, making high-quality, uniform results more likely. And for those who have a huge crop to cure, it can make the process much easier and more relaxed than it would otherwise be. Imagine having to open 100 small jars for five minutes every day to let your buds breathe—the work would quickly become overwhelming!
Key benefits of automated curing include:
With systems ranging from auto-curing jars to sophisticated curing buckets and automatic burping jars, there's an automated solution to fit every grower's needs. In this article, we’ll focus on curing buckets, as they are easy to make and can range from small to very large, suiting practically all growers regardless of the size of their harvest.
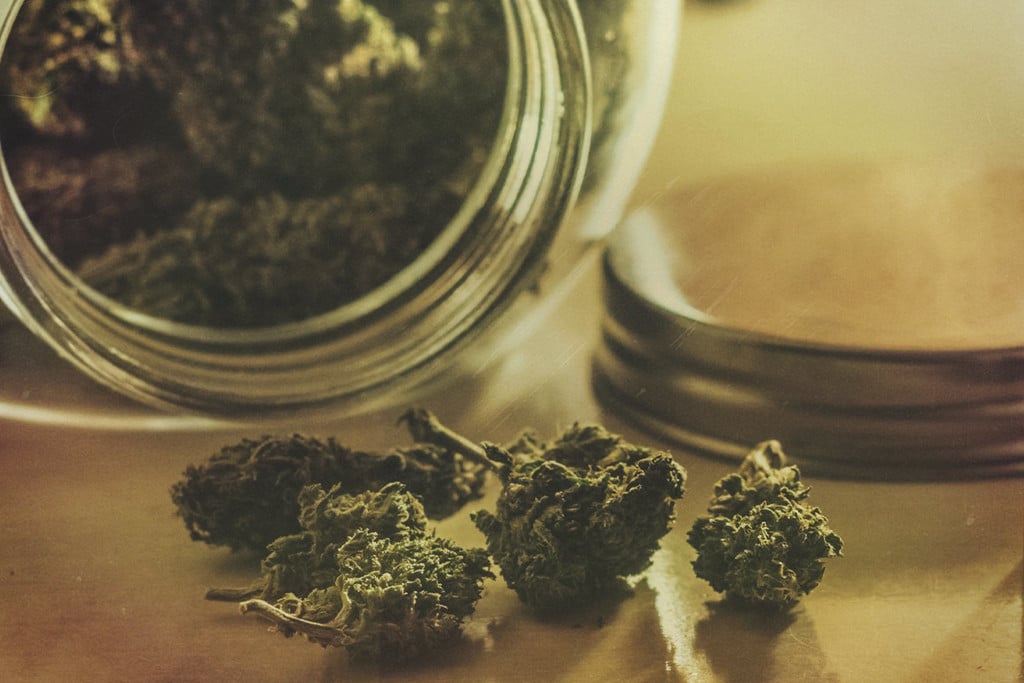
Typically, the cure time for cannabis can range from two weeks to over a month, depending on the strain, desired outcomes, and curing conditions. A shorter period tends to result in less-refined bud. This is suitable for hobbyist growers who don’t want to spend months waiting for their harvest to be ready to consume. However, if you can hold off a few more weeks, you can really get the most out of your bud.
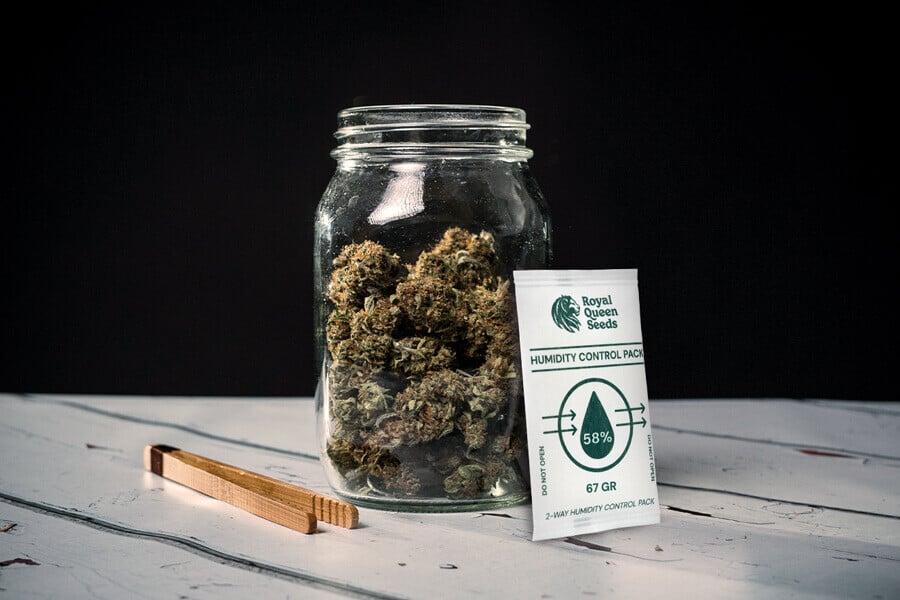
Automated curing systems optimise the process by maintaining ideal RH and facilitating regular air exchange. This not only ensures a consistent and efficient cure but can also shorten the overall cure time by creating the perfect conditions from the start—a win-win situation! Properly cured cannabis results in a smoother, more enjoyable experience, with enhanced flavor profiles and potency.
If this sounds appealing to you, we’re here to show you how to build one of these systems for yourself at home. Doing so requires a bit of time, care, and equipment, and as such is best suited to those who actually enjoy such projects. If you get no satisfaction from DIY projects, then you’ll probably find your energy is better spent burping your jars by hand.
However, if you’re up for the challenge and love the feeling of building something that streamlines your life and gives your brain a workout, then keep reading.
Note: The bucket sizes provided below should cover most growers, but if you feel you would benefit from using a bigger or smaller bucket, then feel free to modify the size. The rest of the method will work for a range of sizes.
The following directions outline how to make your DIY curing system.
To ensure everything goes according to plan, consider the following tips before and during the creation of your DIY auto-curing system:
While automated cannabis curing systems offer remarkable advantages, particularly for large-scale operations or those seeking to make their cultivation process more hands-off, the best curing method ultimately depends on your specific needs and preferences.
Automation offers a level of precision and consistency that is hard to replicate if you cure manually, and this makes it a very helpful tool for cultivators aiming for high-quality harvests with minimal manual effort. But for smaller grows and those who struggle with DIY projects, making an automated curing system could be overkill. It’s really only worth it if you either love the project or you have a lot of weed to cure.
Whether you choose to automate or stick with more traditional methods, the key to successful curing lies in careful monitoring—and this is true even if you use an automated system. You should regularly check it to ensure that it’s actually working as it should. You don’t want to return after five weeks to discover that your weed is moldy and that the pumps haven’t been working!
By embracing these technologies where relevant, growers can achieve superior quality, potency, and flavor in their harvests, making every effort in the cultivation process truly worthwhile.