.
15 Hacks To Grind Weed Without a Grinder
Grinders are a key piece of cannabis smoking equipment. They process buds down to a fine powder, making for a smooth and consistent smoke. Don't have a grinder in your kit? You can still process your buds at home and on the go thanks to these 15 tips. If you don't want to grind your weed, you can even make potent extracts instead.
Key Takeaways
- There are multiple ways to grind cannabis without a grinder, depending on the situation.
- The method used directly affects the final texture and the quality of combustion.
- Tool cleanliness and properly dried cannabis are essential for achieving good results.
Contents:
We've all been there. You're getting ready to spark up, whipping out your stash and your papers (or bong, or whatever), but there's something missing. You take a second, but then you realize: There's no grinder in sight.
Now what?!
You might panic, thinking this is the end of the smoke sesh. I mean, who's gonna try to smoke whole nugs? Thankfully, you don't have to be subject to that fate. Whether you're chilling out at home, moving around, or hanging at a party, you'll be surprised at the amount of options you have at hand. In most cases, you'll just need a few basic tools, with other methods being even more simple.
NO GRINDER? NO PROBLEM!
As we just mentioned, we know there are a few scenarios you could be caught in. Maybe you're just trying to unwind after a long day. Maybe you're at a party and need to act fast so everyone can get their smoke on. Whatever situation you're in, we've thought of a variety of ways to get you out of those awkward moments.
SCENARIO 1 — AT HOME
If you're like many of us, you'll want to pregame with a little toke before meeting up with friends. Yeah, you'll be smoking there, but some personal meditation never hurt anyone. Thankfully, when you're in a well-stocked house, you've got a world of options for weed grinding when your grinder isn't around.
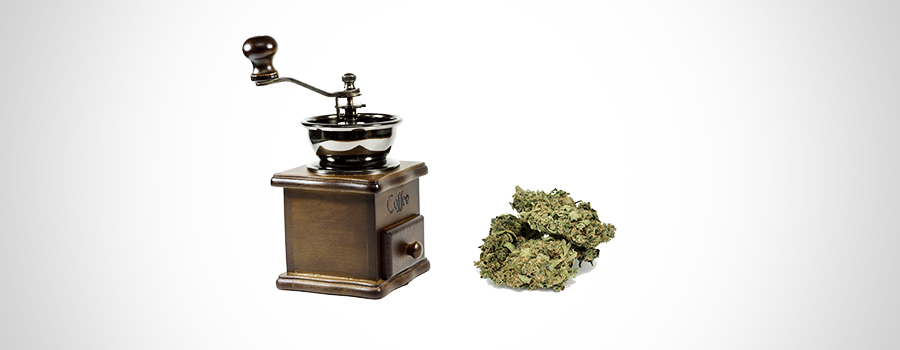
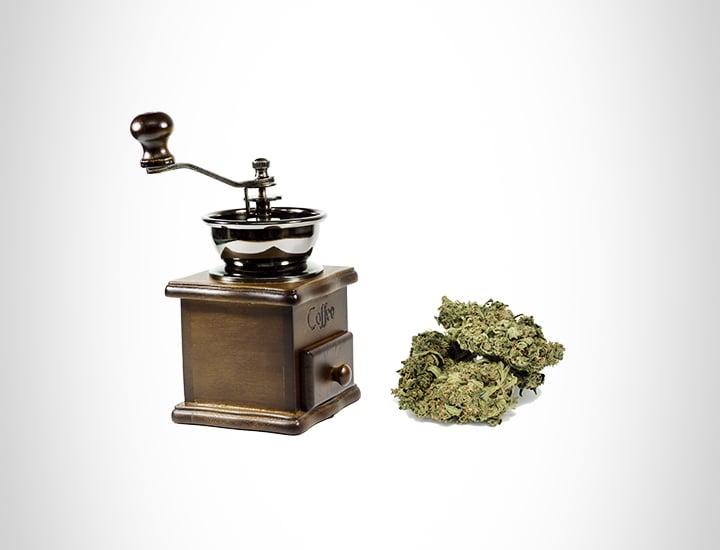
COFFEE GRINDER
Considering the word "grinder" is included in the name, it kind of had to appear on this list, didn't it? Just like you would coffee beans, throw your buds in there and grind away! Well, not so fast. You'll want to clean the thing out first, unless you want to smoke your coffee too (which we do NOT recommend). You should also clean it out afterwards unless you want some "special" coffee the next day.
Remember:
• Clean the grinder well before and after grinding your weed.
• Make sure you're packing the bud loosely and not overwhelming the grinder.
• Don't use buds that are too big (or too small).
• Adjust grind time and settings (if applicable) to make sure your weed doesn't become a fine powder.
BLACK PEPPER GRINDER
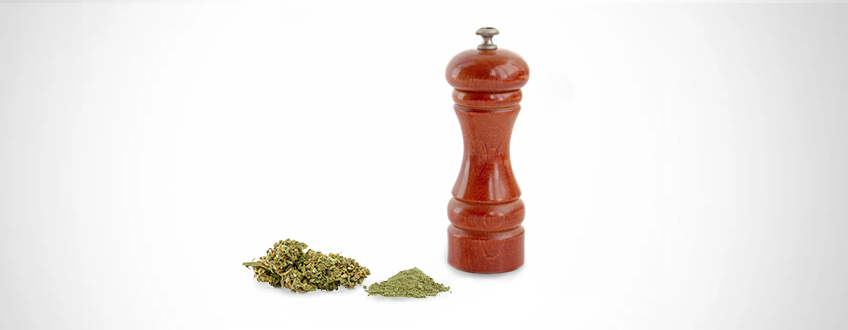
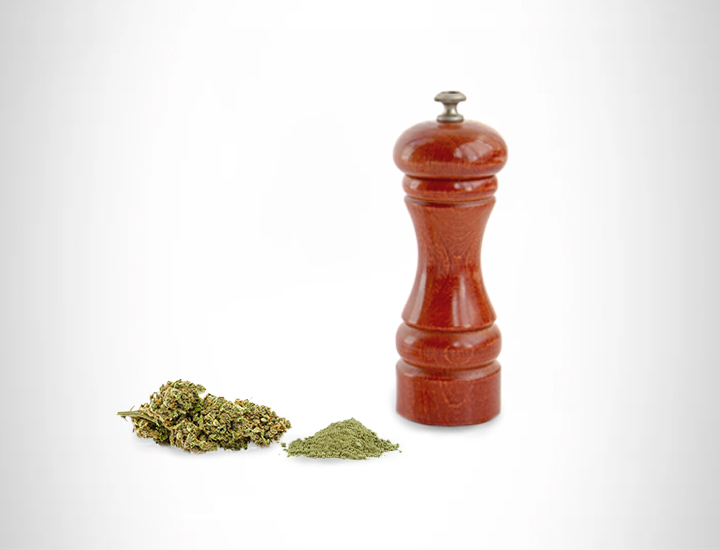
Black pepper and weed have several things in common. They both contain cannabinoids, and both process perfectly at the hands of a pepper grinder. If you don’t have a weed grinder, just head to the kitchen. Empty your pepper grinder (save the corns for later) and load it up with buds.
Remember:
- Make sure to wash out the inside of the grinder after emptying the peppercorns. This way, you’ll avoid a harsh, spicy taste when you smoke up.
- Ensure you only use properly dried weed when using a pepper grinder. Slightly wet cannabis will easily clog up the grinding mechanism.
- Don’t leave any THC behind! After using the grinder for several smoking sessions, get in there and collect all of the wayward resin.
PESTLE AND MORTAR
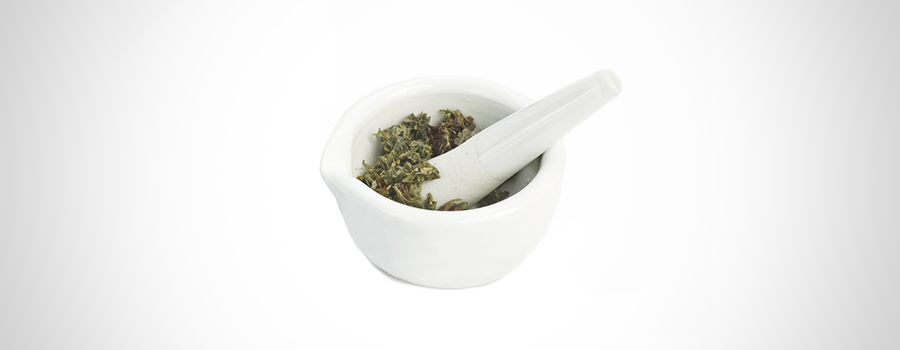
If you don't have a coffee grinder around, there's still an old classic you can try. People call weed "herb" sometimes, so it makes sense that you can use a pestle and mortar to grind it down. Like the grinder, though, you'll want to clean it off well before AND after using it for this purpose.
Remember:
• Let your nugs dry out for a few hours outside a container. This will make them much easier to break down.
• Clean it off well before and after use. That way, you avoid smoking regular herbs or eating "herb" with your dinner.
• It might take some time, especially if the pestle is smooth and rounded.
• Make sure you don't grind it down too hard.
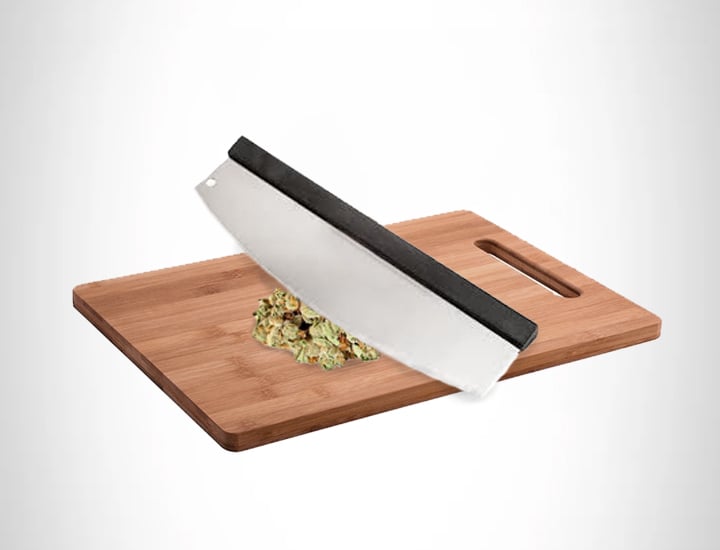
PIZZA CUTTER
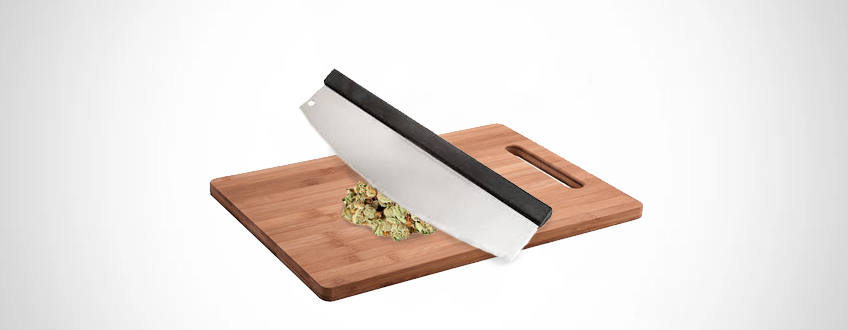
Pizza cutters aren’t the sharpest of implements, but sometimes you just need to work with what you’ve got. If you’re without a grinder or sharp blade, a pizza cutter will suffice! After you’ve processed and smoked your cannabis, you can use the same tool to help satisfy the munchies.
Remember:
- Use a chopping board as a firm surface and to prevent damaging tables and desks.
- Hold one end of each bud and begin cutting the opposite end into small slices.
- Once you’ve achieved a coarse powder, sweep it into a mound in the middle of the chopping board.
- Run the cutter through the pile to produce more of a fine powder.
KNIFE AND CHOPPING BOARD
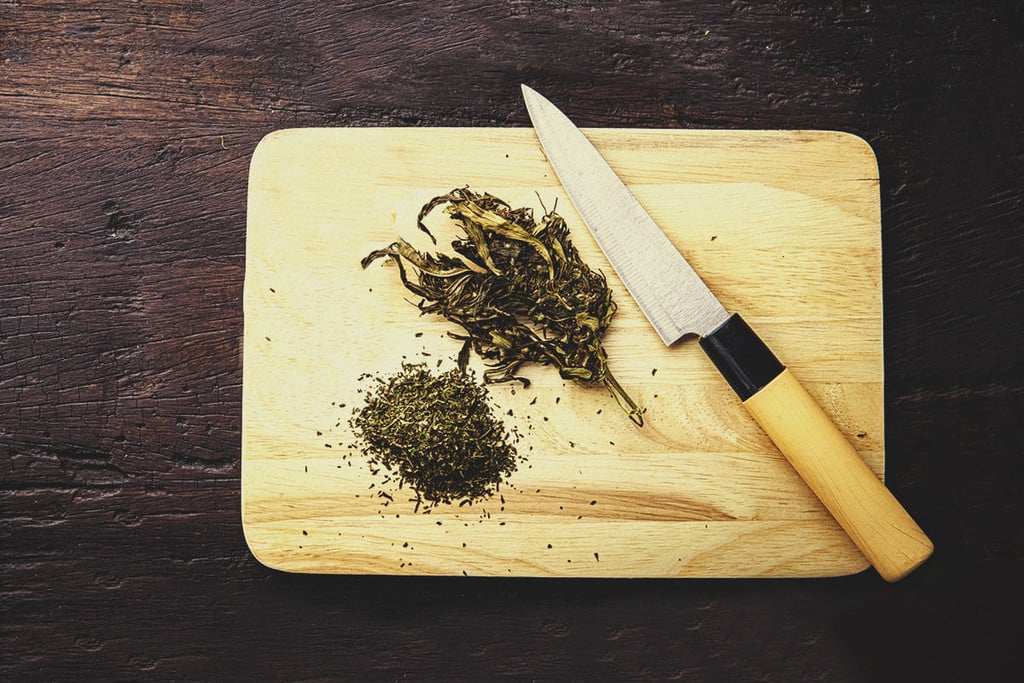
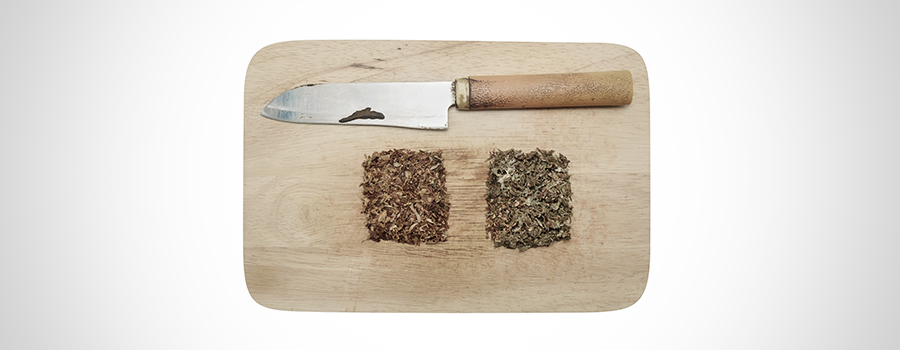
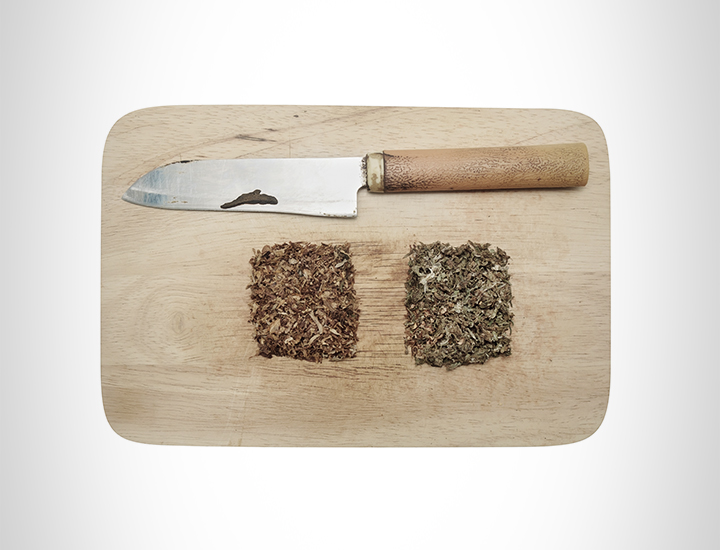
An equally effective option, there's no reason you can't treat your favorite greens like the kind you eat. It's also probably one of the simplest methods on the list. Throw your weed on the cutting board and dice it until you've got it at a ground, but not powdery, consistency.
Ideally, you should be using a non-serrated blade, preferably a chef's knife. However, almost any knife will do as long as it's got a decently sharp blade.
Remember:
• While not necessary, letting your nugs dry out for a bit will make this a much easier task.
• Make sure you watch your fingers, as the nugs may be quite small. Considering how light and uncompressed nugs can be, note that they'll let the knife pass through easily.
• As was the case with the other methods, overkill is possible. Chop in moderation.
• Like you would after chopping anything else, clean your board and knife off afterwards.
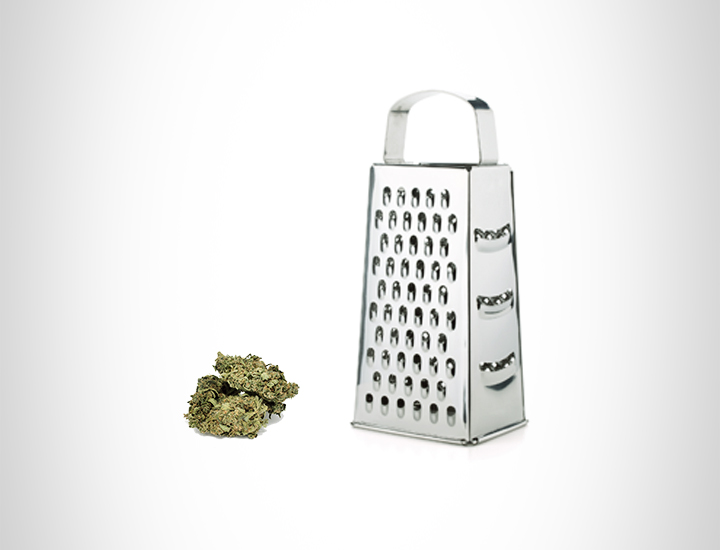
CHEESE GRATER
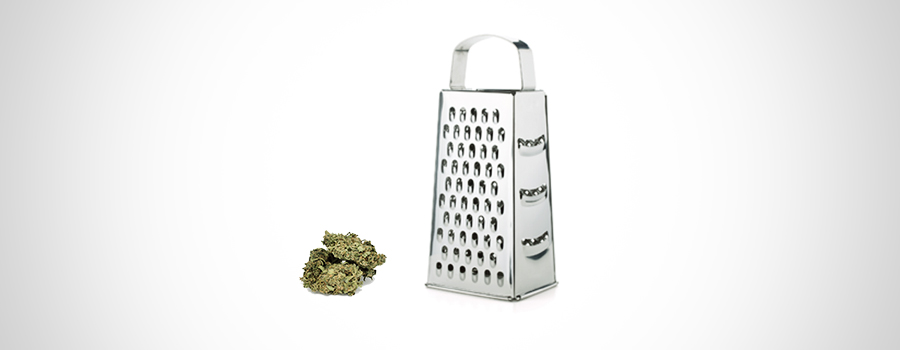
If you happen to have one lying around, this is a simple and fun way to get your Kush ground up. Get a plate to grate over, pick the appropriate end of the grater, and get to it. It might take a while, but it'll get easier as you figure out the best way to work with your grater.
Remember:
• Watch your fingers! You'll end up touching the sharp points sooner than you might realize.
• Almost any of the ends should work. However, give preference to ends with smaller openings, as that'll give you the ideal consistency.
• You might have a hard time getting weed out of the crevices. Keep a poker around to dig through them and get all of your bud.
• Wash off the grater thoroughly to make sure you get rid of the scent and residue.
PAPER BAG AND HAMMER
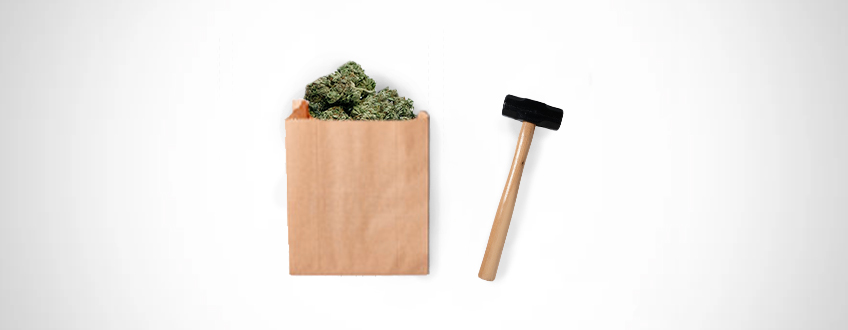
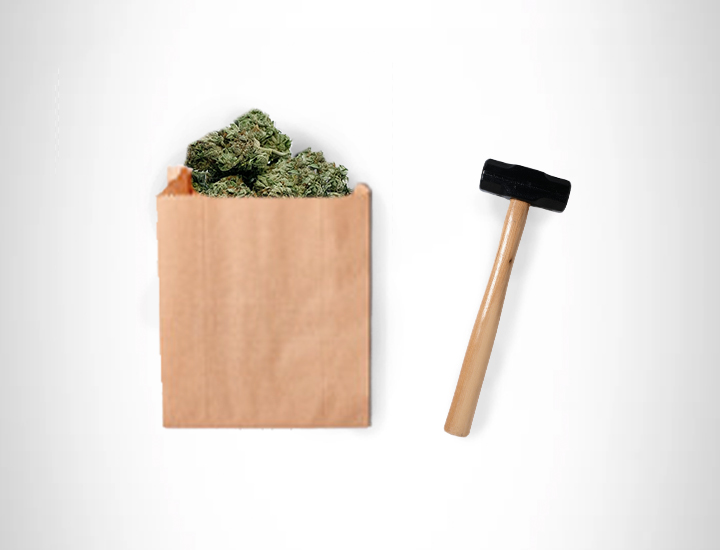
Simple but effective, the paper bag and hammer method will create a pile of processed weed in no time. The paper bag serves as an ideal non-stick surface, and the force of the hammer helps to break buds into tiny particles.
Remember:
- Dry and cure your weed properly before doing this. Wet weed simply doesn’t break up under the force of a hammer.
- Use a strong surface that can handle the blows of a hammer. A strong kitchen worktop, a workshop bench, or a concrete surface outside will suffice.
- Place your buds into the bottom of the bag and scrunch up the top. Smash the flowers with a hammer for a couple of minutes, and you’re good to go.
- After you remove your flowers, tear open the paper bag and scrape off the resin pressed against the paper for a high-THC treat.
SCENARIO 2 — ON THE GO
Alright, out the door you go! You're going to pick up friends, and one of them mentions that they want to smoke in the car. You don't want to disappoint, but you still don't have a grinder! What can you do? Well, you have a couple of options here.
DIY SHAKER
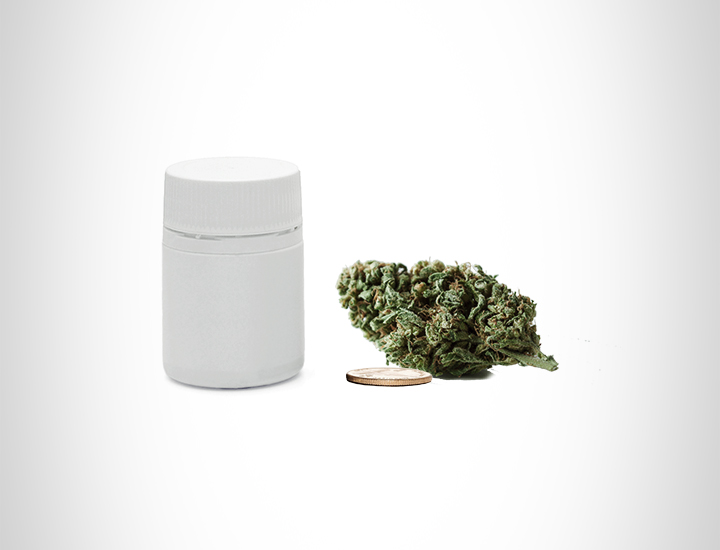
Got any change? How about a small, rigid plastic container like a dispensary container or pill bottle? Congratulations, it turns out you DO have a grinder! Throw a couple of heavier coins into the container with your nugs of choice (not too many, not too few). Close the container tightly, and shake away! Check on the progress every 20 seconds or so to make sure you get the ideal consistency.
Remember:
• If you're in the US, quarters and nickels work best. For Europeans, the one or two euro coins are your go-to. People in the UK will want to use one or two pound coins for this process.
• Make sure you aren't over-shaking. It only takes a few too many shakes to leave your weed powdery and unsmokable.
• If you're using a pill bottle, make sure you clean out the bottle afterwards.
• If you plan on spending the change you use in the process, make sure you clean that off as well.

THE "HANDS-ON" APPROACH
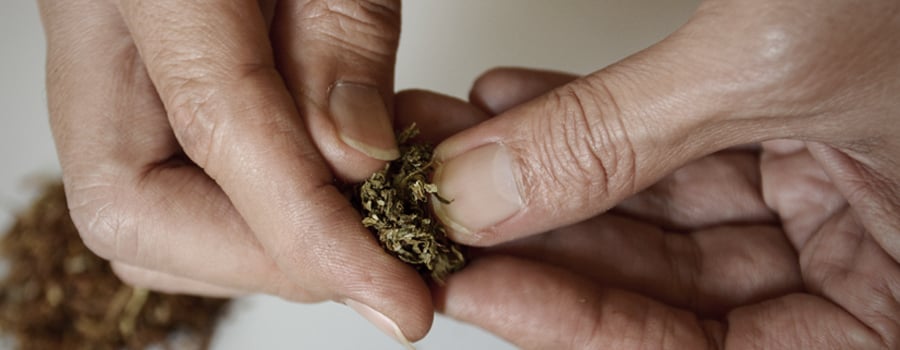
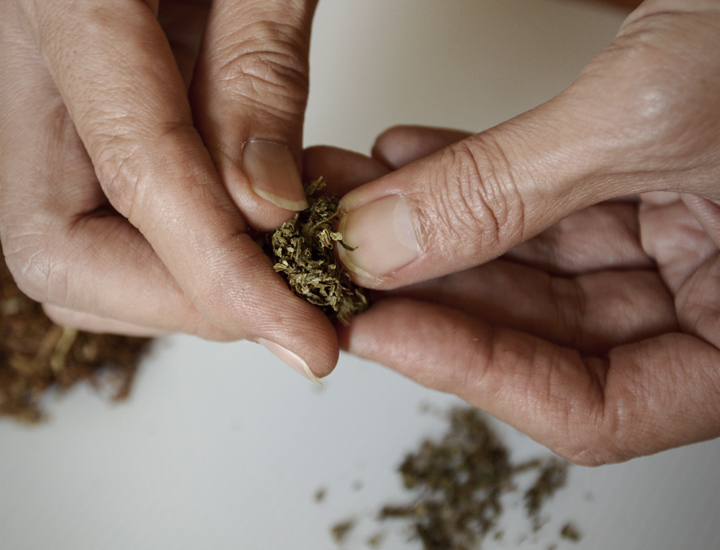
As it turns out, your body has not one, but TWO semi-decent grinders attached already! "Oh my God, they're just sticking out of me? Where are they?!". Don't panic, they're your hands! "Oh, well that's not as exciting". We know, but it sure is convenient!
Start off by taking the bigger buds and breaking them down into smaller, more manageable bits. From there, use your fingers and fingernails to whittle those down into even smaller bits until you're satisfied.
Remember:
• No one likes dirty weed. Make sure you wash your hands immediately before you do this. It wouldn't hurt to wash them after, either.
• Take it slow and steady with sticky weed. If you're too heavy-handed, you could end up compressing it, making smoking slightly more difficult.
• On the other end, be careful if your weed is overly dry, and handle the grounds carefully when they're at your desired texture.
• Make sure you use a flat, even, and crevice-free surface, as this will make picking the weed up far easier.
SCENARIO 3 — AT A PARTY
You've made it to the party, and as it turns out, you and your friends are the only ones with weed! That also means, however, that there's still no grinder. You don't feel like shaking a plastic container in front of people, and the germaphobes will get put off if you go hands-on. Still, the people need to get their smoke on.
Thankfully, if it's a well-equipped party, you've got a couple decent courses of action.
SHOT GLASS AND SCISSORS
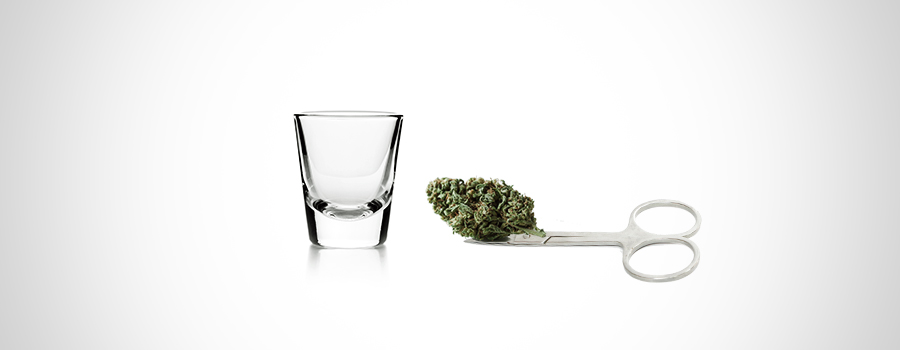
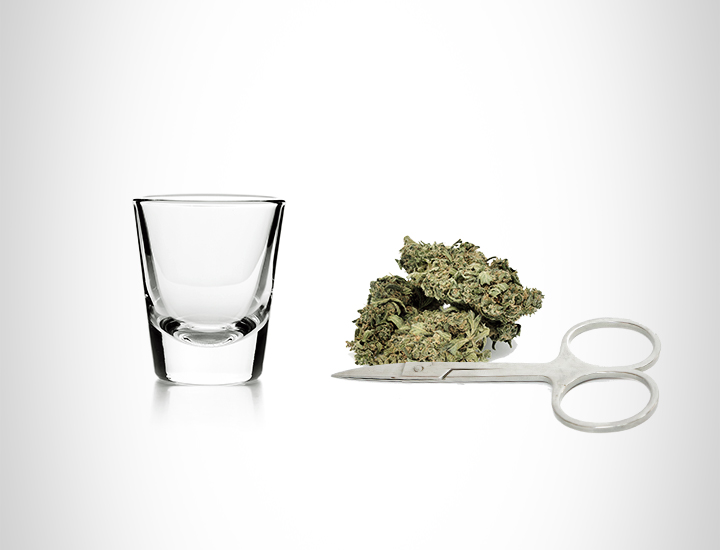
Most people will have a pair of scissors lying around, and there will almost definitely be a shot glass. What do you do with those two things? Well, you'll just need to throw a nug or two in the shot glass and start cutting them in there. Start by cutting them in half, then use the tips of the scissors to make them smaller and smaller.
Remember:
• Make sure you wash off the scissors and shot glass before trying this tactic.
• Don't go too crazy with the snipping, as rushed movements could lead to weed spilling out of the glass.
• Do this over a flat, clean and smooth surface, just in case something spills out.
• If you want somewhere to keep the leftover ground weed, just use the same shot glass!
CREDIT CARD
Credit cards are usually associated with preparing hard drugs, but we’re talking about strictly herbal use here! Credit cards are sturdy, easy to handle, and actually slice dried weed exceptionally well.
Remember:
- Use a solid surface that will provide enough resistance for a clean cut.
- Use a clean (ideally unused) credit card to keep things hygienic.
- Your card will stink of weed afterwards; make sure you clean it before heading to the stores!


BLENDER
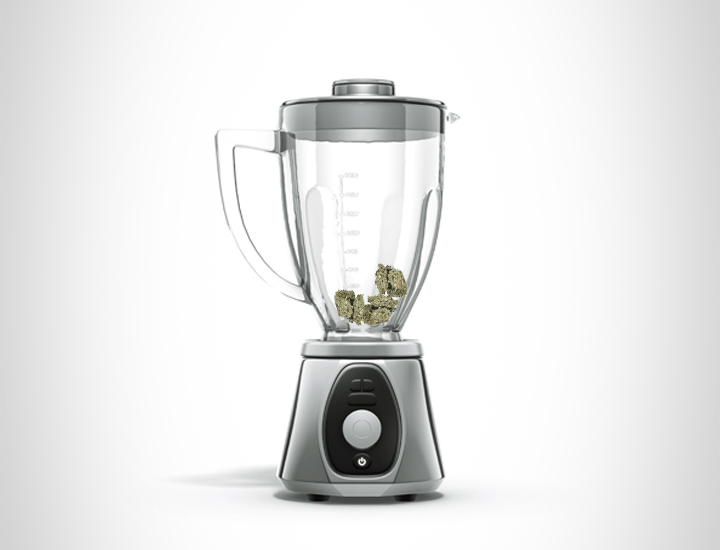
Is it a little excessive? Sure. A little showy? Probably. But why not live life to the fullest? That, my friends, is why you should try grinding weed with a blender.
If it's the sort of party with mixed drinks, all you need to do is clean out the blender and throw your stash right in there. Close the lid, and you're off to the races. You'll want to be careful and switch it to the pulse setting where you can control when it blends. Do it in short intervals until you get the desired texture.
Remember:
• Clean out any stems and seeds before blending, as they'll cause issues for the blender's blades.
• As cool as it looks, this is probably a last resort, so really make sure there aren't any scissors around.
• This is most effective with larger amounts of weed. Check around the room and see who wants to contribute!
• The blender might be a bit powerful, so try to limit blending to around 10 seconds.

SCENARIO 4 — MAKE YOUR OWN CONCENTRATES
If you don’t have a grinder and fancy a more intense experience, try making your own concentrates. These powerful preparations condense cannabinoids into a tasty, sticky, and powerful substance.
Making concentrates requires a bit more time than grinding weed in alternative ways, but you’ll enjoy the payoff. Check out the easiest concentrates to make below.
PRESS IT TO GET RESIN
Grab some hair straighteners and some parchment paper (unbleached, if you have it) to make some lovely resin, and then add it to bowls or blunts for an extra kick.
Equipment
- Parchment paper
- Scraping tool
- Hair straighteners (2 if possible, 1 will suffice)
Directions
- Turn your hair straighteners to the lowest setting and let them heat up.
- Fold a fat bud in a square of parchment paper.
- Place the wrapped bud between the prongs and apply firm pressure.
- Hold the prongs together for 10 seconds.
- You’ll hear the sizzle of the concentrate; release the pressure and remove the parchment
- paper.
- Open up the package, remove the bud, and use a scraper tool to collect your resin.
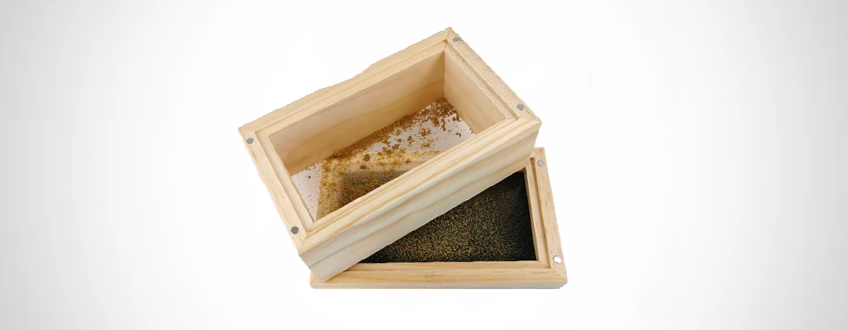
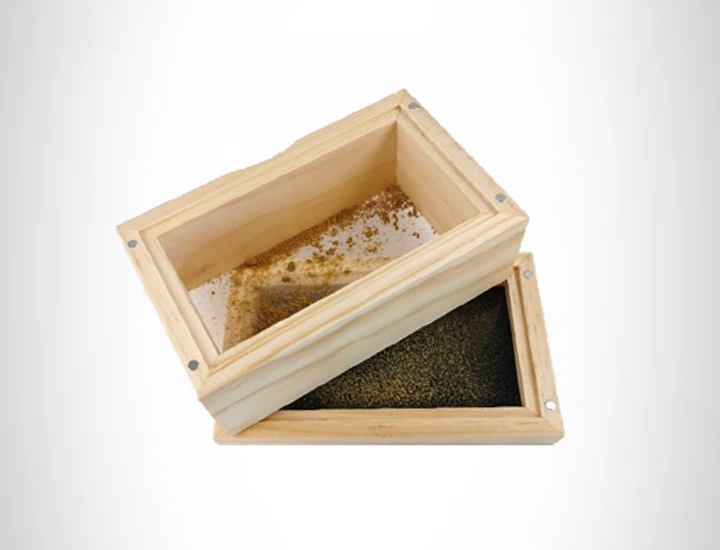
DRY SIFT WITH A SCREEN TO GET KIEF
Dry sifting allows smokers to remove the trichomes from cannabis plant material. These small glands contain lots of tasty terpenes and psychoactive THC. Sprinkle this powder into joints and bowls to elevate your mind further.
Equipment
- Clean surface
- A dry-sift box or fine mesh screen
- Cannabis trim or buds
- ID or credit card
- Gloves
Directions
- Put on your gloves.
- Place your plant material on the mesh screen.
- Gently shake the screen to agitate and dislodge the trichomes.
- Use your card to gather the fallen trichomes from the surface below.
HOW TO MAKE A HOMEMADE GRINDER
If you don’t have a grinder to hand, you can always make your own homemade solution. With a few basic tools and minimal DIY skills, you can create an effective device to grind up your cannabis flowers.
Equipment
- Scrap wood
- Wire mesh
- Nails
- Hammer
- Saw
- Tape measure
Directions
- To begin creating your DIY weed grinder, cut your wood to create 4 side pieces to form a frame. Create 2 long pieces (5.9 inches long and 2.9 inches tall), then make 2 more pieces (2.9 inches long and 2.9 inches tall).
- Nail the pieces together to create a rectangular frame.
- Cut the wire mesh to a size of 15 × 2.9 inches.
- Nail the mesh onto the top of the frame.
- Place the frame with the mesh side facing up.
- To grind your weed, rub your flowers against the mesh and watch processed bud fall into the space below.
AN EXTRA TIP: GET A GRINDER!
If you're reading the article, there's one more key piece of advice we think you'll benefit from. What's that, you wonder?
Get a grinder! Not sure where to get one? We happen to have a wide selection for people with all budgets!
Working off the DIY shaker concept we mentioned earlier, our Grindtainer is one of the most budget-friendly and convenient grinders and containers out there. It's got the space to hold a decent amount of weed, along with the same grinding capacity as the average compact grinder. Already have a grinder? We'd highly recommend this as a handy backup. Even if this is your primary grinder, you'll still be living easy.
We've got more classic grinders too, including our own RQS branded metal grinder! That one even comes complete with a kief catcher, as does our pollinator grinder, which also has a handle on the outside for a low-effort grind.
We've got some more premium options as well. Standing out amongst them is our limited edition collaboration with Krush on their uniquely shaped Kube & Kube 2.0. Constructed with specially designed teeth, this grinder is designed to fluff your weed while you grind. The anodised aluminium construction means it'll be able to grind like new for a long, long time.
HOW TO GRIND WITHOUT A GRINDER: WHERE THERE’S A WILL, THERE’S A WAY
No matter how you're grinding your weed, whether it's with a grinder, cheese grater, or blender, just make sure you're enjoying it responsibly, surrounded by friends.
Other than that, make sure you're cleaning anything you're using to grind your weed, even if you're using an actual grinder. Stay safe, stay healthy, and stay high!
Check out our full range of grinders (and other cool RQS merchandise) here!


