.
Top 11 Mistakes To Avoid When Growing Cannabis
Are you growing cannabis for the first time? Or maybe you're more experienced but keep encountering growing issues? Let us help you! Before you put seeds in the soil, check out the points below. Once you learn the 11 biggest mistakes you can make when growing cannabis, you'll be more than ready to grow healthy and successful plants.
Contents:
Cannabis is generally an easy plant to grow, but this doesn’t mean that mistakes don’t happen. As a matter of fact, even experienced growers get things wrong from time to time. But, by learning about common growing mistakes and how to avoid them, you can look forward to plenty of fat buds waiting for you at harvest time.
Although heat, pH, overwatering, and soil are important, we’ve added the most vital point to the bottom of the list: lighting! Cannabis plants depend on light to create energy and thrive. At the end of the article, you’ll learn the best way to illuminate your plants.
1. NOT KNOWING WHAT YOU ARE GROWING
It does happen: Someone hands you a bag of seeds of “some great weed” for you to grow. You’re happy since you just saved some cash on seeds. The problem is, you don’t know what type of cannabis the seeds are, whether it’s sativa, indica, autoflowers, etc. We’re already off to a pretty bad start.
The thing is, weed isn’t just weed. There are big differences in growing characteristics among different cannabis seeds. An indica autoflower will certainly behave differently than a picky photoperiod sativa. Some strains may be suitable to grow in a colder climate, while others may require a hot, sunny environment. Some strains may need lots of nutrients, while others require only light feeding. You get the idea.
In short, it’s important to know what you’re actually growing. When you get your seeds from a reliable source such as Royal Queen Seeds, you’ll have peace of mind in what it is you’re about to grow. You'll be informed on your strain's expected flowering period, nutritional requirements, yields, and other important information. This is essential if you want to grow successfully!
2. BAD GERMINATION
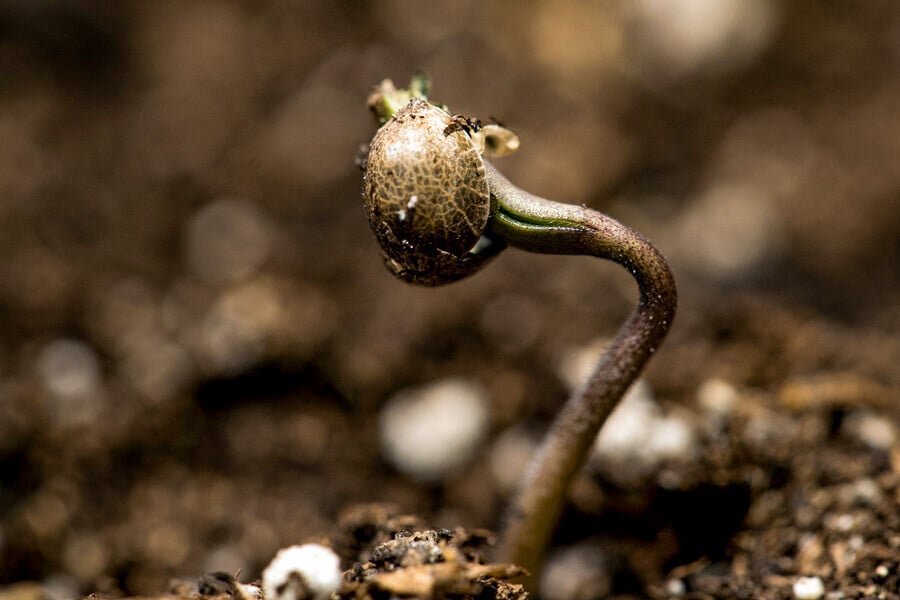
Some grows fail before seeds even have a chance to sprout, as growers tend to make mistakes when germinating seeds.
This is what cannabis seeds need to sprout:
- A dark and humid (but not wet) environment
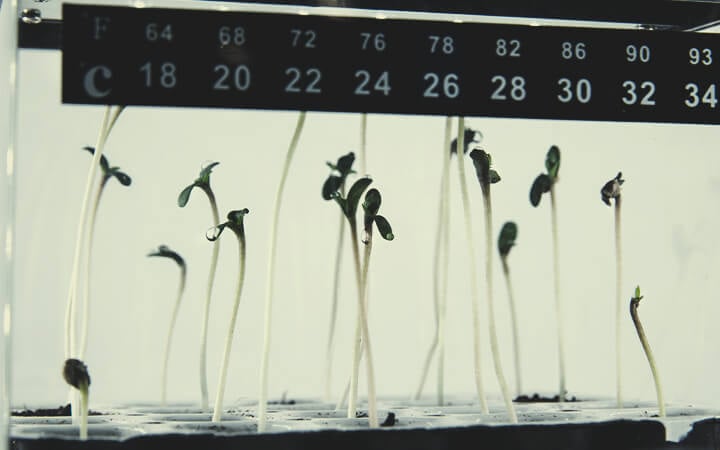
- Ideal germination temperature of 22–25°C
- Relative humidity between 70 and 90%
- Fluorescent lighting is optimal, but a windowsill might do
- Avoid handling seeds (risk of damaging and contaminating seeds)
- Ensure the right pH (5.8–6.2) if you’re using rockwool to germinate
Starting your grow right is key to success. Our Growing Guide gives you fast, actionable tips for germinating your seeds with confidence.
Free RQS
Grow Guide!
GERMINATION METHODS
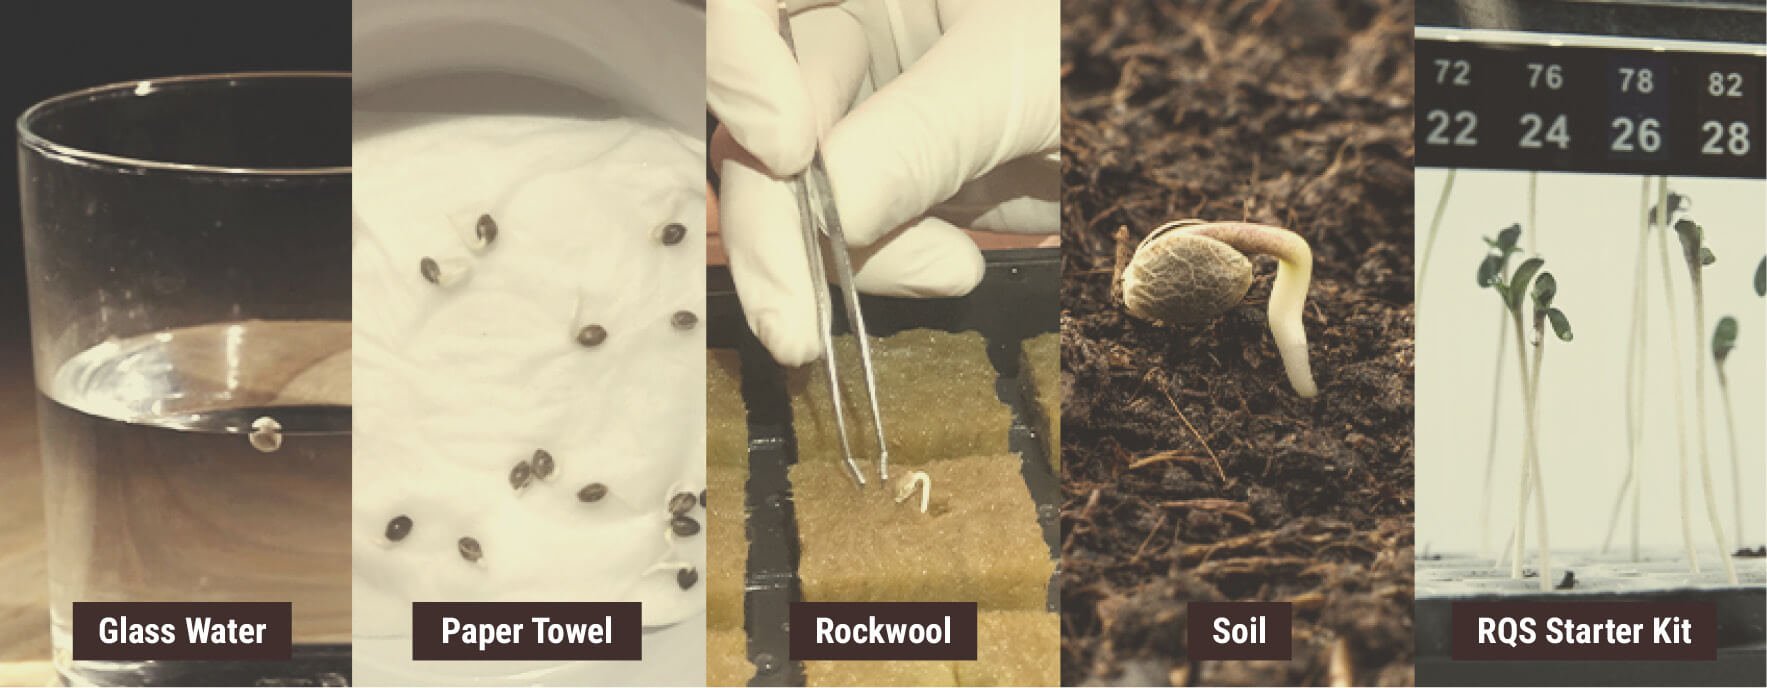
There are several methods for germinating cannabis seeds. Although none is really “better” than the other, we do recommend germinating directly in soil, or even better, using the RQS Starter Kit. This does away with the risky part of transferring sprouted seeds and possibly damaging them.
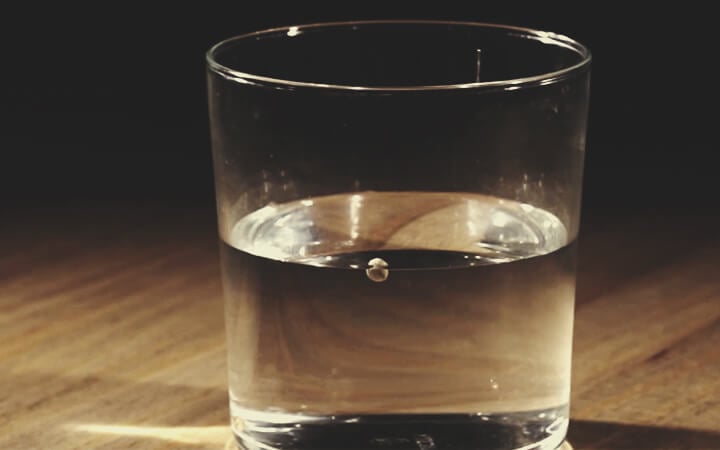
- Glass of water method
Fill a glass halfway with lukewarm (22°C) water and drop in your seeds. After about 3–5 days, the seeds should have sprouted, and you can now transfer them (carefully!) into your prepared soil pots.
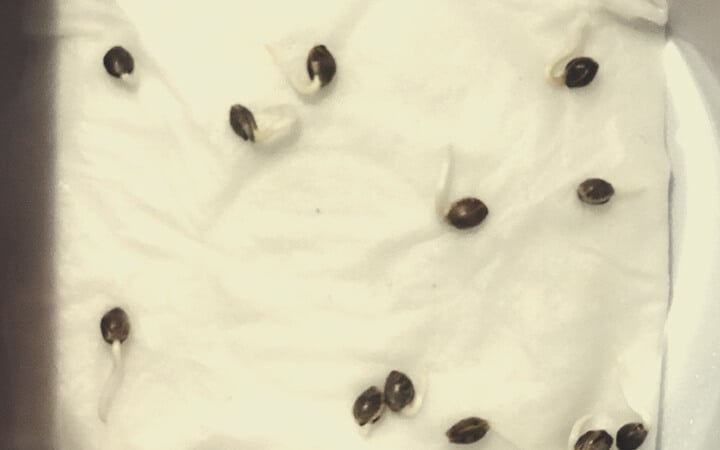
- Paper towel method
Use some type of absorbent paper (kitchen paper, coffee filter) and place a couple sheets on a flat surface such as a plate. Put your seeds on the paper, spaced a little apart, and cover with a couple more sheets over the top. Moisten the paper and make sure to keep it damp so it doesn’t dry out. After a few days, when the seeds have sprouted 2–3mm taproots, transfer them to their seedling pots.
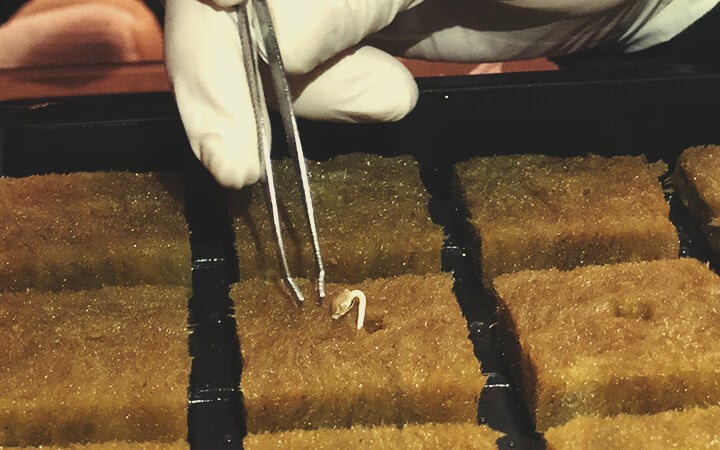
- Germinating in rockwool
This is usually done when growing hydroponically. Soak the rockwool blocks in low-pH water and place them in a plastic tray with a lid. Place your seeds in the hole of each rockwool block. Seeds should germinate in a few days. Place the rockwool blocks with your seedlings in their soil pots when roots start to come out the bottom.
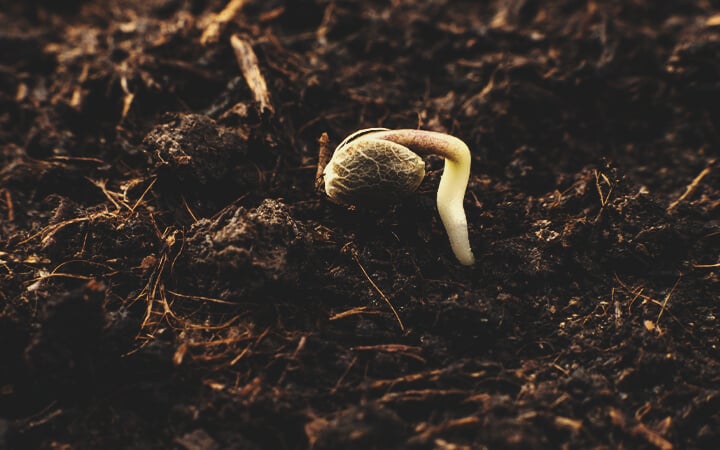
- Germinating directly in soil
Fill a small seedling pot with an unfertilised or “light” potting mix. Poke a small hole about 1cm deep in the middle and place your seed inside. Cover lightly with soil. Water the soil and cover the seedling pot with clingfilm to lock in moisture. Seeds should germinate in a few days.
- RQS Starter Kit
The RQS Starter Kit comes with everything you need to give your cannabis seeds the best and safest start in life. It comes with a propagator and lighting, Easy Start seedling pots, perlite, and beneficial bacteria to encourage germination and growth. It even includes three popular cannabis seeds, so you can start right away! When your seedlings have reached 2–3cm, you can cut up the pots and easily transplant your seedlings into their growing medium.
3. NOT USING THE RIGHT SOIL
- Don’t reuse potting soils
- Don’t use soil without any nutrients
- Don’t use contaminated soils (fungi, pests, etc.)
Not using proper soil is another common mistake. So, what is the “proper” soil for growing weed? Well, let’s take a look.
- It should be light and airy
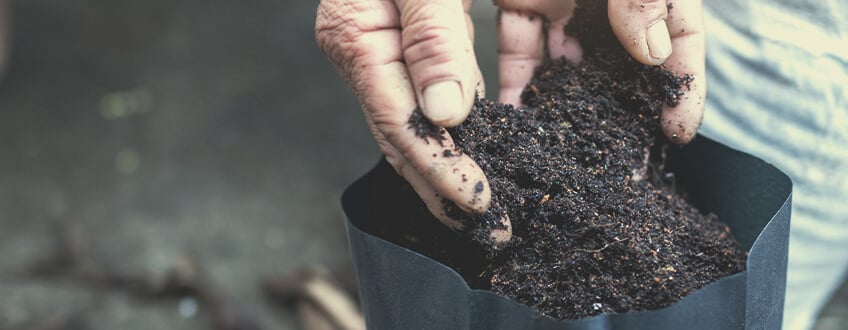
Good soil for cannabis has a light, airy structure, preferably with some perlite mixed in. This ensures adequate drainage and allows roots to grow unhindered. Cannabis won’t do well in soil that is too dense.
- It should contain nutrients
Most cannabis soils, with the exception of special soil mixes used for propagation and seedlings, are pre-fertilised. This way, you won’t have to administer nutrients until several weeks into the grow. In fact, you may only need to feed nutrients when your plants start to flower. If for some reason your growing medium isn’t pre-fertilised, you will have to give nutrients to your plants from the beginning.
- It should be free of contaminants
Don’t use dirt from your garden or any other soils of questionable quality, including old, reused soils from your previous grows. These may contain contaminants such as fungi or pests. Good-quality potting soils from trusted brands don’t come with these risks.
If you really want to reuse your old soil, you need to amend it with fresh nutrients. Before that, you need to make sure that your soil is free of contaminants.
4. NOT USING PROPER POTS
Using the right containers for your weed might not seem like a big deal, but you’d be surprised just how crucial this variable is. Here are some factors you should consider:
- The right size
If the pot is too small, the growth of your roots, and therefore the growth of your entire plant, will be restricted. If the pot is too big, this increases the likelihood of overwatering, fungus, and root rot.
Recommended pot sizes:
- 0–3 weeks: root cube
- 2–6 weeks: 10cm pot
- 6–8 weeks: 10l
- Autoflowers: 12l
- 2–3 months: 14l
- 3–8 months: 22l
- 8–16 months: 45l
- Good drainage
Your planting pots need to provide good drainage. Usually, there will already be holes in the bottom. If there are no holes, as can happen when you buy standard plastic pots, you will have to make them yourself. Make sure there are at least 5 openings, each about the size of a penny. As long as soil doesn’t just autumn through the bottom, you’re good.
As an alternative to plastic pots, you can also use fabric pots (smart pots) or air pots. If you want to learn more about the different pots used to grow cannabis, check our article on the subject.
5. IMPROPER HUMIDITY FOR SEEDLINGS
Seedlings are very sensitive and do not take kindly to growing mistakes like improper humidity and moisture levels. Both could spell the premature end for your seedlings.
- Humidity too low
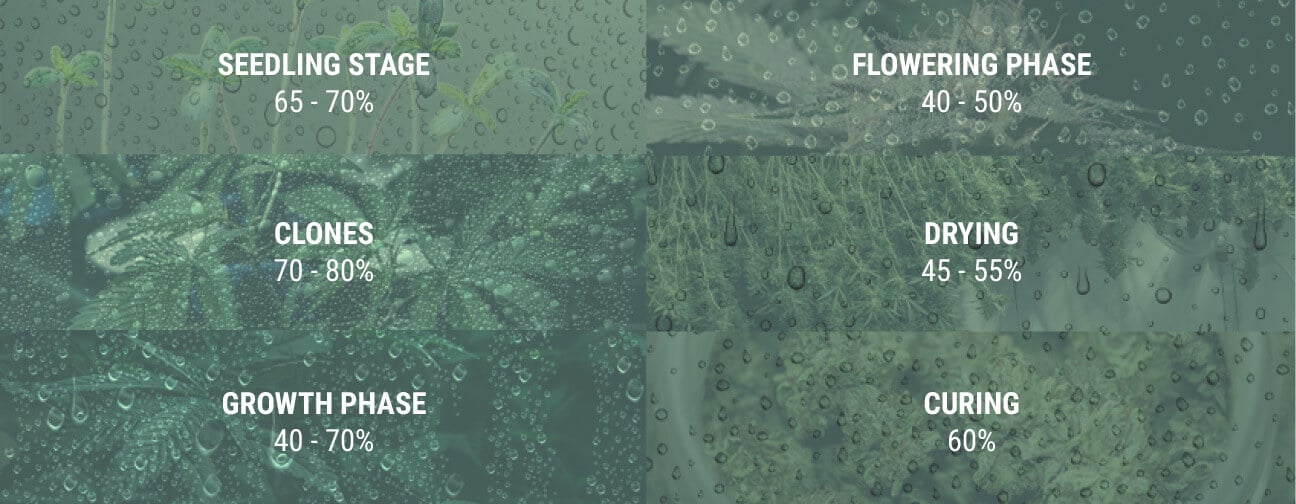
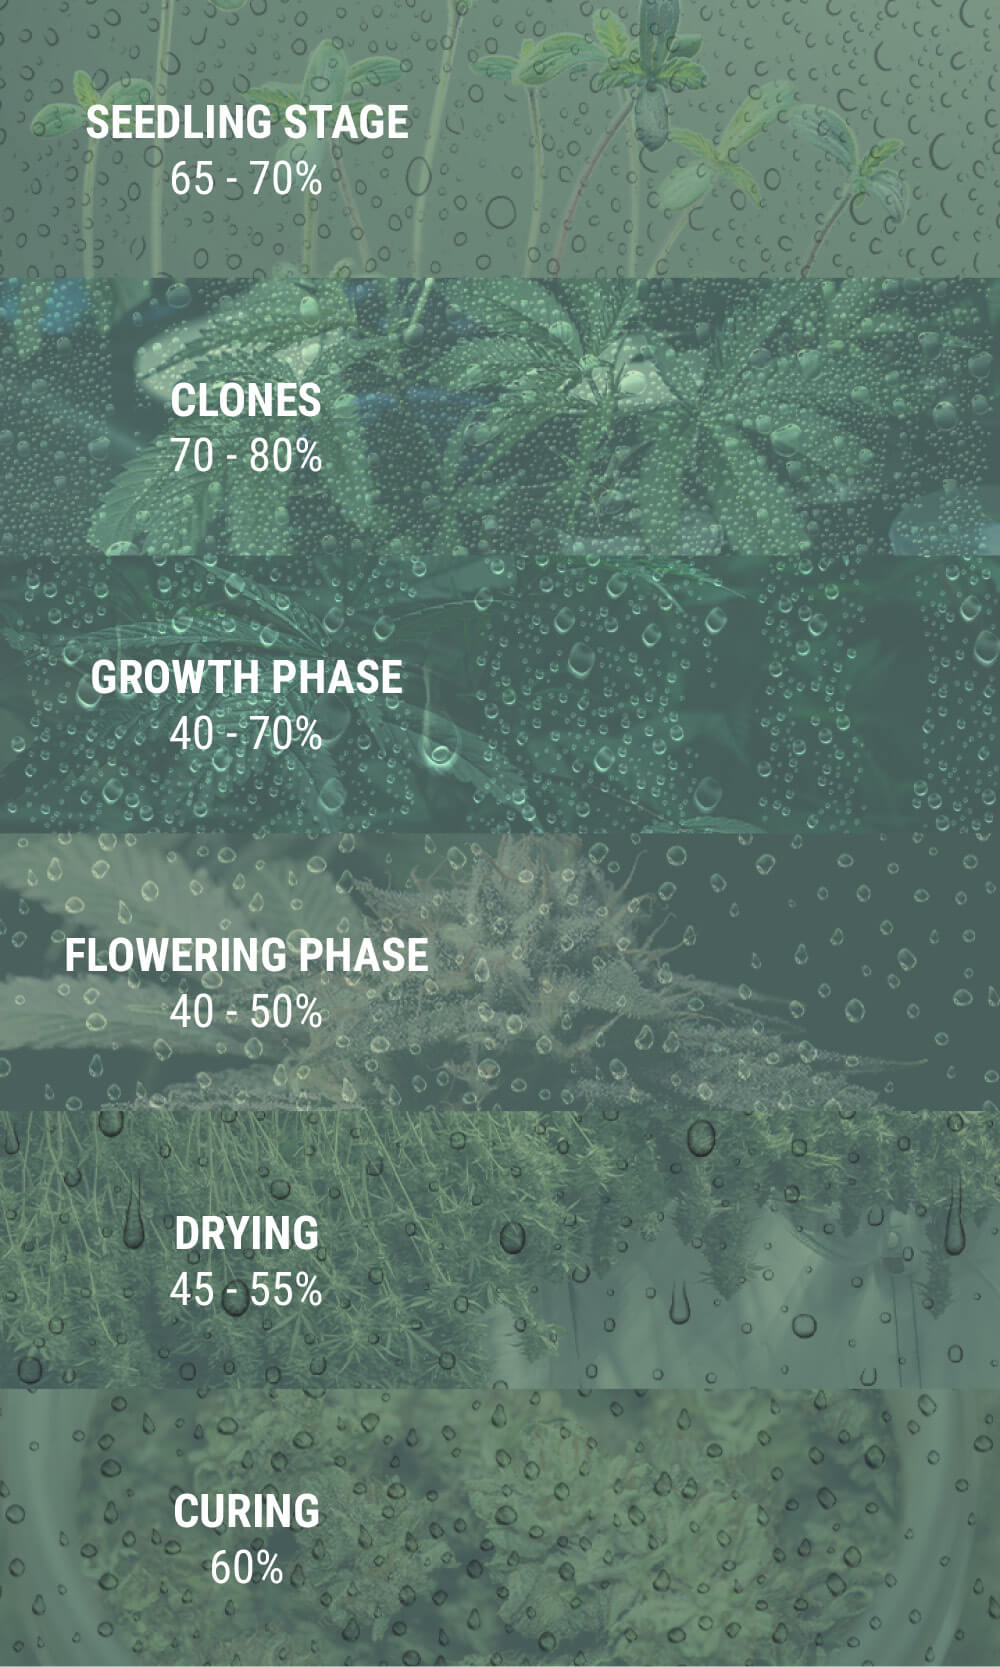
Ensure a high relative humidity of around 65–70% (use a humidity dome for germination and seedlings) and keep the soil moist, but not wet.
- Humidity too high / excessive moisture
Excessive moisture is also bad news for seedlings. When humidity levels are too high or when you overwater your seedlings, this can lead to the dreaded damping off, a deadly fungal disease. Seedlings will become weak and tip over, and there is nothing you can do to save them. Avoid extremely high humidity and overwatering, and make sure to use a sterile medium for germination.
6. OVERWATERING AND OVERFEEDING
- Overwatering
Overwatering is much worse than occasional underwatering, as plants can almost always recover from slightly dry conditions. But when they’re constantly overwatered, this deprives the roots of oxygen and will lead to all kinds of troubles like fungus and root rot. Always allow the soil to dry out between waterings. Less frequent watering is better than overdoing it!
- Overfeeding
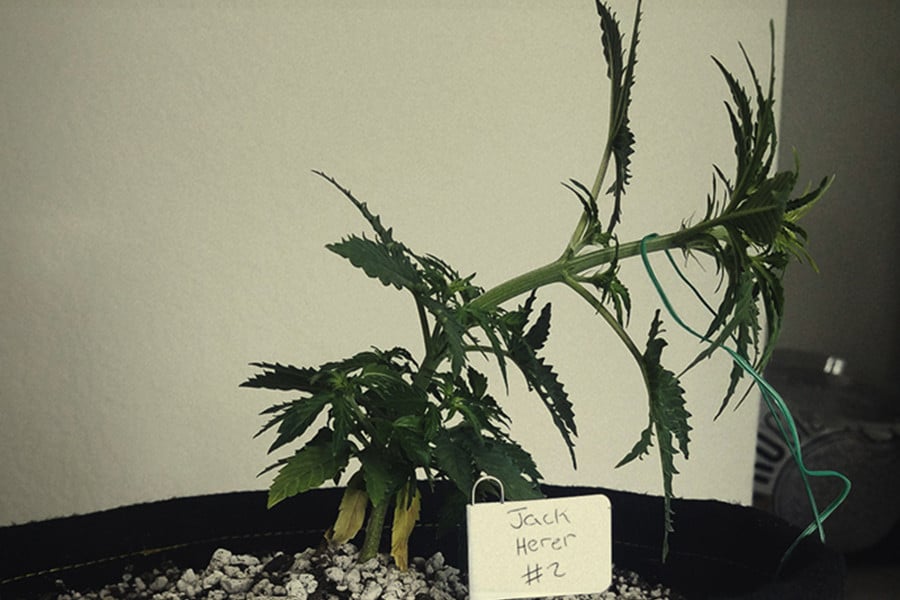
People love their weed plants, so they think giving them more must be a good thing. But alas, it’s not. Overfeeding can lead to nutrient burn, or worse, nutrient lockout caused by accumulated minerals in the soil. In this case, you’ll need to flush your soil with water and start again with your feedings to return the pH to an ideal window. In short: don’t overdo it on the nutes!
7. NOT MONITORING PH LEVEL
Monitoring pH is important since cannabis can only uptake nutrients within a relatively small window. If the pH level is too low or too high, your plants will get sick.
Correct pH levels
- Soil: 6.0–7.0
- Hydroponics and soilless: 5.5–6.5
By using pH up and pH down products, you can adjust your water for the optimal pH level. Make sure you have a pH meter or pH measuring drops!
8. NOT HAVING PROPER VENTILATION
Especially when growing indoors, not having proper ventilation can lead to a host of maladies, including mould. For small grows, a simple standing fan blowing a mild breeze across your plants can be enough, whereas larger grow operations require sufficient outfitting to ensure air is constantly flowing and doesn’t become stagnant.
If you’re growing outdoors, air circulation shouldn’t be a problem; but then, there are other things to watch out for. For one, you’ll want to protect your plants from thieves. You can do so by planting companion species to hide your crop and mask the smell. You can also select cannabis strains that naturally remain short and hidden from view. Find out more about stealthy outdoor grows in our blog on how to protect your cannabis plants from thieves.
9. HEAT-STRESSING YOUR PLANTS
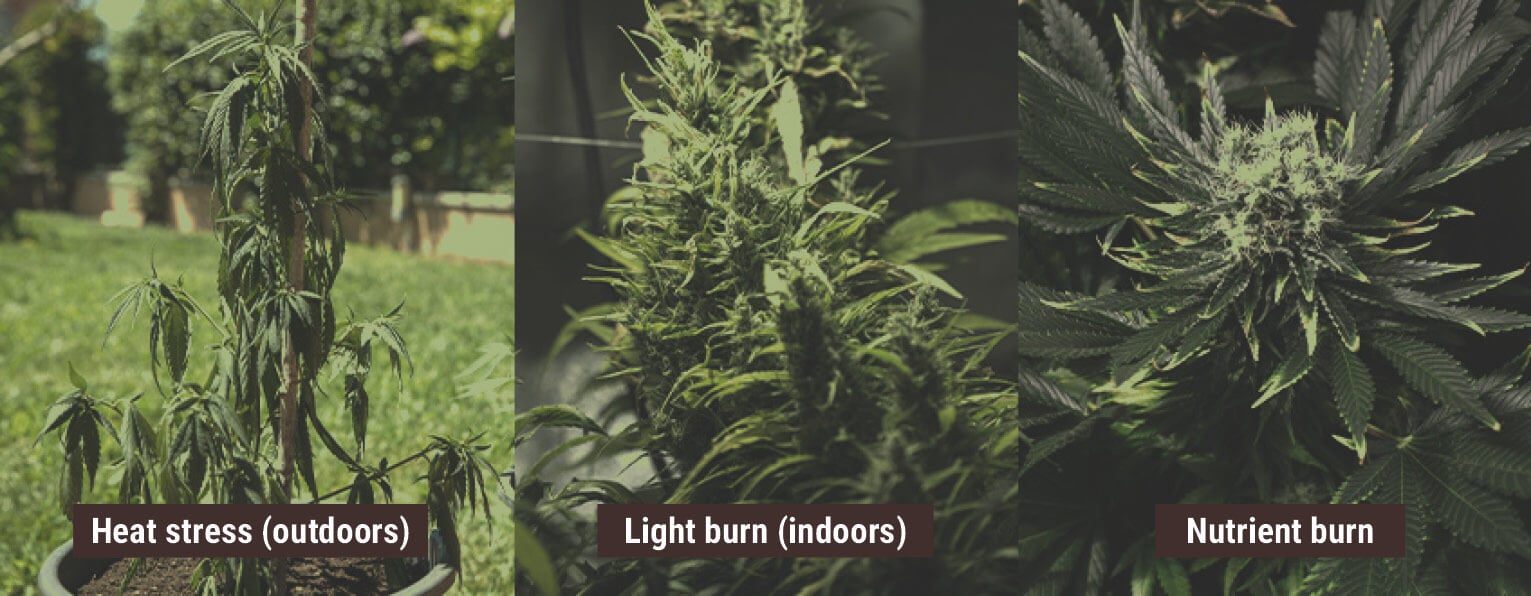
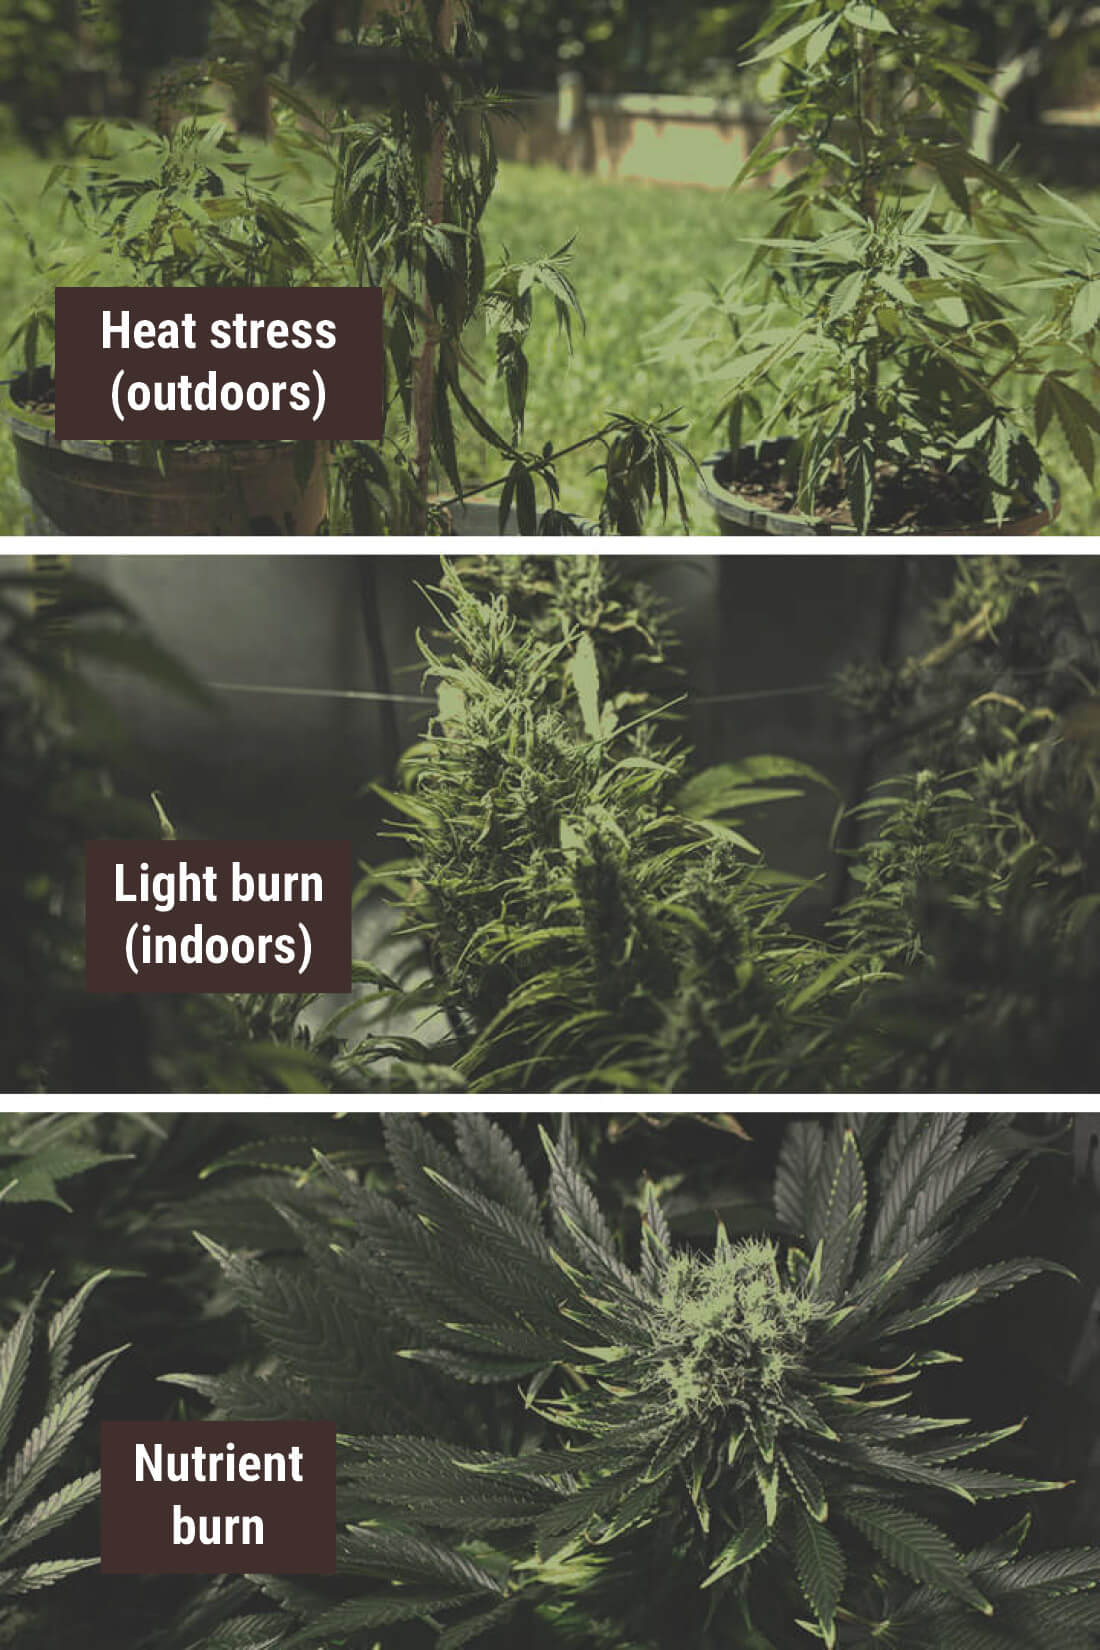
Heat stress can lead to growing problems both indoors and out.
- Indoors
A common reason for heat stress is when your grow lights are too close to the plant canopy. If you spot signs of light burn, such as curled, wilted, and brown leaves at the top of your plant, move your lights further away.
- Outdoors
If you’re growing outdoors in a climate that’s hot and sunny, heat stress could be a problem. Ensure that your plants have some access to shade, especially around midday. Put up some shading or choose a spot with some natural shade to protect your plants from the heat.
10. HARVESTING TOO EARLY OR TOO LATE
Even if every stage up to harvest has gone splendidly, the final (and most maddening) mistake you can make is harvesting too early or too late. You don’t want to make the chop before your buds reach peak potency, but you also don’t want to leave them hanging, so to speak.
HOW TO TELL WHEN TO HARVEST
The most reliable way to determine harvest time is to check the colour of the tiny, mushroom-like trichomes on your buds. For this, you’ll need a loupe or a microscope. Take a good look!
- Way too early: All trichomes are clear. Harvest is still weeks away.
- Still early: Most trichomes have turned a white, cloudy colour. THC production is just beginning to increase, and you’ll probably want to wait a little longer.
- Best time to harvest: Trichomes are cloudy white, with a small portion (10–20%) starting to turn an amber hue.
- Too late: Most trichomes are reddish/amber and there are no, or just a few, white ones left. At this point, your cannabis plant will look very “finished”, with most of its leaves yellow or wilted.
11. Not Enough Light
Without light, weed plants die extremely quickly. They depend on light to create vital carbohydrates, which are required as an energy source. As photons hit their leaves, small organelles known as chloroplasts convert light into energy-rich sugars.
For this reason, growers must provide the right amount of light for their plants. Too little, and the growth and yields of your plants will suffer. Too much, and photoperiod strains won’t flower (plus, your energy bill will spike if you're growing indoors).
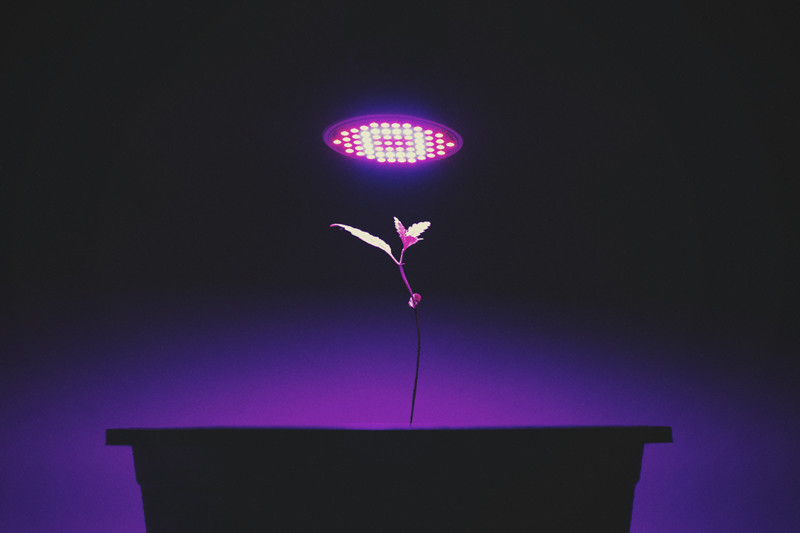
Speaking of growing indoors, we recommended investing in a high-quality LED grow light and a timer. Set the timer to at least 18 hours on and 6 hours off during the vegetative phase. If you’re growing photoperiod genetics, you’ll need to reduce the schedule to 12 hours on and 12 off to initiate flowering.
If you’re planning on growing outdoors, you won’t need to worry about changing the light cycle. Just aim for a sunny spot in your garden or balcony that can meet your plant’s needs. Ideally, place your crop in a south-facing position that receives at least 8 hours of sunlight each day.


