.
Aeroponics: Using Air To Grow Healthy Cannabis Plants
Aeroponics is a special growing method that doesn't use a growing medium. It is an efficient technique for cannabis cultivation that comes with a host of advantages. A word of caution, though: It is not for beginners. Find out all there is to know about growing cannabis in an aeroponic system, including how to make your very own.
Contents:
- What is aeroponics?
- How aeroponic systems work
- When was aeroponics invented?
- Advantages of aeroponics for cannabis
- Disadvantages of aeroponics for cannabis
- Are aeroponics and hydroponics the same?
- How to set up an aeroponic system for growing cannabis
- Low pressure versus high pressure aeroponic systems
- Aeroponics and cannabis: tips and tricks
Learn all about aeroponics and how to use this system to grow superb cannabis.
Cannabis cultivation is evolving. Advanced growing techniques such as hydroponics, previously a domain of experts only, are now being employed by hobby growers the world over. With aeroponics, advanced growers can take their grow-op to the next level. Let’s take a look at what aeroponics is, along with its benefits and drawbacks. Then, we'll go over how to make your own aeroponic system at home, followed by some tips on achieving the best results!
WHAT IS AEROPONICS?
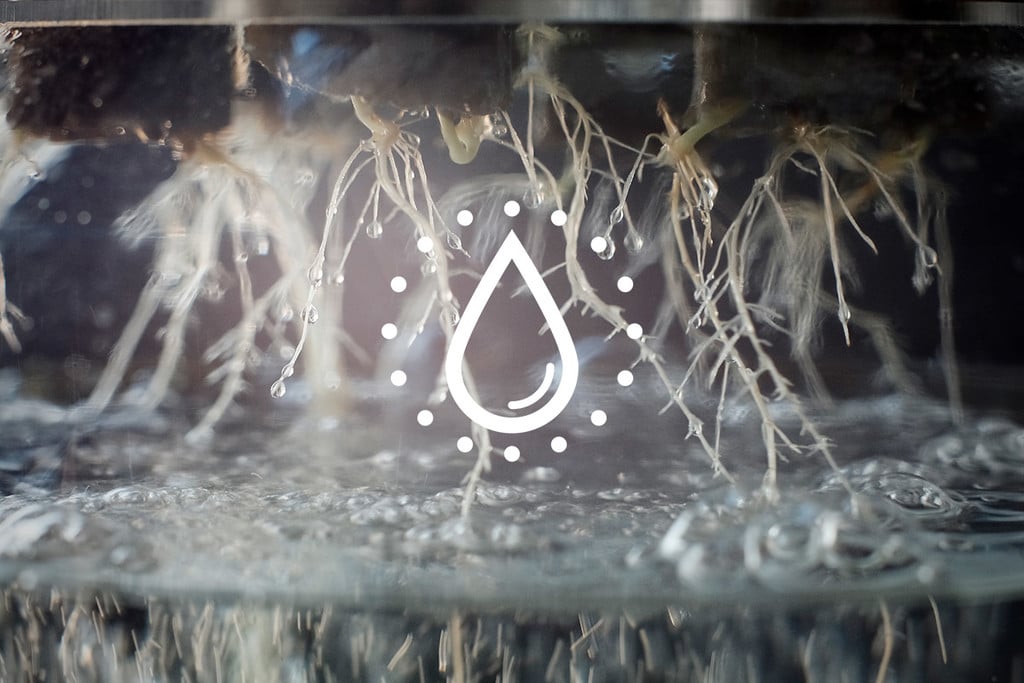
Technically, aeroponics is a type of hydroponic cultivation, and indeed, the two are sometimes lumped together. The main difference is that aeroponics (from the Greek words “aer”, meaning air, and “ponos”, meaning labour) doesn’t utilise a growing medium. Instead, plants are suspended in the air, and water and nutrients are provided to the roots via a fine mist.
What aeroponics has in common with hydroponics is that it involves a controlled environment with nutrients administered via a solution. To support a booming indoor cannabis industry that calls for high standards, this level of precision is key.
There is another facet to aeroponics that makes it a compelling option; it uses the least amount of water and nutrients to grow healthy plants. Not only does this cut back on expenses, but it decreases water and energy usage for a more sustainable grow-op—a striking argument for its use!
HOW AEROPONIC SYSTEMS WORK
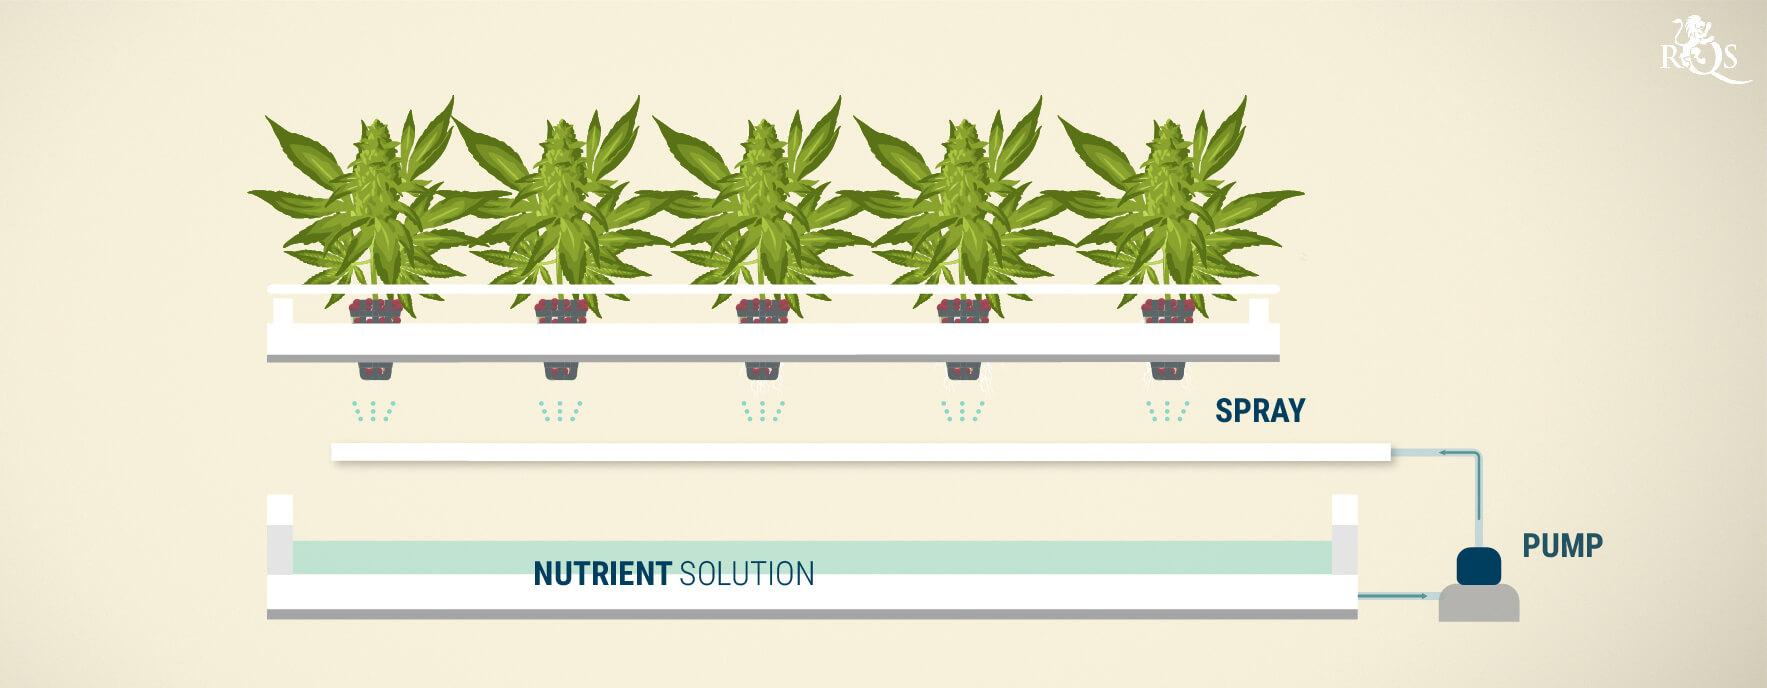
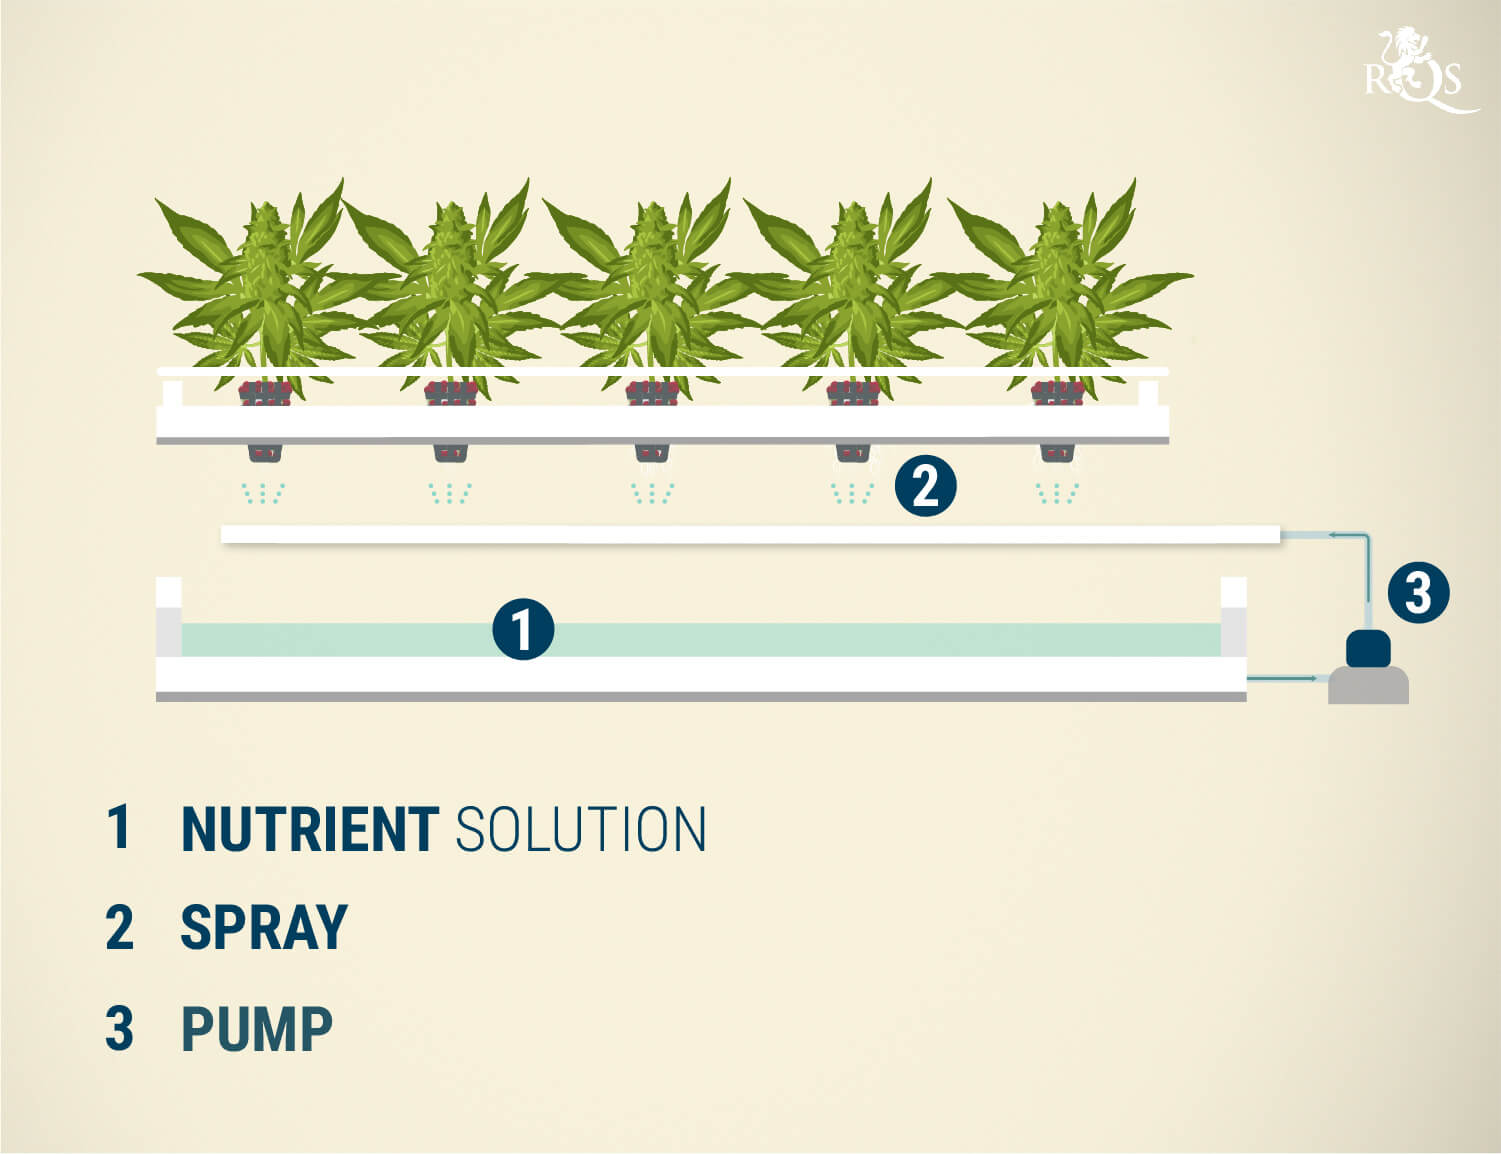
At its most basic, an aeroponic grow system consists of a reservoir and a raised planter bed. The reservoir, just as in hydroponic setups, contains a nutrient solution.
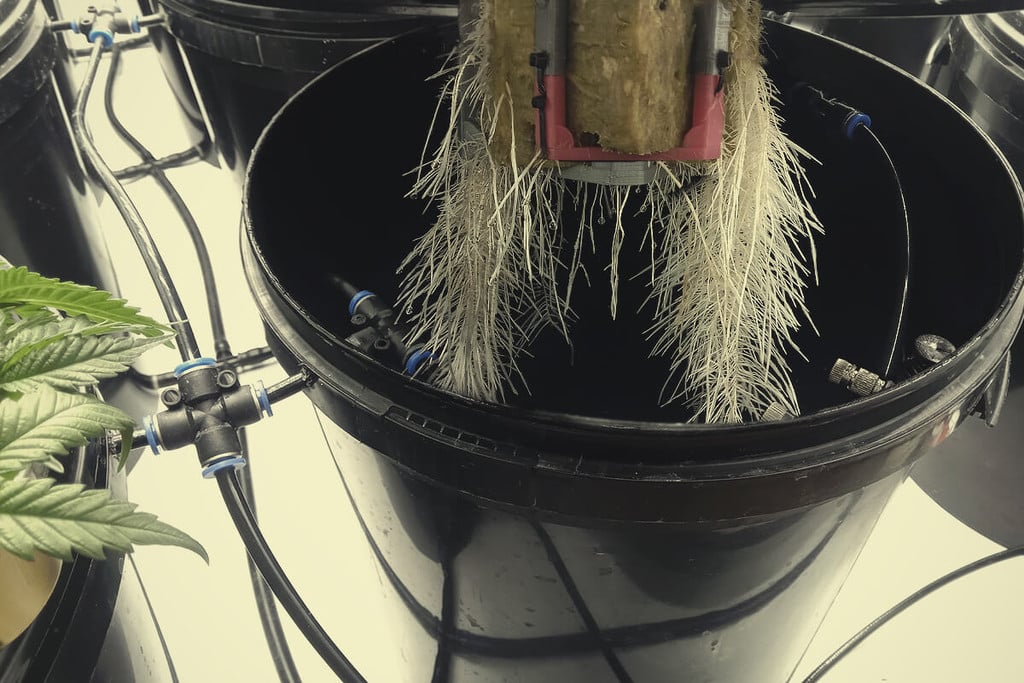
The plants are placed in net pots where they grow above the “bed”, with the roots dangling down into the reservoir. This is where things differ from conventional hydroponics: The roots are suspended in the air and typically don’t make direct contact with the nutrient solution. Instead, a pump delivers a fine mist of nutrients to the roots via tubes and nozzles. Excess water collects on the bottom of the planter bed and then drains back into the reservoir.
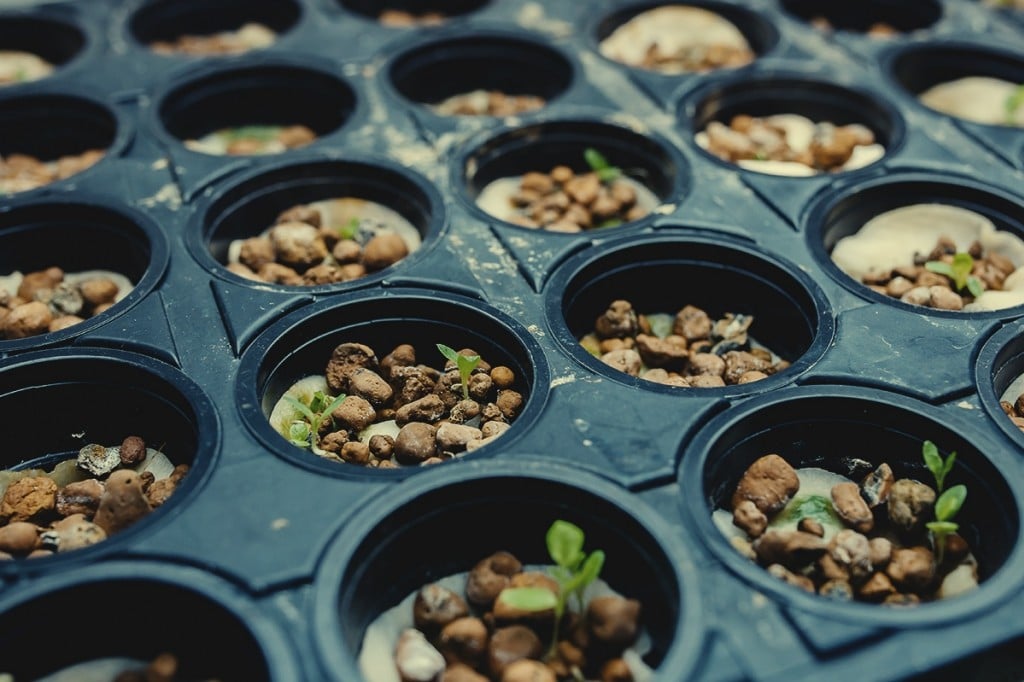
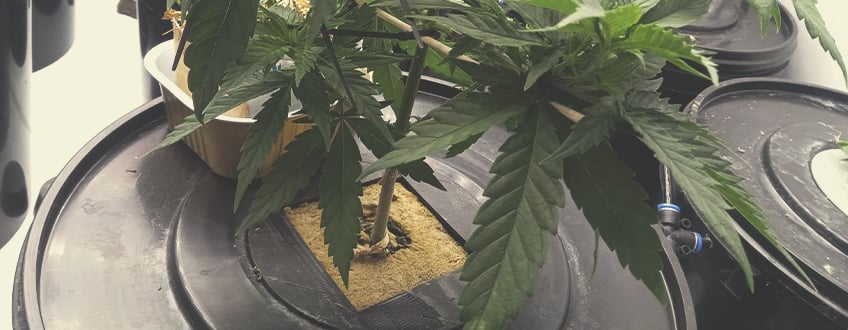
Just like with hydroponics, seedlings are typically started in rockwool cubes. They are then placed into net pots, which are basket-style pots that allow the roots to grow out. A protective collar is placed around the base of the stem to prevent damage and evaporation. When placed into the aeroponic system, the plants will grow upwards as the roots grow downwards into the reservoir.
WHEN WAS AEROPONICS INVENTED?
In the early 20th century, aeroponics was used to study plant root systems. Russian botanist V.M. Artsikhovski described such a system, which he designed and successfully utilised, in an article in 1911.
In the 1940s, more botanists continued to use “air culture” in their research. The term “aeroponics” was coined by Dutch biologist Frits Warmolt Went in 1957, when he was growing tomatoes and coffee plants using the method. The first commercially available aeroponic system was the “Genesis Rooting System”, manufactured by GTi in 1983.
ADVANTAGES OF AEROPONICS FOR CANNABIS
Now that we’ve addressed the basics, it’s time to break down the advantages and disadvantages of using aeroponics to grow cannabis. Like most techniques, aeroponics will not work for every type of grower, but many will find it quite efficient and effective. Here are the advantages of going aero.
FULL CONTROL OVER NUTRIENTS AND ENVIRONMENT
Aeroponics gives the cultivator full control over nutrient and pH levels, which means you can support optimal nutrient uptake and vigorous growth by dialling in parameters to the desired range. Not only that, but you’ll be controlling the lights, temperature, and humidity of your grow room to perfectly suit your little green babies. This level of environmental control is beneficial for picky strains, and it allows you to use your nutrients and other resources efficiently.
EASY ACCESS TO OXYGEN
Because aeroponics inherently involves suspending the roots in the air, they have easy access to oxygen. When growing in soil or suspending the roots directly in a nutrient solution, growers must take special precautions to ensure the root zone is oxygenated by selecting the right medium or adding air pumps to the hydro reservoir. No such issues with aeroponics. Simply watch your root system develop as your plants thrive.
REQUIRES LESS WATER
Compared to other growing techniques, aeroponics uses the least amount of water. The water that is used is recycled, allowing growers to save money and cut back on water usage in general. Cannabis isn’t always the most efficient plant in terms of energy and water usage, so cutting back in any way is beneficial for the environment. Still, your plants will have all the water they need, just delivered in a fine mist.
NUTRIENTS SUPPLIED DIRECTLY TO ROOTS
Along with optimal access to oxygen, roots are also exposed directly to water and nutrients, which they uptake with ease. There’s no soil medium to stand in the way, and nutrients are delivered in a consistent cycle.
USES LESS SPACE
The lack of growing medium allows growers to save a significant amount of space and fit as many plants as possible into their grow room. Indeed, aeroponic operations often involve growing a large amount of plants close together, with no competition among the roots for soil or nutrients. This uniformity and lack of soil also makes harvesting easier and less messy.
LOWER RISK OF PESTS
Another benefit of a soilless grow: You don’t have to worry about soil-based pests such as fungus gnats. The lack of medium also means you should be able to spot any potential pest issues immediately.
DISADVANTAGES OF AEROPONICS FOR CANNABIS
Like anything, there are some drawbacks to aeroponics. Chiefly, this is not the technique for introductory growers or those who only have space outside. Get the full rundown below.
NOT FOR BEGINNERS
Aeroponics requires a strictly controlled environment. Nutrient concentrations, water pH levels, temperature, and other factors require constant, close attention. There is little room for mistakes, and if they occur, plants will suffer quickly. For that reason, aeroponics is only suitable for experienced cultivators. Systems can be automated to make things easier, but they will still require upkeep throughout the grow.
HIGH COST
An aeroponic setup can be quite expensive. Aside from the cost of the system itself, one needs to also factor in the cost of nutrients, the need for temperature control and air filtration, measuring equipment (pH and EC meters, etc.), and possibly even an emergency backup power source. All of this will add up! While the investment is certainly worth it for those up to the task, it’s not worth dropping all the cash if it’s your first or second grow.
MISTAKES CAN BE LIFE-THREATENING (FOR YOUR PLANTS)
As we said, the aeroponics cultivator needs to constantly monitor their setup and regularly check to make sure the pumps and tubing are all working correctly, and that plants are receiving the optimal amount of nutrients. Should something go wrong and your plants receive the wrong solution or a contaminated water source, this can spell bad news quickly. You need to be aware that mistakes often have bigger implications when there’s no soil to buffer incorrect feeding.
MANAGING EQUIPMENT
A power outage or a pump failing unexpectedly can be a problem, and you’ll likely be the one who has to fix it. If the system is defunct for even an hour, the roots will dry out and the plants will suffer. You have to make sure you're in the position to manage your equipment, which means having spare parts, the right tools, and a game plan in place.
ARE AEROPONICS AND HYDROPONICS THE SAME?
As we alluded to above, aeroponics and hydroponics differ, although both systems deliver a nutrient solution directly to the roots. Whereas hydroponics comes in many forms, and often uses an inert growing medium such as clay pebbles, perlite, or rock wool to support plants, in aeroponics, the roots don’t make direct contact with the water reservoir or a growing medium. Instead, they dangle in the air above the reservoir, where they receive a mist of nutrients.
HOW TO SET UP AN AEROPONIC SYSTEM FOR GROWING CANNABIS
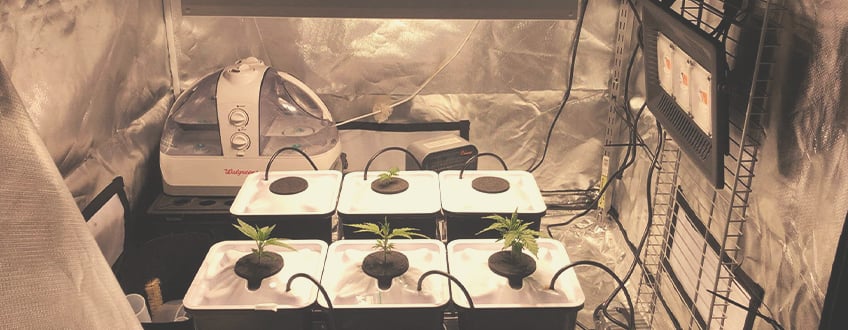
As mentioned, commercial aeroponic systems don’t come cheap. But those who are not afraid of some DIY can make their own. Here are some instructions on how to make a simple one-bucket aeroponic system suitable for several medium-sized plants.
MATERIALS AND TOOLS
• 20l bucket with lid
• Threaded poly cut-off riser (length 30cm, diameter 1.25cm)
• 360° sprinkler head, 1.25cm (½ inch)
• Hydroponic pump capable of 1200l/hour, with matching 1.25cm thread
• Electrical timer that allows a constant 30mins on, 30mins off cycle
• Several hydroponic net pots with lids, depending on the number of plants you want to grow
• Saw (to cut the riser)
• Electric drill
• Hole saw attachment for drill (should be a little smaller in diameter than the diameter of your net pots)
• Safety glasses
• Marker
INSTRUCTIONS
1. Start by drilling 3–8 holes in the lid of your bucket using the hole saw attachment. The holes should be several millimetres less than the diameter of your net pots so they can fit snugly into the holes. The exact amount of holes to make depends on how many plants you want to (feasibly) grow with one pot. Now, take your net pots and place them into each of the holes you made.
2. Place the pump into the bucket: Screw the threaded poly cut-off riser to the pump and cut off the riser at the desired height using the saw. Add the sprinkler head on top.
3. To connect the pump, run the pump plug through one of the net pot holes on top. Plug it into the timer. Set your timer to a constant 30 mins on, 30 minutes off cycle. This way, it will spray for 30 minutes, with a break between feedings. This will be your cycle for the entire duration of your grow.
4. Fill the bucket with about 8 litres of water/nutrient solution.
5. Place your plants in the net pots.
6. Voila! Your simple, cheap, and effective aeroponic setup will grow you awesome cannabis!
LOW PRESSURE VERSUS HIGH PRESSURE AEROPONIC SYSTEMS
If you’re starting to read a bit on aeroponics, you will come across the terms low pressure system (LP) and high pressure system (HP). What’s the difference between these?
A high pressure system utilises a very fine mist with a very small droplet size. Typically, in these systems, the misting chamber for the plant is separate from the reservoir.
Most home growers and DIY systems are LP systems. These, like our DIY system, use a spray with a larger droplet size. Hybrid “faux” aeroponic systems are available as well. Some of these make use of top-feeding drippers too, or they might allow the roots to reach down into the nutrient solution.
AEROPONICS AND CANNABIS: TIPS AND TRICKS
To close out this guide, we’d like to offer some hints and tips to get you on your way to a fabulous harvest with your aeroponic cannabis grow!
USE COOL GROW LIGHTS
In hydro and aeroponics, the water in the reservoir shouldn’t get too warm. Beyond 24°C, there is an elevated risk of algae and other harmful microorganisms forming, which are detrimental to your setup and plants.
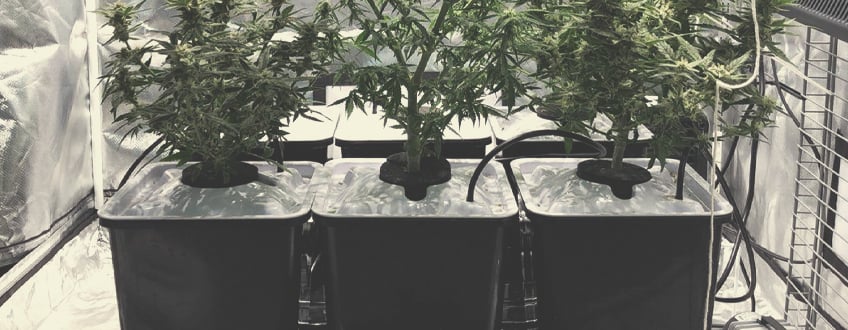
A powerful HID light could easily heat up temperatures to an excessive degree in your reservoir. If this happens, you’d need an additional cooling unit. For that reason, look into cooler-running grow lights such LEDs or CFLs. In particular, full-spectrum LED lights can take your plants through veg and flowering while keeping temperatures in the appropriate range.
DIAL-IN YOUR NUTRIENTS
Before you start your aeroponic grow, it helps to conduct some research on what nutrients to use and how to administer them. You will, of course, need to administer liquid nutrients via the reservoir, but know that manufacturers often overstate the recommended doses. Instead, start with ½ or even ¼ of the recommended amount and work your way up as necessary.
KEEP A CLOSE EYE ON YOUR SETUP
Growing aeroponically means your plants are held in a strictly controlled environment. Changes in nutrient levels, water pH, or temperature can quickly lead to sick plants. Always keep a close eye on your plants and your system to spot any issues with mechanics, growth, nutrient deficiencies, etc.
On that note, if you see something is off and need to adjust nutrient levels or something else, make these changes in small increments—don’t be drastic. The nature of your setup means your plants are highly sensitive to any fluctuations.
MEASURE, MEASURE, MEASURE (EC, TDS, PH)
If you grow aeroponically, a good EC or TDS meter will be your most important tool. These devices measure the strength of your nutrient solution. At some point, you may have to top-up or change the water in your reservoir. An EC meter will let you know when.
The ideal pH for your water is between 5.5 and 6.5. You’ll also want to keep an eye on water temperature: between 18–24°C is ideal.
KEEP YOUR ENVIRONMENT OPTIMAL
Your cannabis will grow best at a room temperature of about 21°C. Anything colder or warmer can result in diminished yields at best and serious growing problems at worst. In addition to keeping your grow room temps in check, you'll also want to ensure good air circulation.
You may get by with a standing fan or two to let fresh air in and out, but for healthy plants that provide you with monster yields, you will at some point want to consider a professional exhaust system, preferably with a carbon filter installed as well.
Best of luck, and happy growing!


