Royal Haze Automatic Grow Report
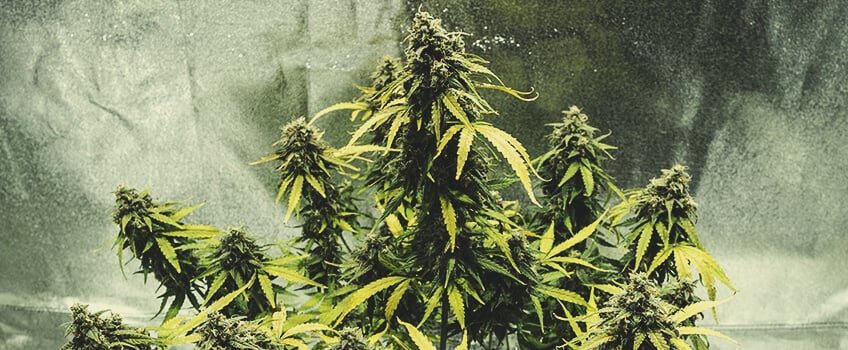
Week-by-week grow report for Royal Haze Automatic.
Contents:
- Equipment list
- Royal haze automatic grow report: seedling stage (week 1)
- Royal haze automatic grow report: vegetative stage
- Royal haze automatic grow report: flowering stage
- Harvest (end of week 10)
- Genetic attributes of royal haze automatic
- Growing characteristics of royal haze automatic
- Effects and flavor of royal haze automatic
Royal Haze Automatic combines the best traits of Amnesia Haze and Skunk with the efficiency and versatility of ruderalis. She provides a head-centric high alongside a palette of fruity and earthy terpenes. This hardy hybrid delivers rewarding yields without taking up much room, making her ideal for stealthy growers and those with spatial limitations. Continue reading for our full Royal Haze Automatic grow report, before we dive into her genetics and effects.
Royal Haze Auto
|
|
Amnesia Haze x Skunk x Ruderalis |
|
|
10 to 12 oz/m² |
|
|
2 to 3 feet |
|
|
55 - 60 days |
|
|
THC: Up to 15% |
|
|
Sativa 50% Indica 20% Ruderalis 30% |
|
|
4 to 6 oz/plant |
|
|
4 to 5 feet |
|
|
Clear, Uplifting |
|
|
85 - 95 days after germination |
Equipment List
- Box: Secret Jardin DS120W 120 × 60 × 178
- Lights: MIGRO 200+
- Fan: Blauberg Turbo — E 100
- Ventilation: 2x Monkey Fan 20W Oscillating
- Soil — light potting mix
- AirPot: 12.5 litre
- Hygrometer
Royal Haze Automatic Grow Report: Seedling Stage (Week 1)
Growing medium: To start things off, we grabbed our 12.5-litre AirPot and began preparing a nutritious growing medium to see our plant through the growing cycle. We added 12 litres of light potting mix and sprinkled in 0.2 oz of mycorrhizal fungi before mixing thoroughly with bare hands. The latter addition was to enhance root system health further down the line.
Germination: We saturated the growing medium with 1.5 litres of water and made a 0.4 – 0.6 inches deep hole directly in the center. After gently placing the seed into the hole, we covered it up loosely with soil. A shoot emerged four days later.
Lighting: While waiting for the seedling to emerge, we shifted our attention to the lighting. We selected the MIGRO 200+ for the task. It provides enough power to drive optimal growth, gives off very little heat, and costs very little to run. We rigged the device to the top of the growing box, suspending it at a distance of 15.6 inches from the upper rim of the AirPot. After flicking on the button, we opted for a 24-hour light cycle to promote rapid growth.
Nutrients: After the seedling emerged, we put together our nutrient stack. We used the following formula per litre of water:
- 2ml organic root booster
- 2ml aloe vera extract
- 2ml amino acid formula
After piecing together our formula, we watered our plant with 1.5 litres two days after the shoot appeared, and 0.7 litres two days later.
Environment: During the first five days, the relative humidity kept dropping to around 40%. We wanted to prevent dry air, so we placed a large pot of water in the grow box and managed to create a consistent relative humidity of 50%.
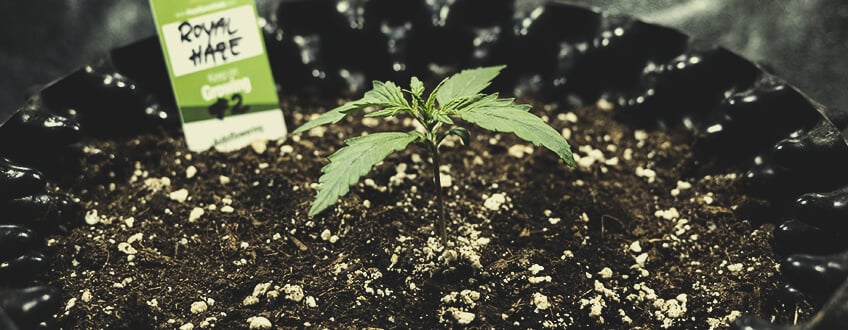
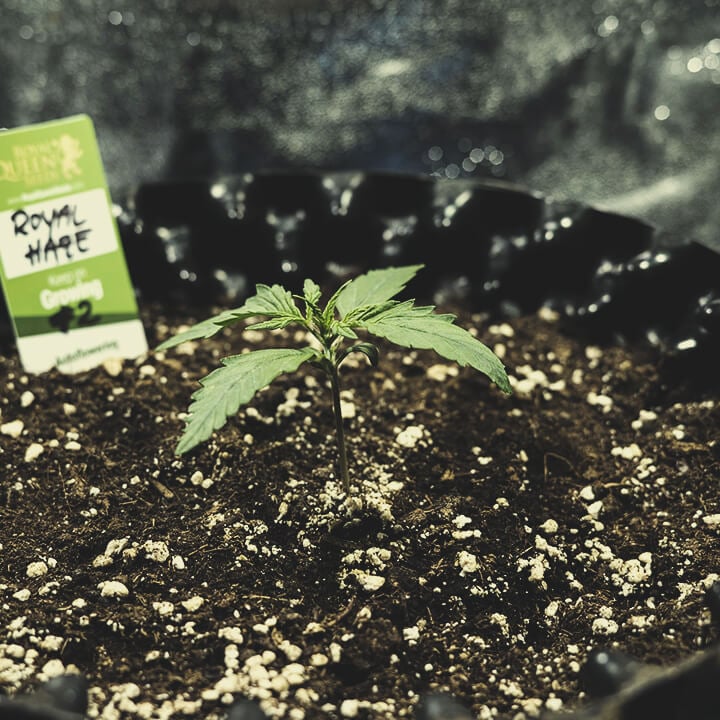
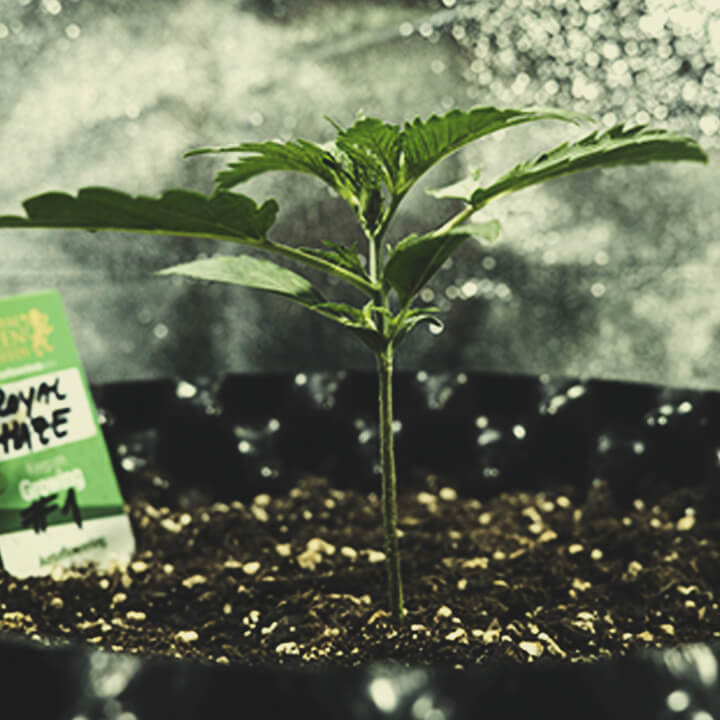
Plant status: Towards the end of the seedling phase, our plant stood strong at 3.5 inches, with a thick and sturdy stem and several sets of true leaves beginning to emerge.
Royal Haze Automatic Grow Report: Vegetative Stage
The vegetative stage took place over the next two weeks. Within this time frame, our plant developed rapidly from a small seedling into a bushy plant producing noticeable pre-flowers.
Week 2
Lighting: We repositioned the light 15.6 inches away from the top of our young vegetating plant. This distance seemed optimal to drive photosynthesis and maximise light exposure.
Nutrients: We fed our plant the same formula as the previous week, along with an additional 2ml of sugar beet extract per litre of water to help feed the beneficial microorganisms in the growing medium. We administered a 1.5 litre serving at the start of the week, and 0.7 litres of the solution during the middle of the week.
Watering: As our plant started to put on some serious size, we decided to water her away from her feeding schedule to keep up with her metabolic demands. We saturated the growing medium with 1.5 litres of water during the week when the soil became dry.
Environment: The dry weather caused the humidity to keep dipping. We boiled a pan of water and placed it into the growing space to maintain a hygrometer reading of 45%.
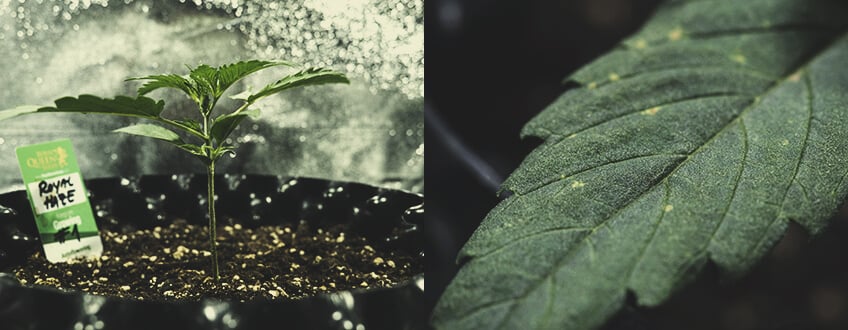
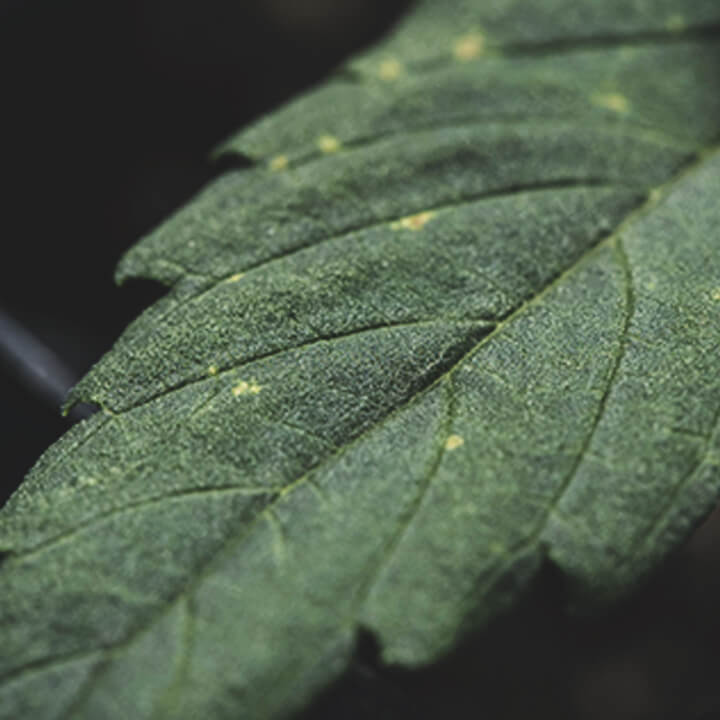
Plant status: Our plant now stood 13.5 inches tall with several sets of fully formed fan leaves. We noticed some brown spots forming on two of the lower leaves; luckily, we figured out those occurred due to water droplets magnifying the light and causing a slight burn, not because of a nutrient deficiency.
Week 3
Lighting: To accommodate our rapidly growing plant, we raised our LED light source so it was 13.7 inches above the canopy.
Nutrients: Now that our plant had established a larger root system, we removed the root booster formula. We fed the specimen once during the beginning of the week with 1.5 litres of solution.
Watering: We watered the plant with 2 litres of water towards the end of the week after the top layer of soil became completely dry.
Environment: Cooler weather meant a more stable internal environment inside the growing box. We managed to maintain 45% relative humidity with no additional effort.
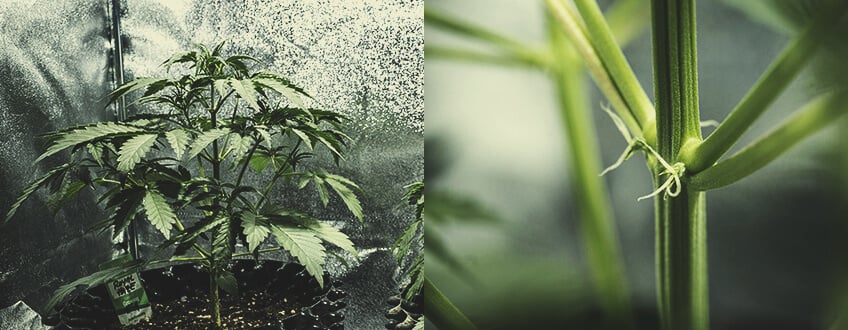
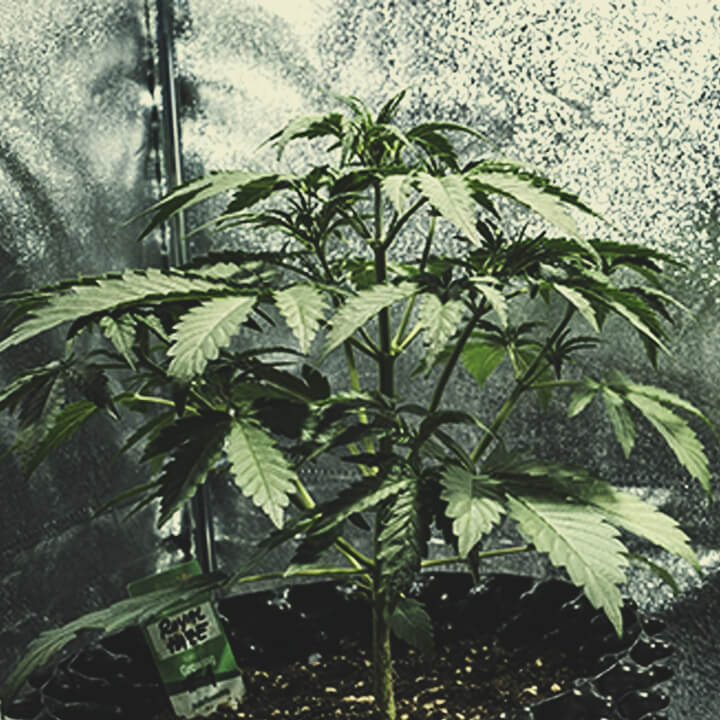
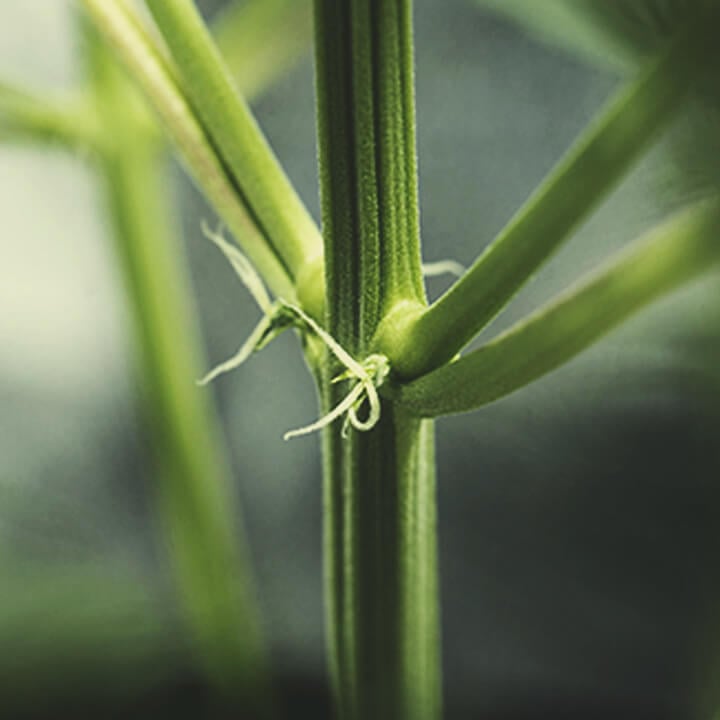
Plant status: The canopy became bushy and dense, calling for some light taming. At this point, the plant stood at 19.5 inches and started becoming quite smelly. Small white pistils started to develop at the nodes, hinting at the first signs of flowering.
Royal Haze Automatic Grow Report: Flowering Stage
The flowering stage took place over seven weeks. During this time, our bushy vegetating plant stretched out and developed a large canopy of mature flowers. Considering the size of the pot, the end result really surprised us.
Weeks 4 & 5
Lighting: We reduced the light cycle during the first week of the flowering phase to 20 hours on and four hours off. Cannabis plants typically flower in conditions with less light, and we wanted to give the plant a period of rest during the day. The LED light remained 13.7 inches from the canopy.
Nutrients: We switched up the formula drastically during this time, as the plant’s metabolic needs change during the flowering phase. Therefore, our formula emphasized potassium and phosphorus to support proper flower formation. We used the following formula per litre of water:
- 2ml aloe vera extract
- 2ml amino acid formula
- 2ml sugar beet extract
- 1ml seaweed extract
- 2ml organic bloom fertiliser
- 1ml humic and fulvic acid formula
We administered 1.5 litres of nutrient solution three times per week, with breaks in between each feed.
Watering: Our flowering plant became increasingly thirsty. We applied 1.5 litres of water during the evenings on the days in between feeding.
Environment: With the warm weather edging back, we struggled again to keep the humidity consistent. Cannabis plants like it quite humid during the early stages of the flowering phase. However, we recorded readings of around 33% during these two weeks. We managed to raise it back up to around 42%, and our plant seemed happy and healthy.
Plant status: Our bushy beast continued to pump out fan leaves and needed a haircut. We reached for the pruning shears and started to defoliate. Overall, we removed around 25% of the fan leaves, mostly from the bottom of the plant. This enabled improved airflow and light penetration. At this point, dense clusters of pistils started appearing en force.



Week 6
Nutrients: During week six, we decided to ramp up the nutrients. We started out with the same formula used in the previous two weeks, but made the following adjustments:
- 4ml aloe vera extract
- 4ml amino acid formula
- 3ml sugar beet extract
- 3ml seaweed extract
- 3ml organic bloom fertiliser
- 1ml humic and fulvic acid formula
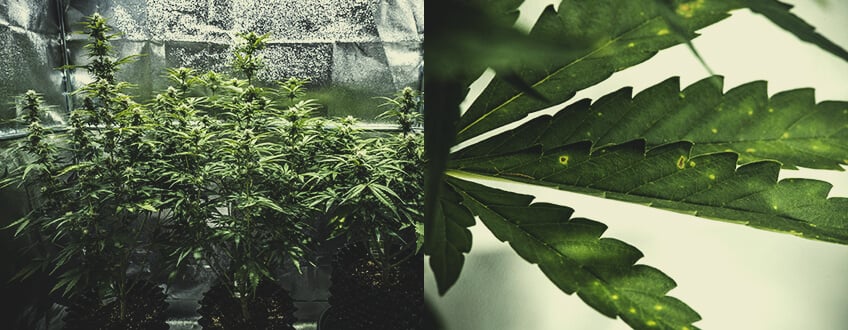
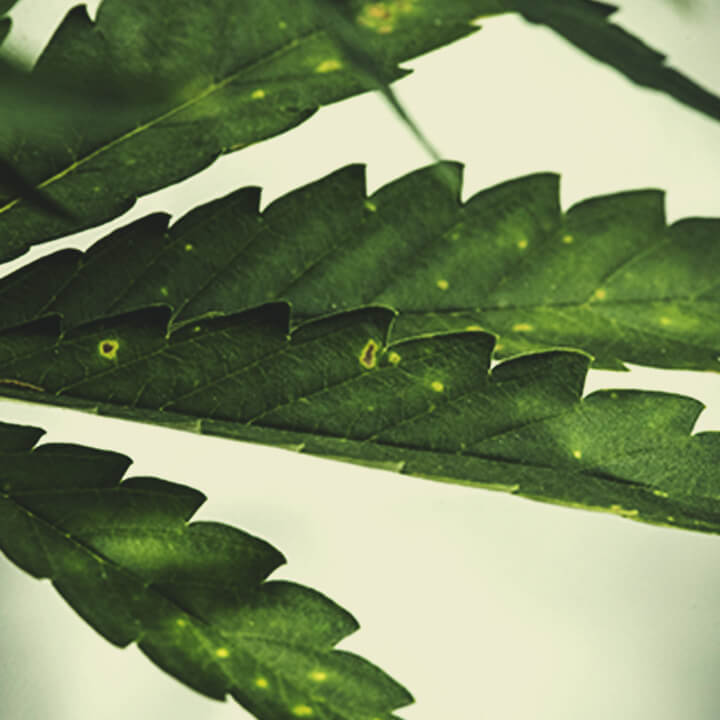
Plant status: By the end of this week, we noticed some concerning signs. Bright yellow spots began turning up on some of the fan leaves, which eventually turned brown. It turned out we went a bit too strong on the nutrients. We set out a different strategy for the next few weeks to remedy this error.
Week 7
Nutrients: To fix the issues we encountered the week prior, we abandoned the nutrient formula and applied Epsom salts to rebalance the growing medium. We added 3ml of Epsom salts to every 1 litre of water and administered 1.7 litres of water every other day to keep the plant fed and hydrated.
Environment: We aimed to reduce the humidity during week seven to minimise the chance of mold formation around the flowers. We were happy with a reading of 35% and aimed to maintain that throughout the rest of the grow.
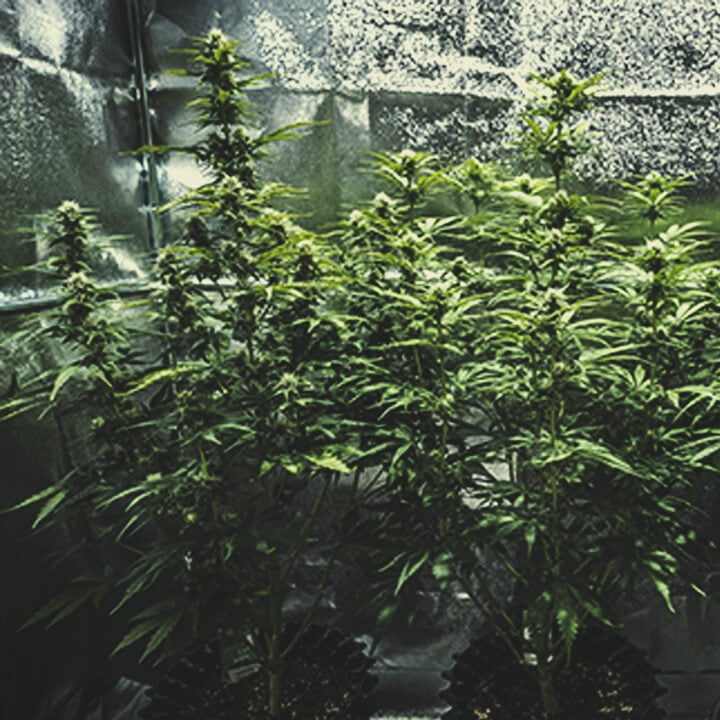
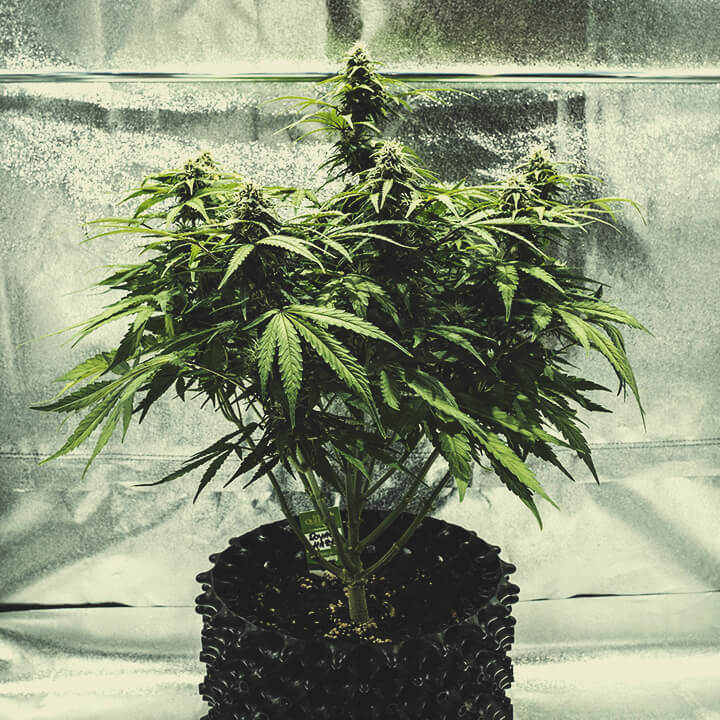
Plant status: Our plant started to look better by the end of the week. By now, she stood at a height of 33.9 inches. Thankfully, she stopped growing at this point, just as she started to outgrow the cultivation box.

Week 8
Nutrients: During week eight, we started to introduce a light formula to reintroduce key nutrients without exposing the plant to any more stress. The combination included salts to rinse out any residue and seaweed to deliver a wide spectrum of nutrients. We used the following per litre of solution:
- 2ml salt clearing solution
- 4ml seaweed extract
We applied each of these products separately, with the clearing solution applied on the second day of the first week, followed up with the seaweed extract two days later.

Weeks 9 & 10
Flushing: We completely restricted nutrients during the last two weeks to achieve peak flavor and smoothness. We simply saturated the soil with 3 litres of water twice per week when it became considerably dry.
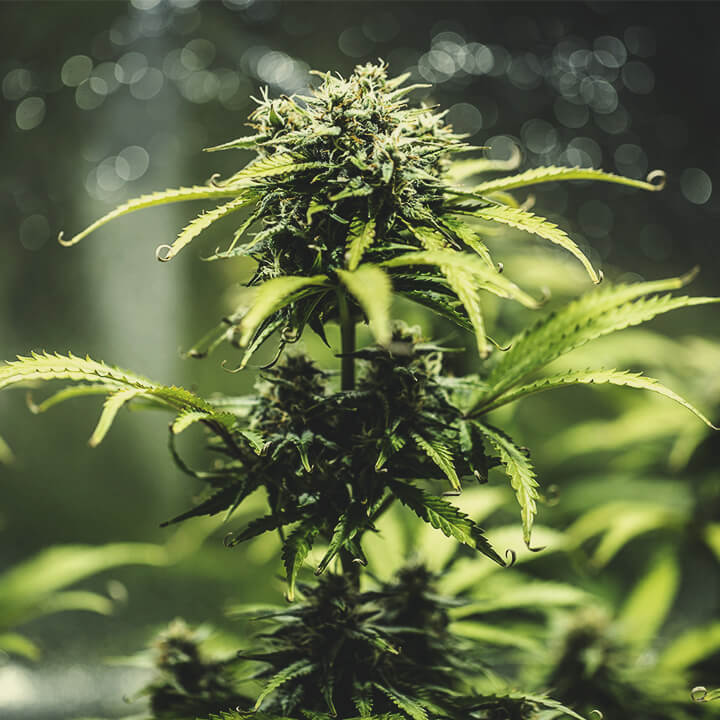
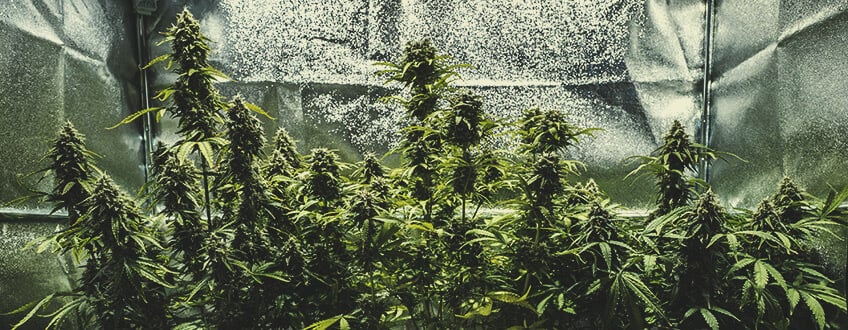
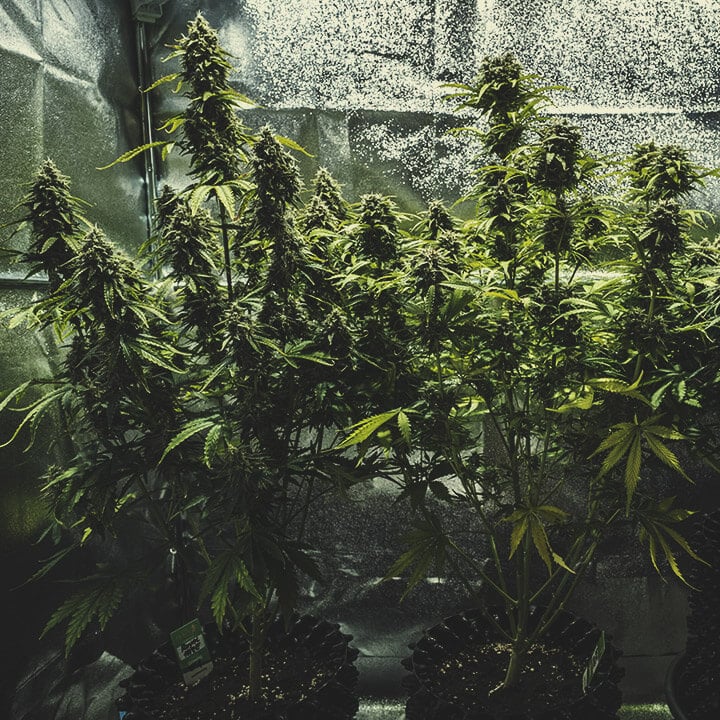
Plant status: Our specimen continued emitting strong odours of citrus and earthiness, as her canopy displayed a dense assortment of long-running colas—each boasting a thick layer of resin.
Harvest (End of Week 10)
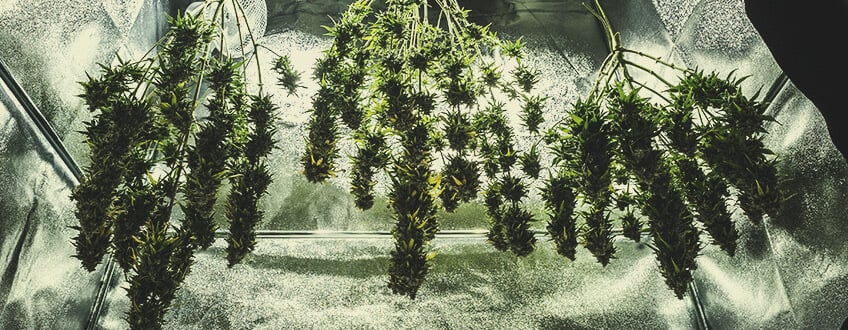
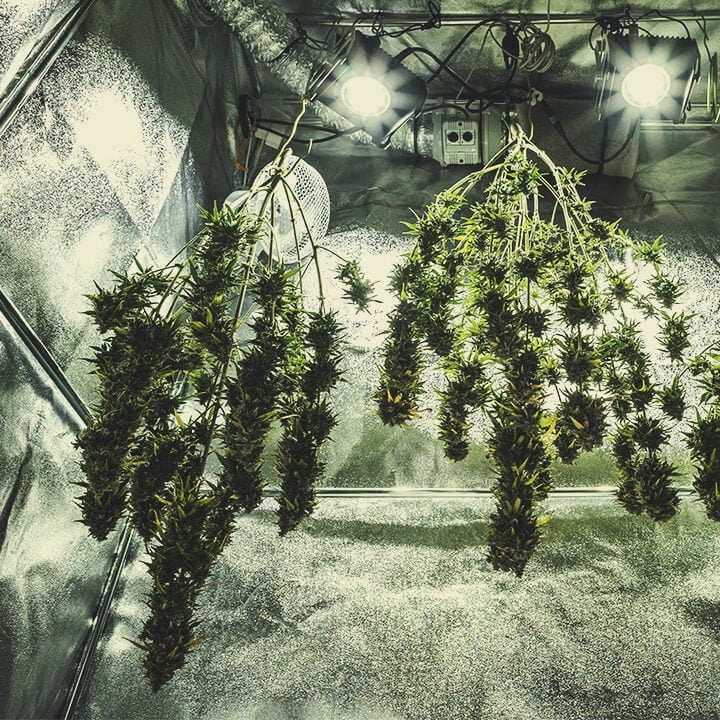
We commenced harvest after our two-week flush, cutting the plant at the base and hanging it out to dry for a total of 7 days. We proceeded to dry-trim the buds and placed them into mason jars for curing. We were extremely pleased with the results: dense nuggets loaded with trichomes and packed with delicious, fruity terpenes.
Genetic Attributes of Royal Haze Automatic
Royal Haze Automatic descends from legendary cannabis strains Amnesia Haze and Skunk. The two heavy-hitters passed down zesty terps, an electrifying high, and medium levels of CBD. The addition of ruderalis genetics ensured fast development and resilience. Royal Haze Automatic emerged from this breeding project with a genetic profile consisting of 50% sativa, 20% indica, and 30% ruderalis.
Growing Characteristics of Royal Haze Automatic
Royal Haze Automatic grows almost anywhere without much fuss. She thrives in greenhouses and polytunnels, yet will get on just fine outdoors in cooler regions. Indoor plants grow to a height of around 2.1 – 2.8 feet and produce a rewarding return of 10.6 – 12.3 oz/m². Plants grown outdoors climb to taller heights of 120–119.5 inches and produce up to 6.3 oz. Royal Haze Automatic courses through the entire growing cycle in as little as ten weeks.
Effects and Flavor of Royal Haze Automatic
Royal Haze Automatic exerts an energising and motivating high. Her sativa genetics and heady terpenes fire up the central nervous system and give way to creative thoughts and laser-like focus. Make the best use of these buds by enjoying them in the morning with a fresh cup of coffee. A THC level of 15% results in a euphoric, but not overwhelming, high. Tastes of citrus, sweetness, and herbs make every hit flavorful and moreish.


