.

Making Hemp Soap At Home
If you're anything like us, regular soap leaves your skin feeling dried out and tired. We’ve joined others in making the switch to herbal, hand-made soap, and haven't looked back since.
There is nothing like the confidence of knowing exactly what you are putting on your skin, instead of some dodgy unpronounceable mix of chemicals from a pharmaceutical company.
With the emergence of medicinal cannabis in the USA, it's no surprise that some enterprising hippies have created marijuana-infused soap as a buyable product. Perhaps in the future, cannabis will be used to treat skin conditions such as dermatitis and eczema.
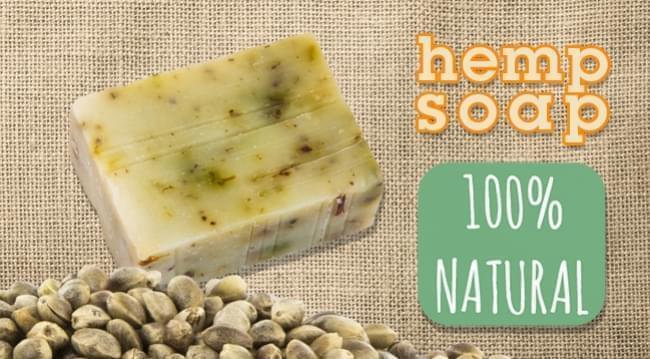
Hemp soap offers a legally safer alternative. This gently cleansing soap is for sensitive skin, and has naturally moisturising properties from the blend of oils included.
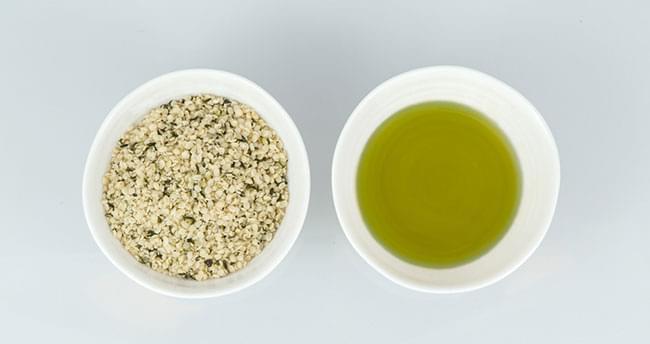
Hemp seed contains omega 3 and omega 6 fatty acids. These have anti-aging properties and help your skin with repairing and healing. It is thought to relieve the symptoms of eczema.
It's easy to make at home, with love instead of harsh chemicals. You can use many different ratios of oils to achieve different consistencies of soap, but this recipe is tried and tested and good for beginners. It's is easy, natural, and paraben and palm oil free - because every stoner should be thinking about saving the rainforest.
EQUIPMENT YOU WILL NEED
- Safety goggles
- Chemical resistant gauntlets
- Kitchen Scales
- Measuring jug
- Two large steel or enamel saucepans
- Cooking thermometer
- Wooden spoon
- Whisk
- Silicone cake moulds
INGREDIENTS
- 340ml of cold, clean water
- 125g of sodium hydroxide (lye) beads
- 225g hemp seed oil
- 275g organic cold-pressed coconut oil
- 175g raw African shea butter
- 225g extra virgin olive oil
- 1/4 tsp vitamin E extract
- Fragrances, essential oils, decorative items

SAFETY AND DANGERS
When working with potentially hazardous substances like lye, it's important to consider safety. Sodium hydroxide is dangerous (like, blind-you-forever dangerous) so make sure you wear eye and hand protection.
Always add lye to water, never add water to lye. Basifying water in the wrong way can lead to a "volcano" type reaction which can be harmful and make a mess. Lab safety should always be your primary concern when performing any kind of chemistry.
Making soap at home is a rewarding experience, but care is needed. You have been warned.
MAKING THE SOAP
1. First, don your eye and hand protection. Fill your measuring jug with water, and then add the lye- into it slowly. Gently agitate your mixture to make sure it's completely dissolved. This reaction creates heat - place the solution somewhere safe to cool down.
2. Gently heat your shea butter, hemp and coconut oil in a saucepan - add the hardest fat first and then add the liquids until you have a smooth blend. In a second saucepan, heat the olive oil and vitamin E, and then combine the contents of both saucepans and stir.
3. Once all the oils are fully mixed, and the temperature is at 100°C, turn off the heat and slowly add your basified water while stirring. When it is completely mixed, stir the mixture quickly with your whisk. Within a few minutes, the solution will thicken and turn more opaque. Watch it carefully.
4. What you are looking for is a crucial stage in the soap making process - known as "The Trace". The trace is when the oils and water have completely mixed and cannot be separated again. To know when you have reached this "point of no return", dip your whisk into the mix and allow it to dribble back into your saucepan. If it leaves behind a little "trace," then your solution is emulsified, and you're there. If not, keep whisking for a while longer.
5. At this point, if you wish, you can add any additional fragrances and essential oils. Our favourite is just a few drops of frankincense oil and a sprinkle of loose leaf green tea. Whisk it up one last time and pour your mixture into your moulds to cool.
6. When your blocks of soap are almost cooled, decorative items can be added - be creative! Try setting flower petals, sea shells, or whole hemp seeds into your soap for a natural exfoliating effect.
7. Your soap will take a few days to fully set, but it's best to leave it for a few weeks before use just to make sure any traces of lye are fully removed. These blocks make great gifts - just remember when wrapping to make sure you use waxed paper or clingfilm. The soap can "sweat" and ruin ordinary paper.
There's a lot of benefit to making your own soap - it's cheap and rewarding, and you can feel good that your process is cruelty-free. And trust us, your skin will thank you for it.


